Capacitor “Hello World” example: how to convert your web applications to native Android applications
Talking about Android.
When you build a web app, or a HTML5 game, sooner or later you will want to make it run on mobile devices as a native application.
I already covered this topic in the post Make your HTML5 games run on Android devices with Cordova and Android Studio, but guess what? Web development runs fast and Cordova is not the best choice anymore.
So let’s start to see how to use Capacitor instead.
Before you start reading this post, there are some prerequistes to fullfill:
1 – You should have Java version 8 installed.
2 – You should have Node.js installed.
3 – You should have Android Studio installed.
While Android Studio is just a software to install, if you aren’t familiar with Node.js (and npm), here is a guide about their installation: Phaser and the migration from JavaScript to TypeScript – Step 1 – Node.js.
Once your system is ready, create a folder for your new project. I created one called hellocapacitor but obviously it’s up to you to create the folder with the name you want.
Then, inside your folder, create another folder called www and copy your project inside such folder. Remember your project must have a file called index.html
As for my project, it’s just a single HTML file called index.html with this content:
<html>
    <head>
        <style>
            body {
                background-color : #242444;
                color : #f5f5f5;
                font-family : arial;
                text-align : center;
                margin : 10px;
            }
        </style>
    </head>
    <body>
        <h1>Hello, Capacitor!</h1>
    </body>
</html>
What a wonderful and complex project! Never mind, it’s just to show you the steps required to have it running on Android.
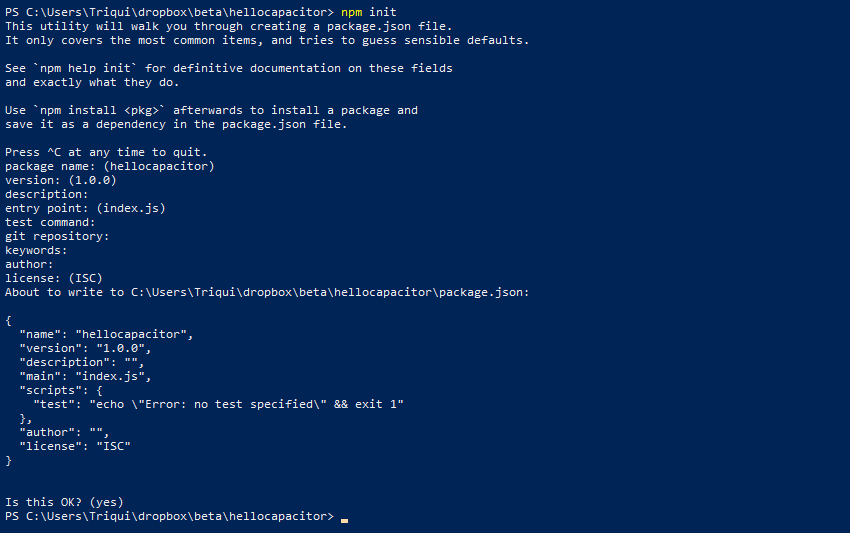
Capacitor wants your project to be a Node.js project, so let’s open a shell and once in the project folder, let’s execute:
npm init
to initialise the project as a Node project. Then answer or skip all questions, it does not matter at the moment, as we only need Capacitor to see we are working on a Node project.

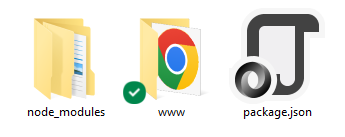
This should be the content of your project folder now:

node_modules and package.json folders have been just created, while www is the folder with your index.html file.
The content of package.json should be somethig like this:
{
  "name": "hellocapacitor",
  "version": "1.0.0",
  "description": "",
  "main": "index.js",
  "scripts": {
    "test": "echo \"Error: no test specified\" && exit 1"
  },
  "author": "",
  "license": "ISC"
}
It’s just a text file, and you can change its contents anytime, but now it’s time to install Capacitor itself by executing:
npm install --save @capacitor/core @capacitor/cli
This will install both the core and the Command Line Interface.

And now your package.json should have a couple of new lines:
{
  "name": "hellocapacitor",
  "version": "1.0.0",
  "description": "",
  "main": "index.js",
  "scripts": {
    "test": "echo \"Error: no test specified\" && exit 1"
  },
  "author": "",
  "license": "ISC",
  "dependencies": {
    "@capacitor/cli": "^3.4.3",
    "@capacitor/core": "^3.4.3"
  }
}
At this time we can initialize the Capacitor project with:
npx cap init
Again, you can answer or skip all the questions, it does not matter at the moment.

Now your project folder should look this way:

Once the project has been crated, you’ll have to add the platforms you want to publish on. Since we are trying to publish on Android, let’s execute:
npx cap add android
Anyway, remember that if you are working on a non macOS computer, you won’t be able to publish on iOS devices.

A new folder called android should have been created in your project folder:

Now we need to copy the content of our project into specific Capacitor folders. We can do it by executing:
npx cap copy
We could do it by ourselves just copying the content of www folder into android/app/src/main/assets/public folder, but why bothering?

Now we can finally open Android Studio with:
npx cap open android
Again, we could open Android Studio manually but since we are already using PowerShell, we are opening Android Studio from here.

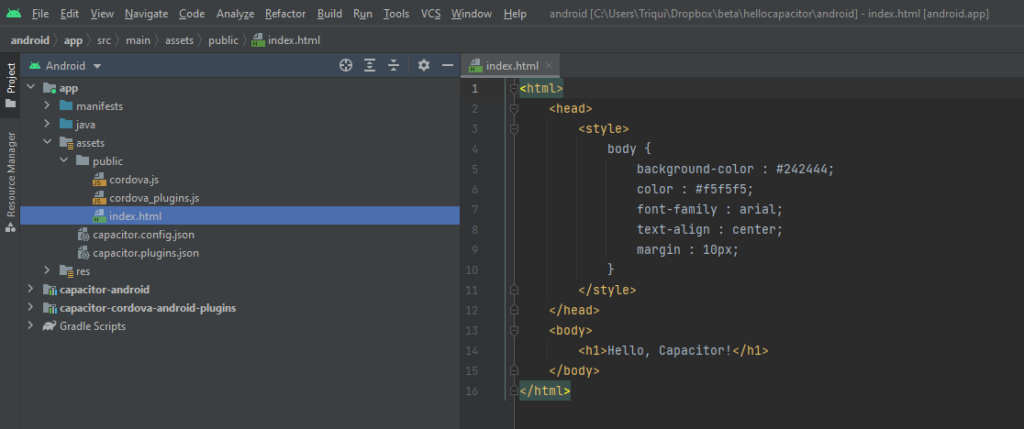
And this is our project imported in Android Studio.
It may take a while to open the project the first time, because Android Studio has to execute some Gradle scripts.
Do you recognize the HTML code of the page? It’s the page we built, copied by Capacitor in android/app/src/main/assets/public folder.

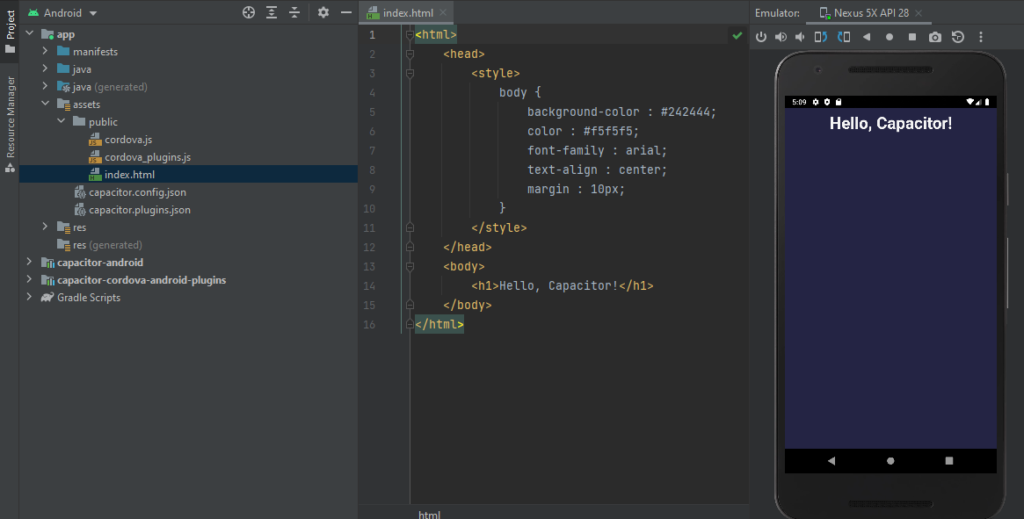
Now let’s run the project by selecting Run > Run ‘app’

Again, it may take another while and it may require to download some emulators from the device manager, but at the end of the process you should get your web page running like a native Android app.

And this is how it ends the first step of this journey. Next time, we’ll see how to do the same thing for iOS devices, then we’ll start to publish on actual devices rather than simulators.
Never miss an update! Subscribe, and I will bother you by email only when a new game or full source code comes out.

