

Text-to-Speech on your PC: running Chatterbox Turbo locally on Windows – clean setup + known pitfalls
Talking about HTML5.
Are you using Text-to-Speech? Text-to-Speech (TTS) refers to technology that takes written text and converts it into spoken audio using neural models. Modern TTS produces highly natural and expressive voices by combining text analysis with learned speech generation.
Installing a local TTS system on your machine is useful for developers and creators because it lets you run speech synthesis without external APIs, control models and voices directly, and avoid latency, cost, and privacy concerns associated with cloud services.
Chatterbox is one such open-source TTS project: a production-grade neural text-to-speech model with features like emotion control, zero-shot voice cloning, and support for multiple languages released under the MIT license. It’s designed so you can install and run advanced TTS locally and integrate it into applications or workflows without relying on proprietary services.
This WAV file is the equivalent of a “hello world” example, generated with default settings and no additional configuration.
Getting modern ML audio projects running locally on Windows is rarely “clone and go”. Between Python versions, virtual environments, heavyweight dependencies like PyTorch, and model downloads that require authentication, it’s easy to end up in dependency hell after a couple of failed attempts.
This tutorial is the clean, reproducible path I wish I had on day one: a step-by-step guide to installing and running Chatterbox Turbo locally on Windows 10/11, from installing Python and Git to generating a real audio file.
I’ll also cover a common Windows pitfall (torchvision::nms does not exist) and the exact fix, so you can recover quickly instead of reinstalling everything blindly.
For this setup, Python 3.11 is strongly recommended, and that choice is deliberate.
Python is a high-level programming language widely used for scripting, automation, and machine learning. In this setup it acts as the runtime that executes Chatterbox, manages dependencies through virtual environments, and runs the text-to-speech pipeline locally.
Chatterbox itself is pure Python, but it sits on top of a modern ML stack that includes PyTorch, TorchVision, Transformers, and Diffusers, all of which rely on precompiled binary wheels on Windows. At the time of writing, Python 3.11 offers the best balance between stability and availability of compatible wheels for these libraries.
Earlier versions (such as Python 3.9) are increasingly falling out of support in recent ML releases, while newer ones (notably Python 3.12) are still in a transition phase: many ML libraries either do not provide official Windows wheels yet or ship them later, which often leads to obscure import errors, missing operators, or forced source builds.
Download Python 3.11 (64-bit) from the official site and during installation check “Add Python to PATH”.
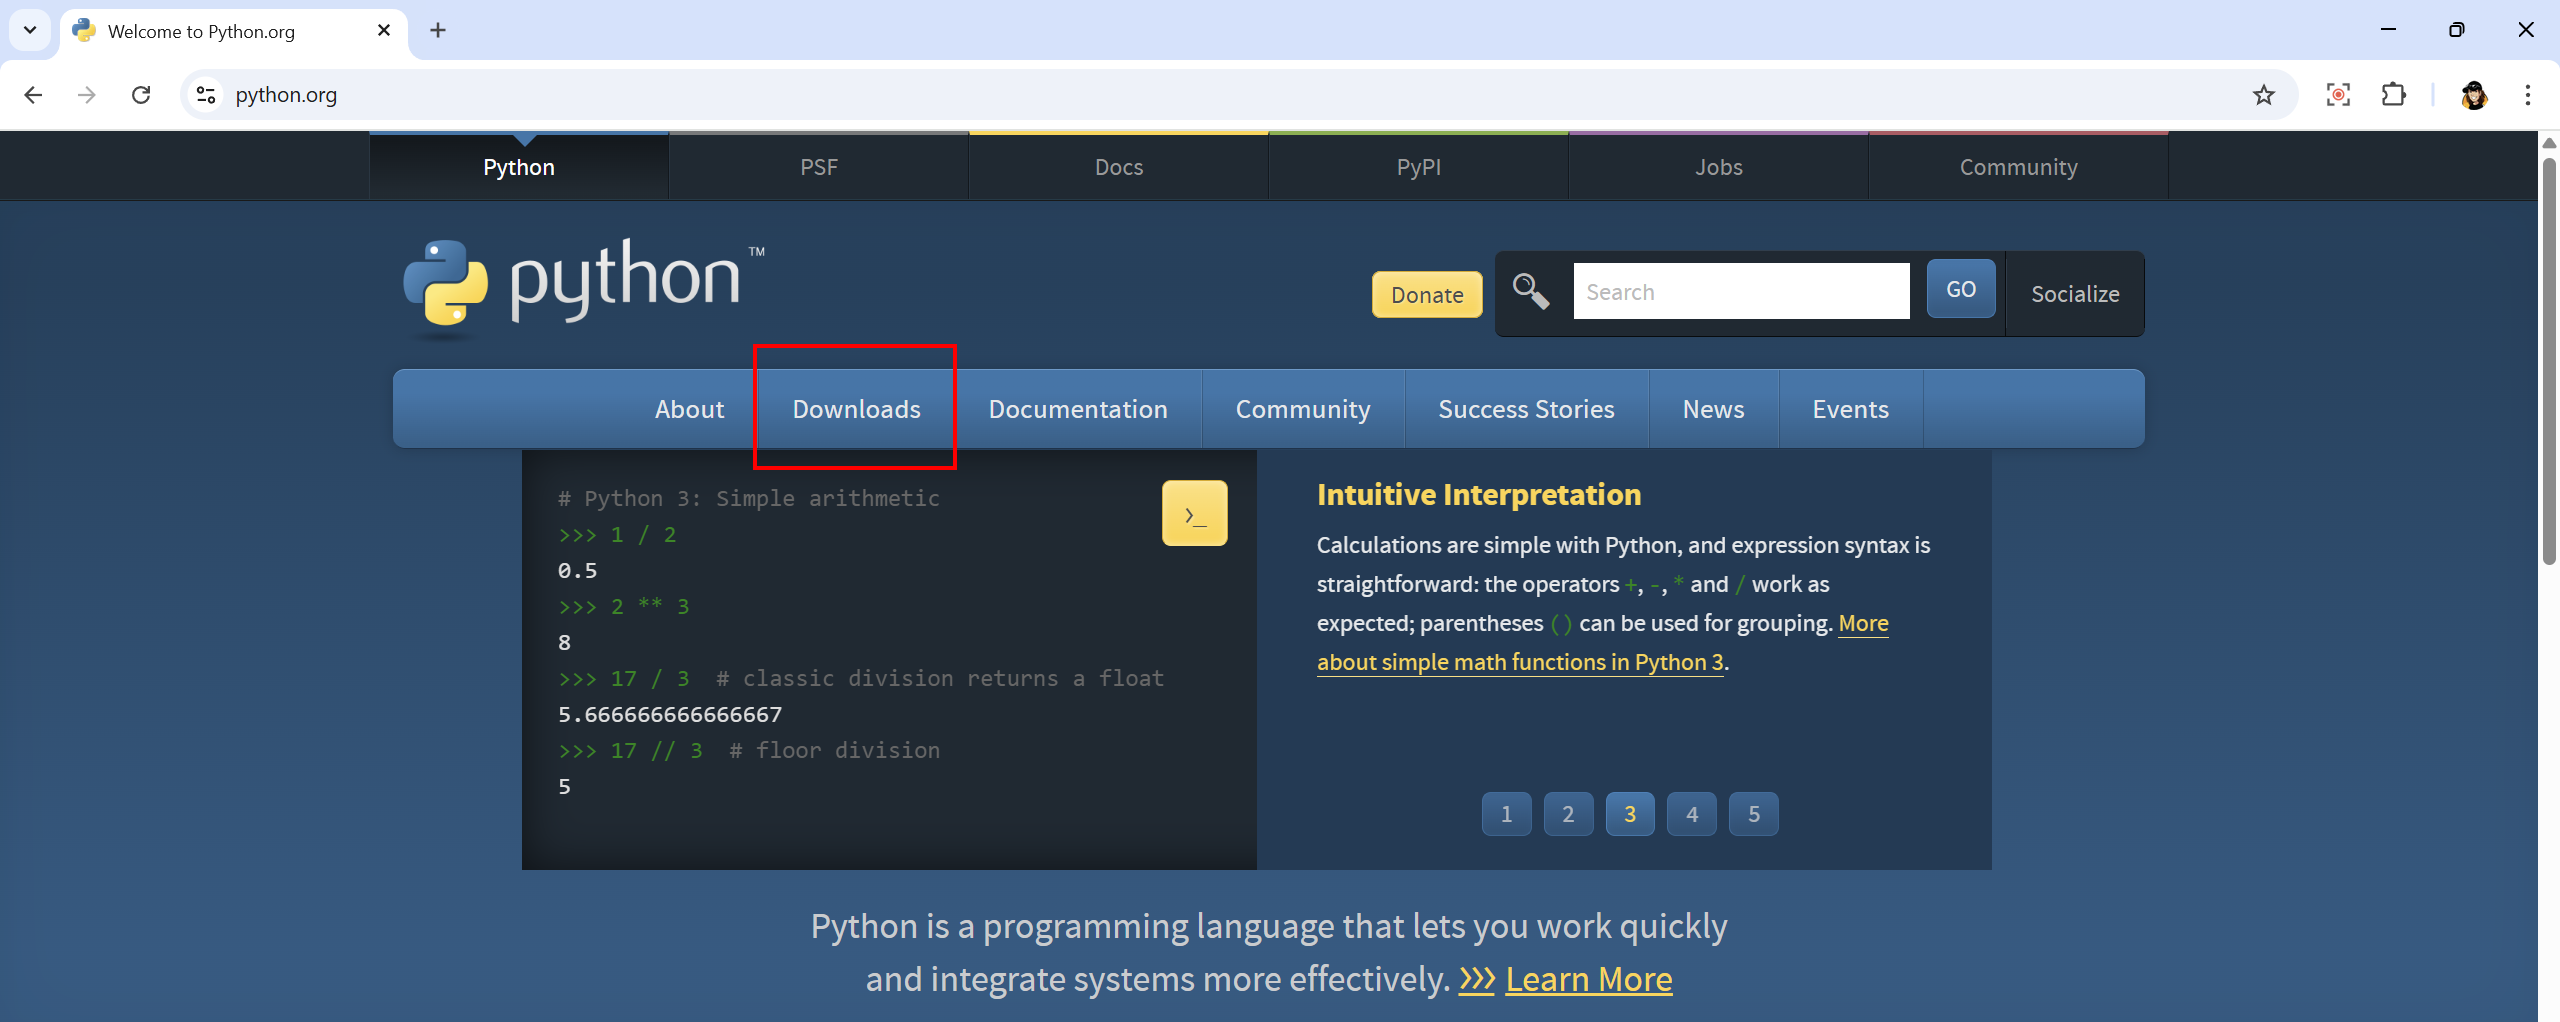
Once Python is installed, open a CLI like PowerShell and enter:
py –version
And you should get something like
Python 3.11.x

Download Git for Windows from the official site and install it.
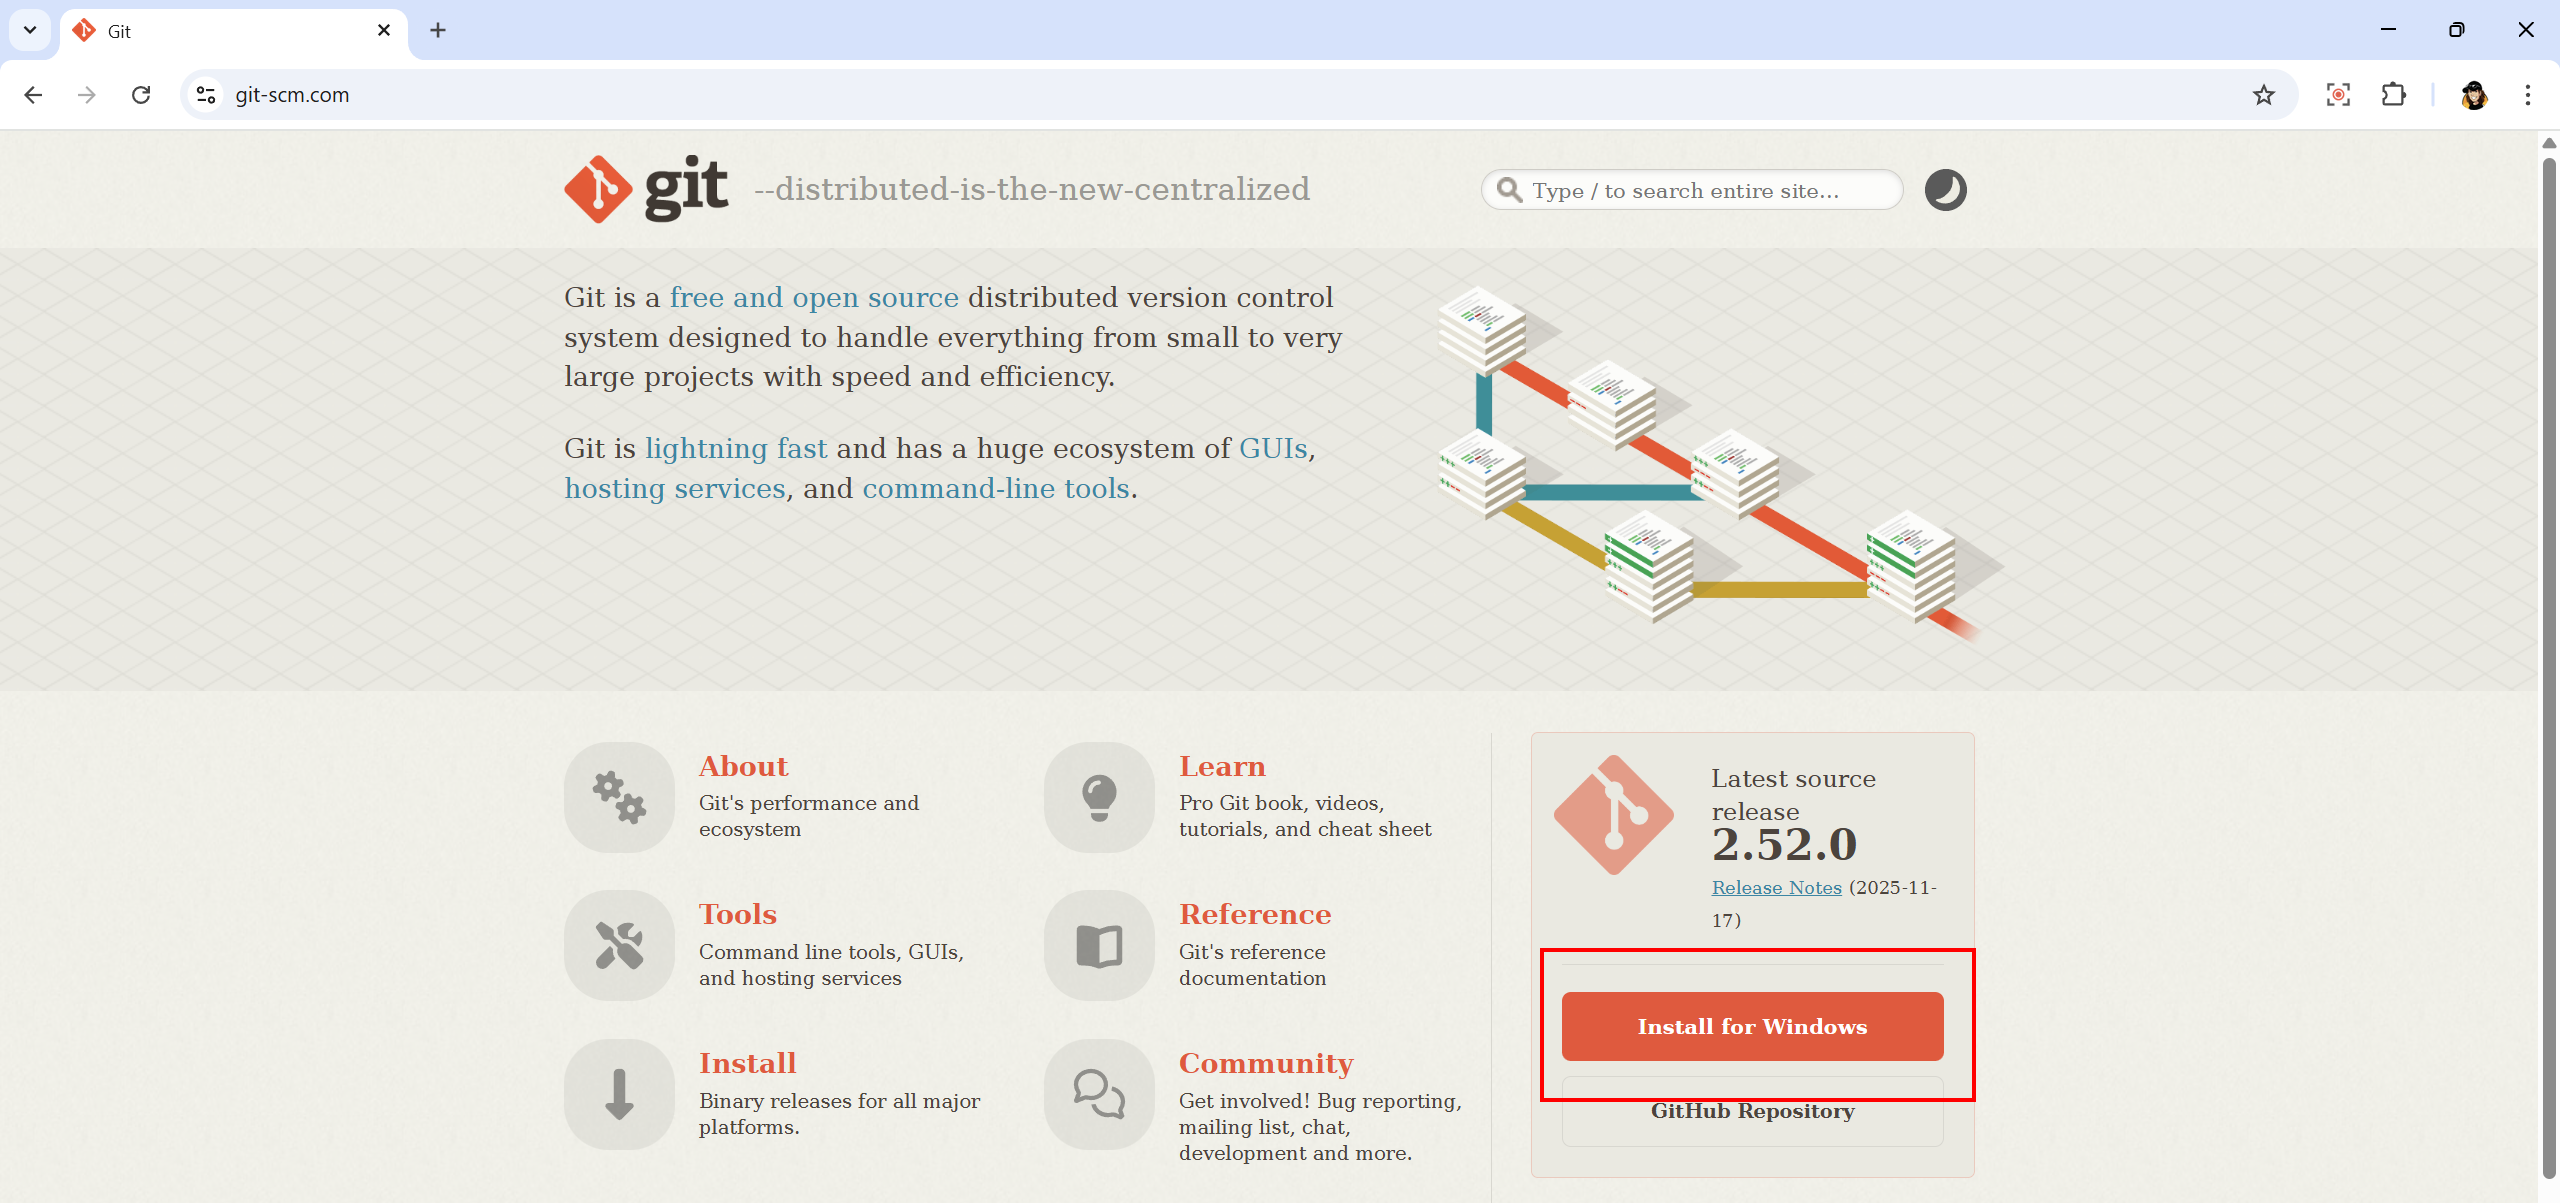
Git is a distributed version control system used to download and manage source code repositories. Here it is simply used to clone the official Chatterbox repository, ensuring you get the exact upstream code without manual downloads or archives.
To test it, enter in the CLI
git –version
And you should get
git version 2.xxxxx

Now, clone the Chatterbox repository: choose a working directory and enter:
git clone https://github.com/resemble-ai/chatterbox.git my-chatterbox
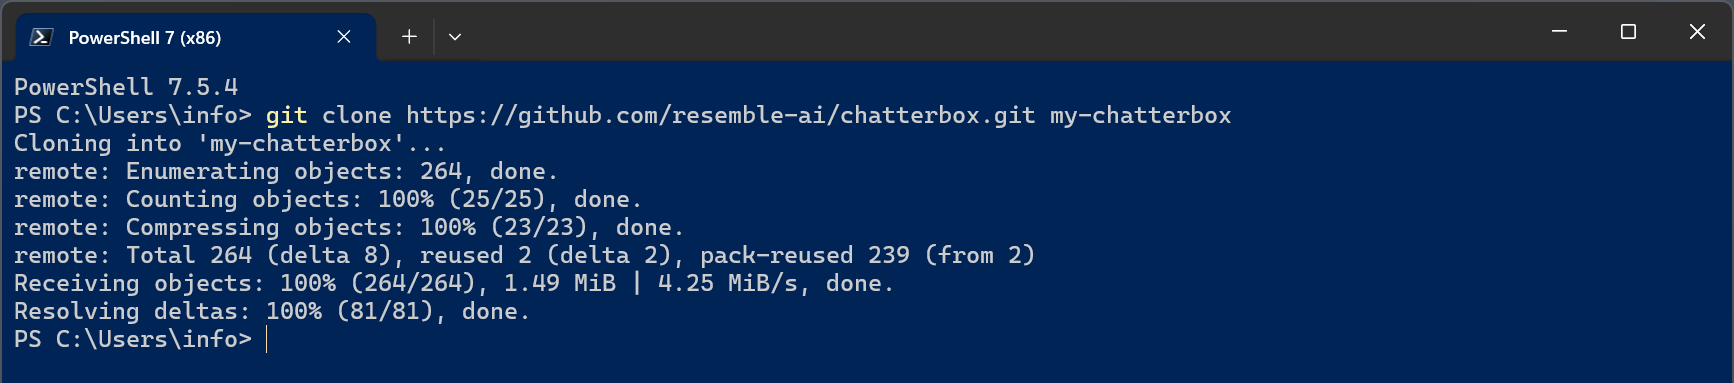
Then enter the new folder with:
cd my-chatterbox
This should be the content of the folder.
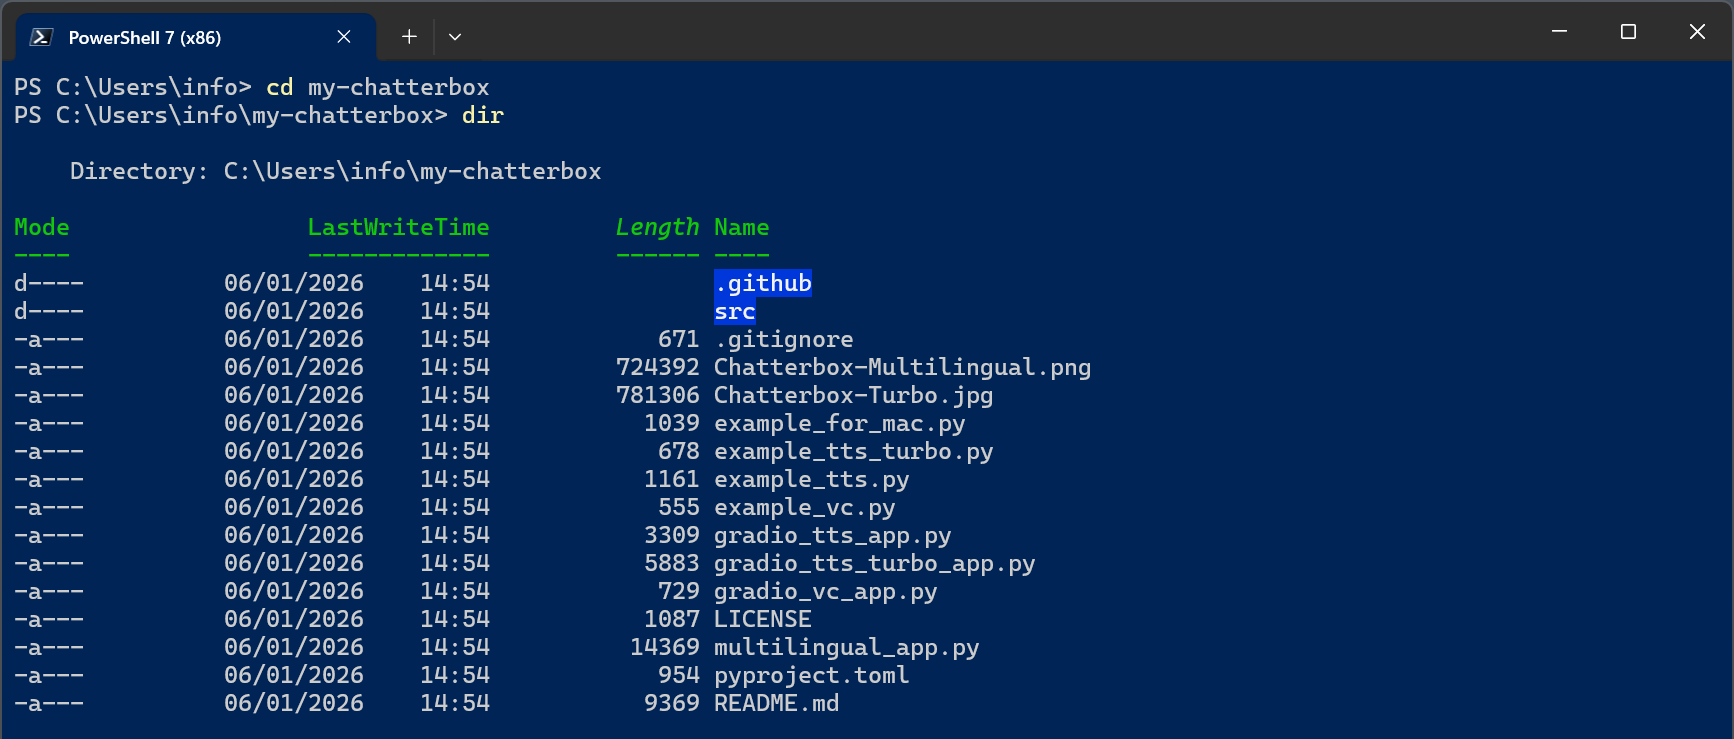
You can choose any folder name, just writing it in the command line.
All following commands must be run inside this folder.
Create a virtual environment by writing:
py -m venv venv
Then activate it with
venv\Scripts\Activate.ps1
You should now see (venv) in your command prompt

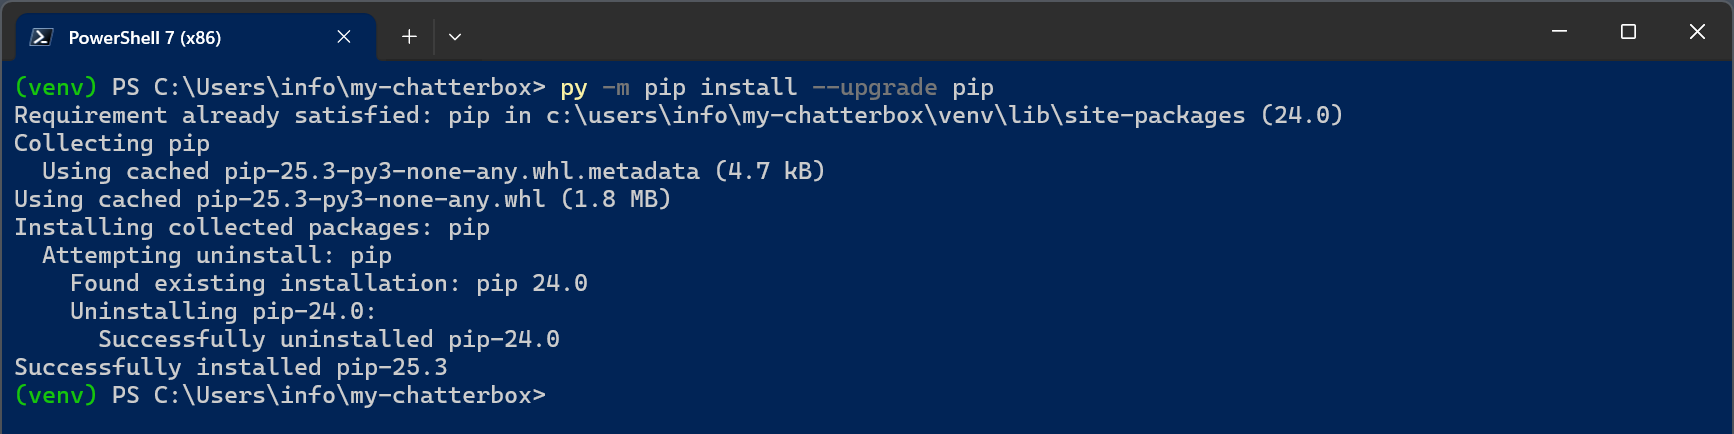
Time to upgrade pip with
py -m pip install –upgrade pip
pip is Python’s standard package manager, used to install and manage third-party libraries from the Python Package Index (PyPI). In this setup, pip is responsible for installing PyTorch, Chatterbox, and all required dependencies inside the virtual environment.
Next step is a bit critical: we are going to install PyTorch with
pip install torch==2.5.1+cu121 torchvision==0.20.1+cu121 torchaudio==2.5.1+cu121 –index-url https://download.pytorch.org/whl/cu121
This will take quite a while.
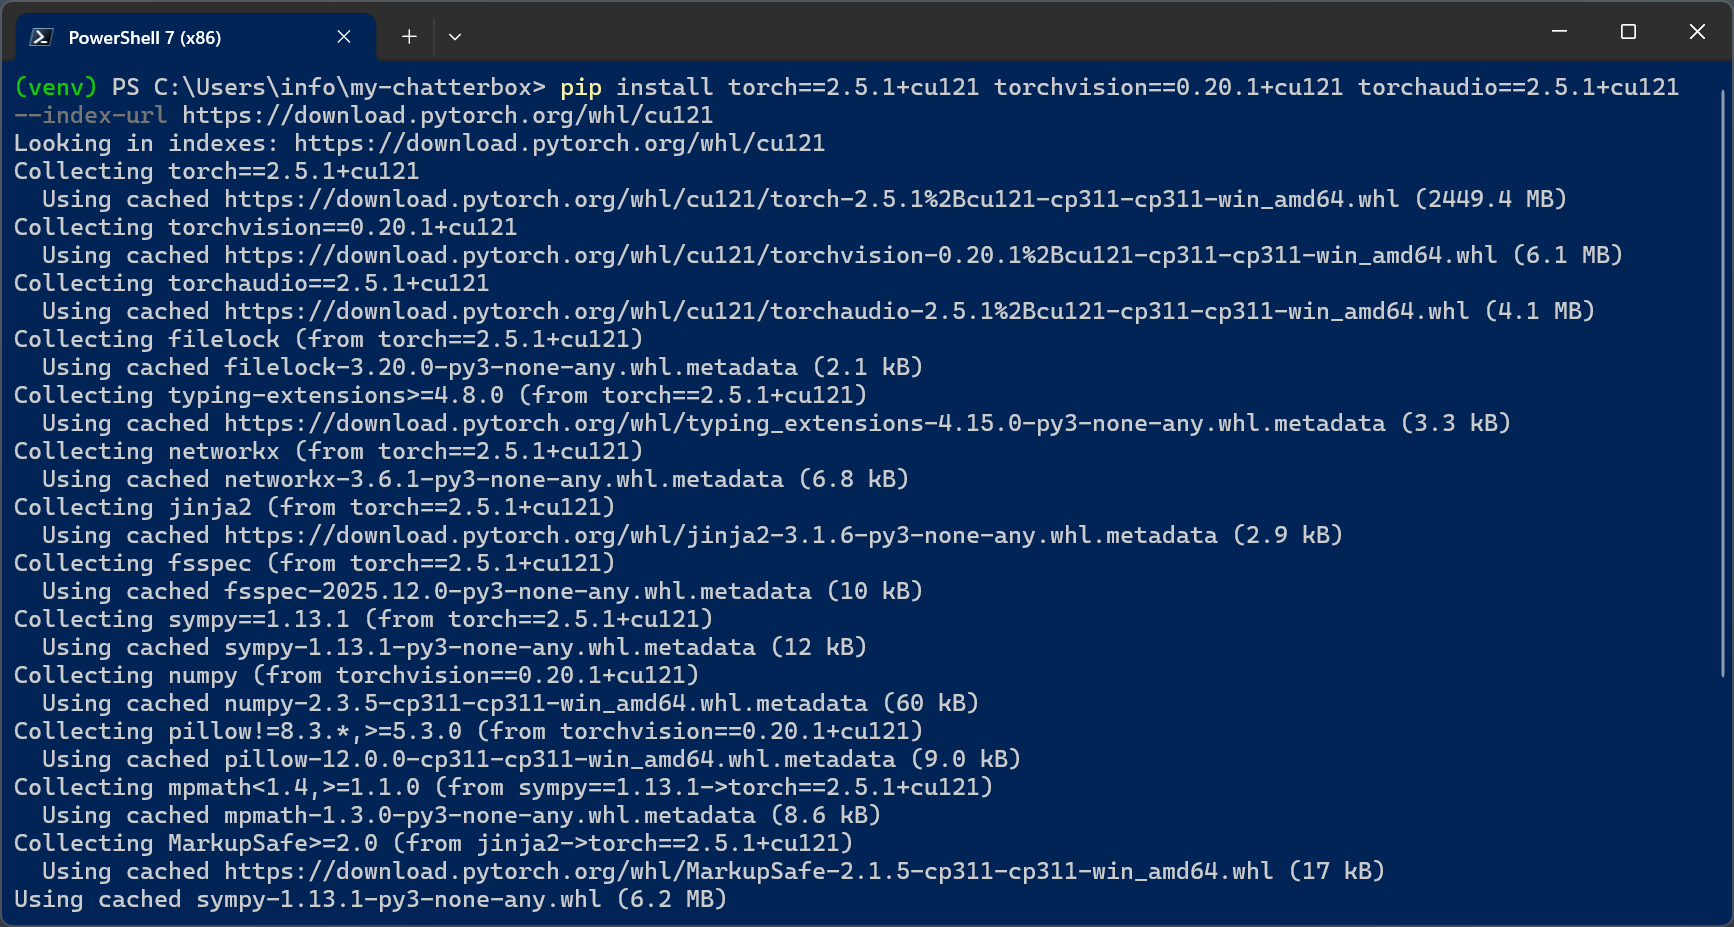
PyTorch is the core numerical and deep-learning engine used by Chatterbox, and it is one of the most critical parts of the setup on Windows. It relies on large, precompiled binary components (both CPU and GPU), and even small version mismatches, especially between PyTorch and TorchVision, can lead to runtime errors that are difficult to diagnose.
Having an NVIDIA GPU is highly recommended because PyTorch can leverage CUDA to run neural networks on the GPU instead of the CPU. This results in dramatically faster inference, lower latency, and a much smoother experience when generating audio, especially with larger models like Chatterbox Turbo. While the system will still work on CPU, generation will be significantly slower and less practical for repeated or batch usage.
If you prefer a CPU-only alternative, try with
pip install torch torchvision torchaudio
But I did not test it.
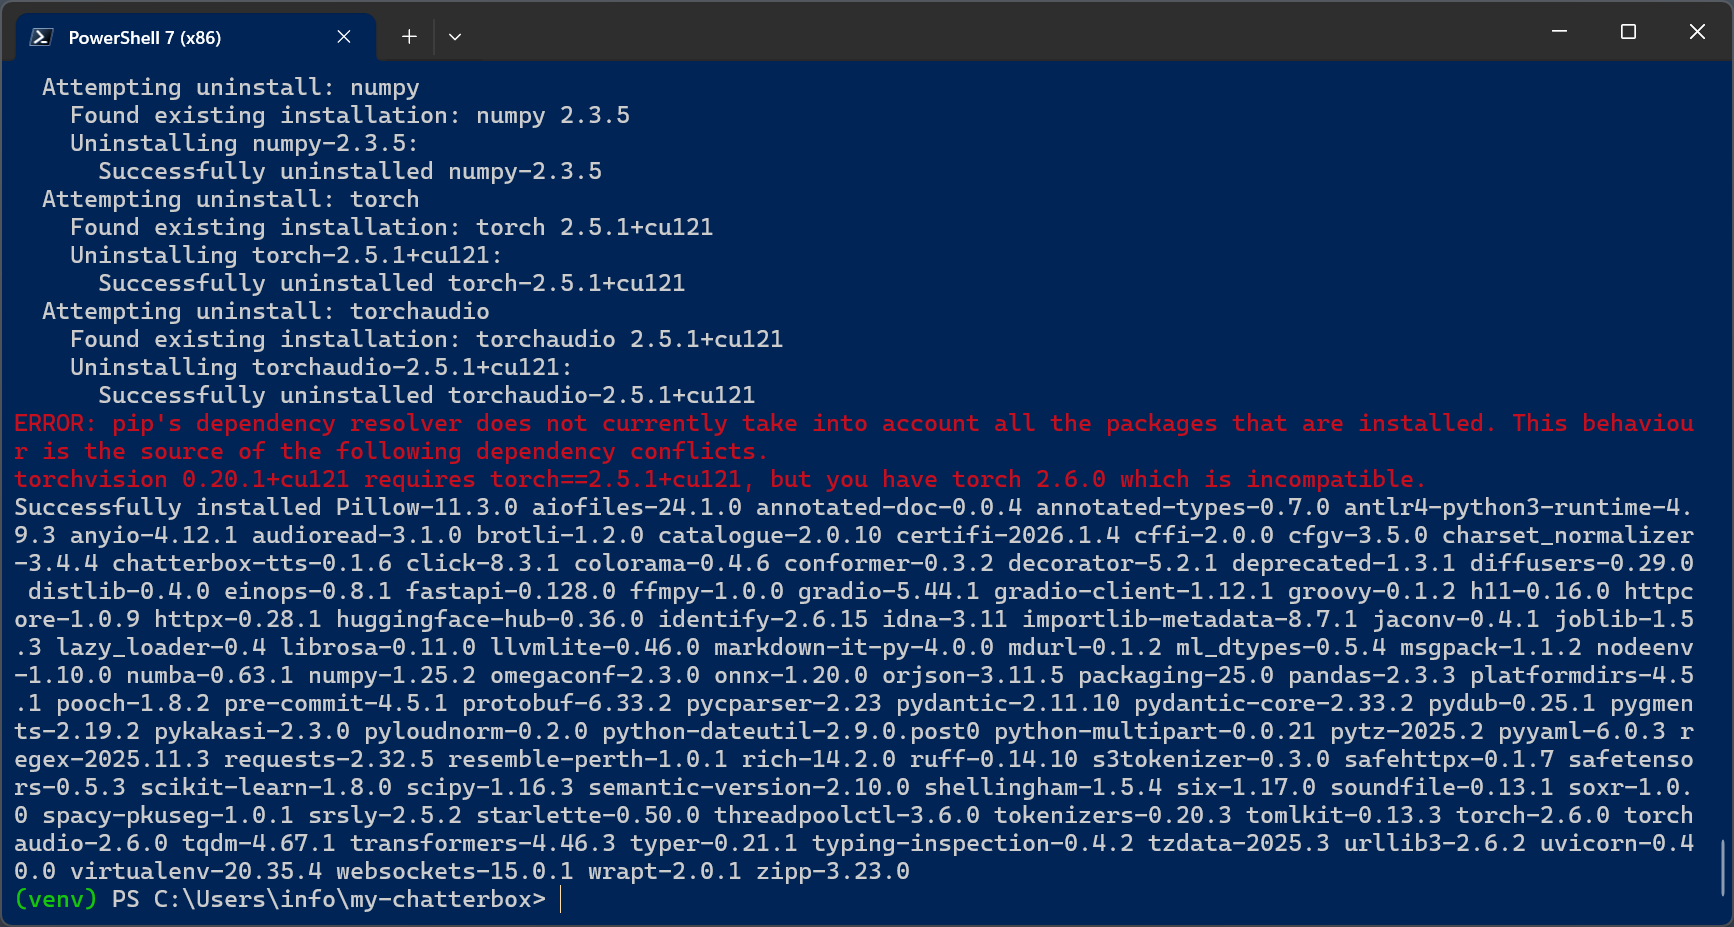
Finally it’s time to install Chatterbox itself with
pip install -e .
Mind the final point “.”

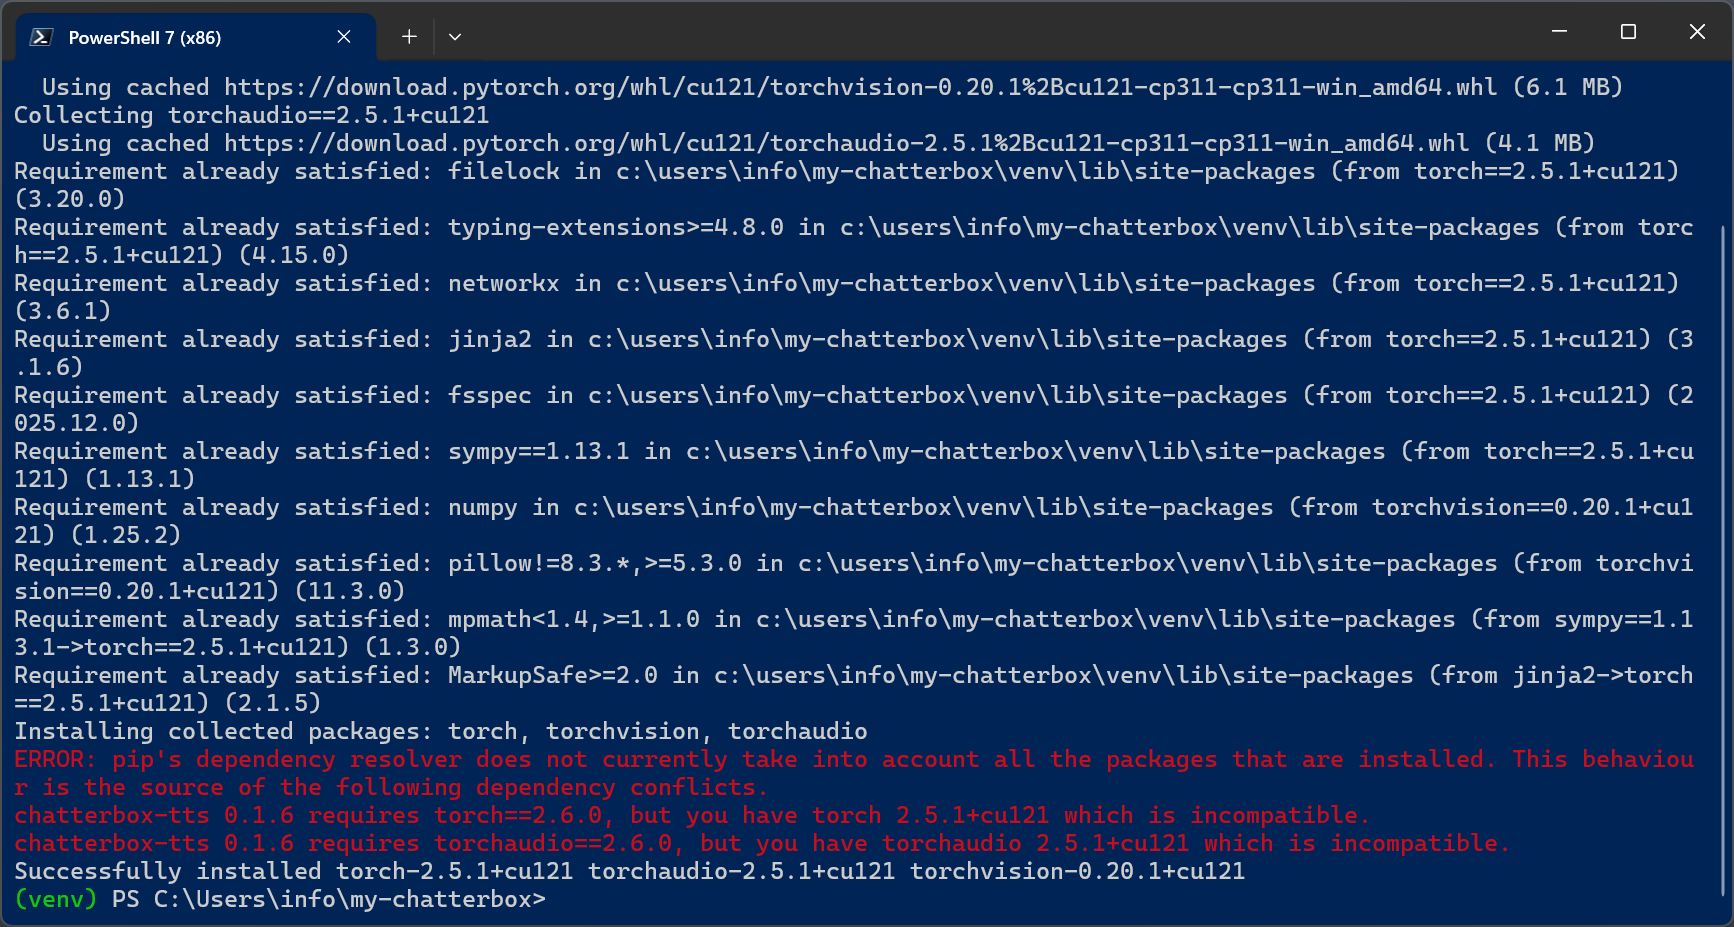
Warnings about dependency resolution are common in ML stacks and usually not fatal.
Chatterbox downloads models from Hugging Face on first run, so we’ll need a token in order to make it work. Register to Hugging Face then go to https://huggingface.co/settings/tokens to create a token.
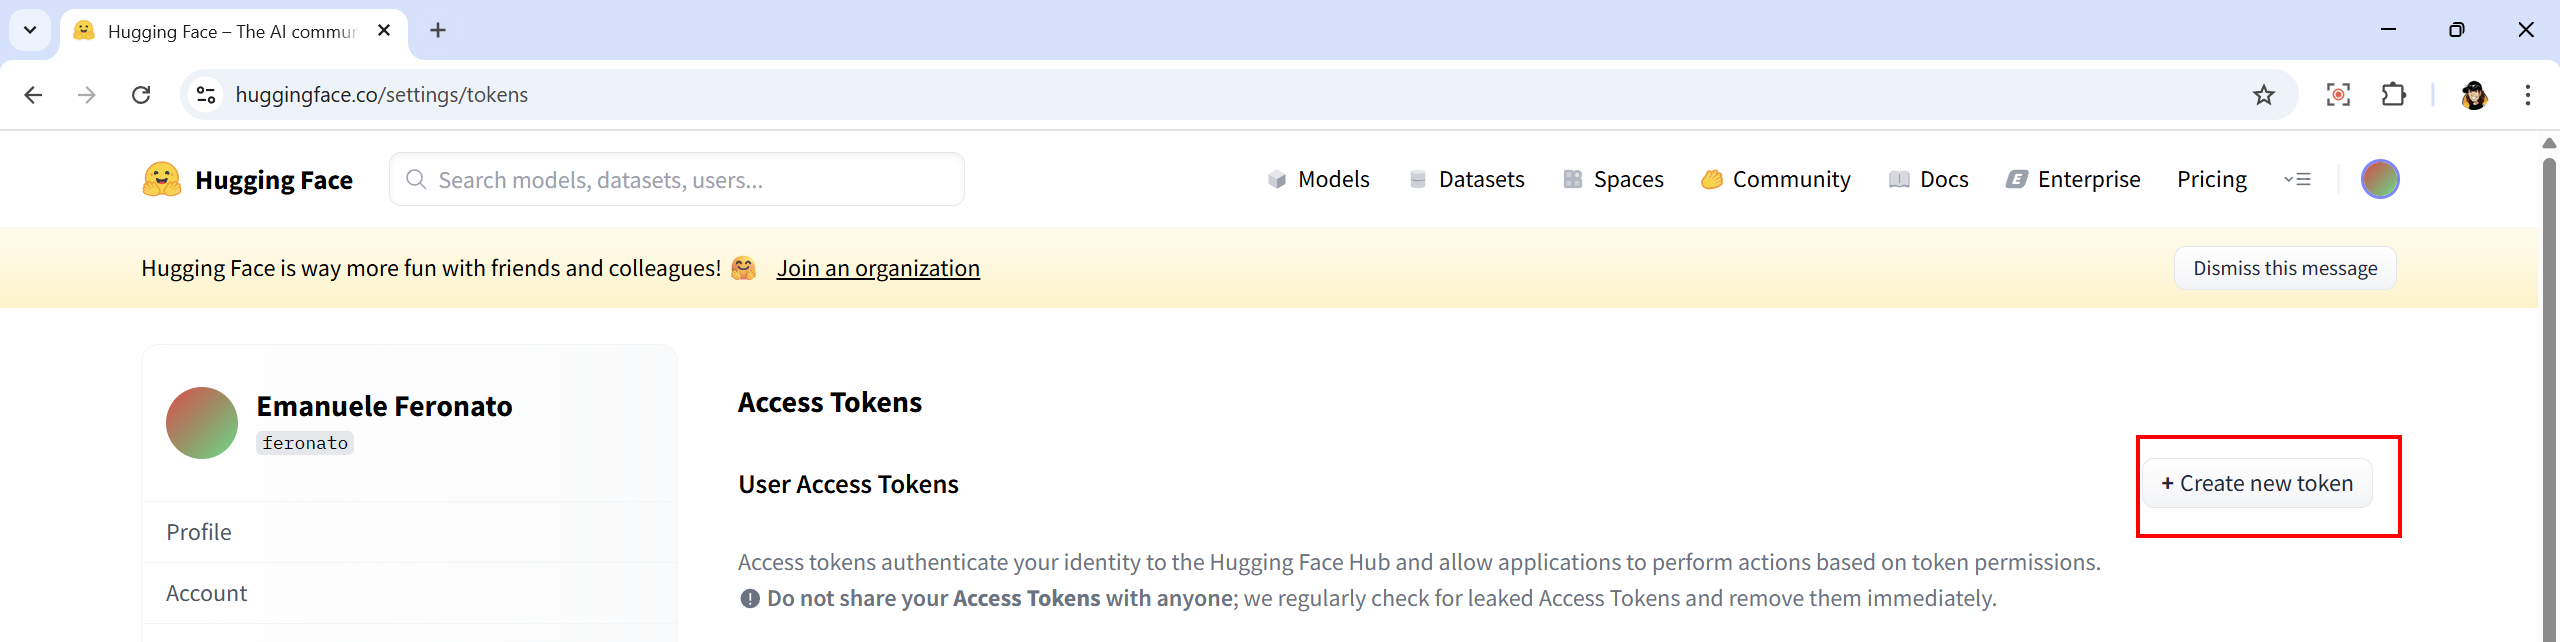
Remember to set token type to Read and do not share it with anyone.
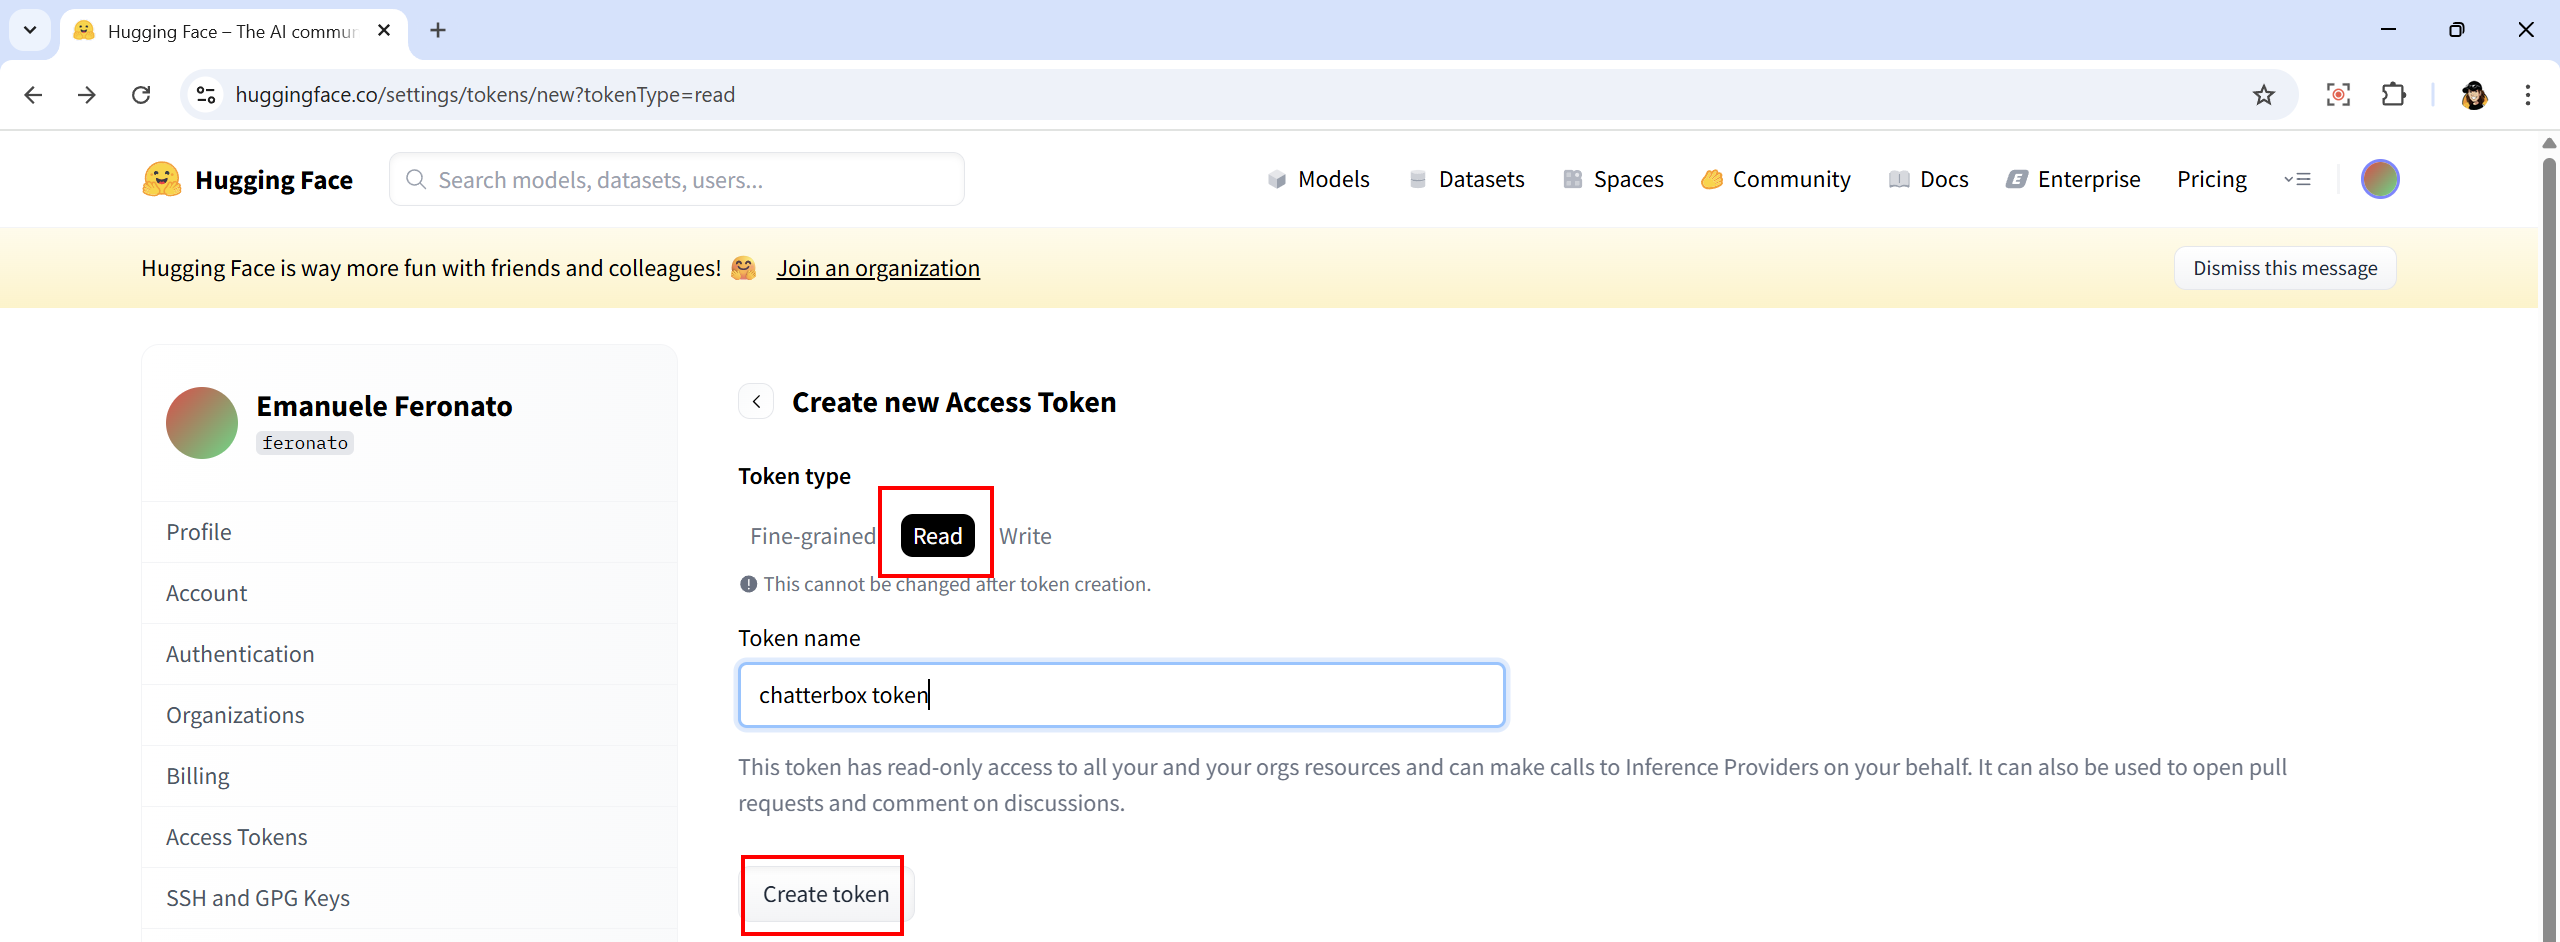
Once the token has been generated, copy it because you will be able to see it only once and enter:
$env:HF_TOKEN=”hf_your_token_here”
This affects only the current PowerShell.

Install audio writer with
pip install soundfile

Now create or modify example_tts_turbo.py with the following content:
from chatterbox.tts_turbo import ChatterboxTurboTTS
import torch
import soundfile as sf
import numpy as np

# ------------------------------------------------------
# configuration
# ------------------------------------------------------

device = "cuda" if torch.cuda.is_available() else "cpu"

text = """
Hello.
This is Chatterbox Turbo running locally on my computer.
"""

output_file = "output.wav"
sample_rate = 24000  # native Chatterbox speech rate

# ------------------------------------------------------
# load model (HF_TOKEN is read from environment)
# ------------------------------------------------------

model = ChatterboxTurboTTS.from_pretrained(device=device)

# ------------------------------------------------------
# generate audio
# ------------------------------------------------------

audio_tensor = model.generate(text)

audio_np = audio_tensor.detach().cpu().numpy()
audio_np = np.squeeze(audio_np).astype(np.float32)

# ------------------------------------------------------
# save wav
# ------------------------------------------------------

sf.write(output_file, audio_np, sample_rate)
print(f"Audio generated: {output_file}")
Then run it with
python example_tts_turbo.py
First run may be a little slow because it downloads model files and caches them locally. Finally you should get a file called output.wav, the Text-to-Speech result.
But in some cases you may get an error.
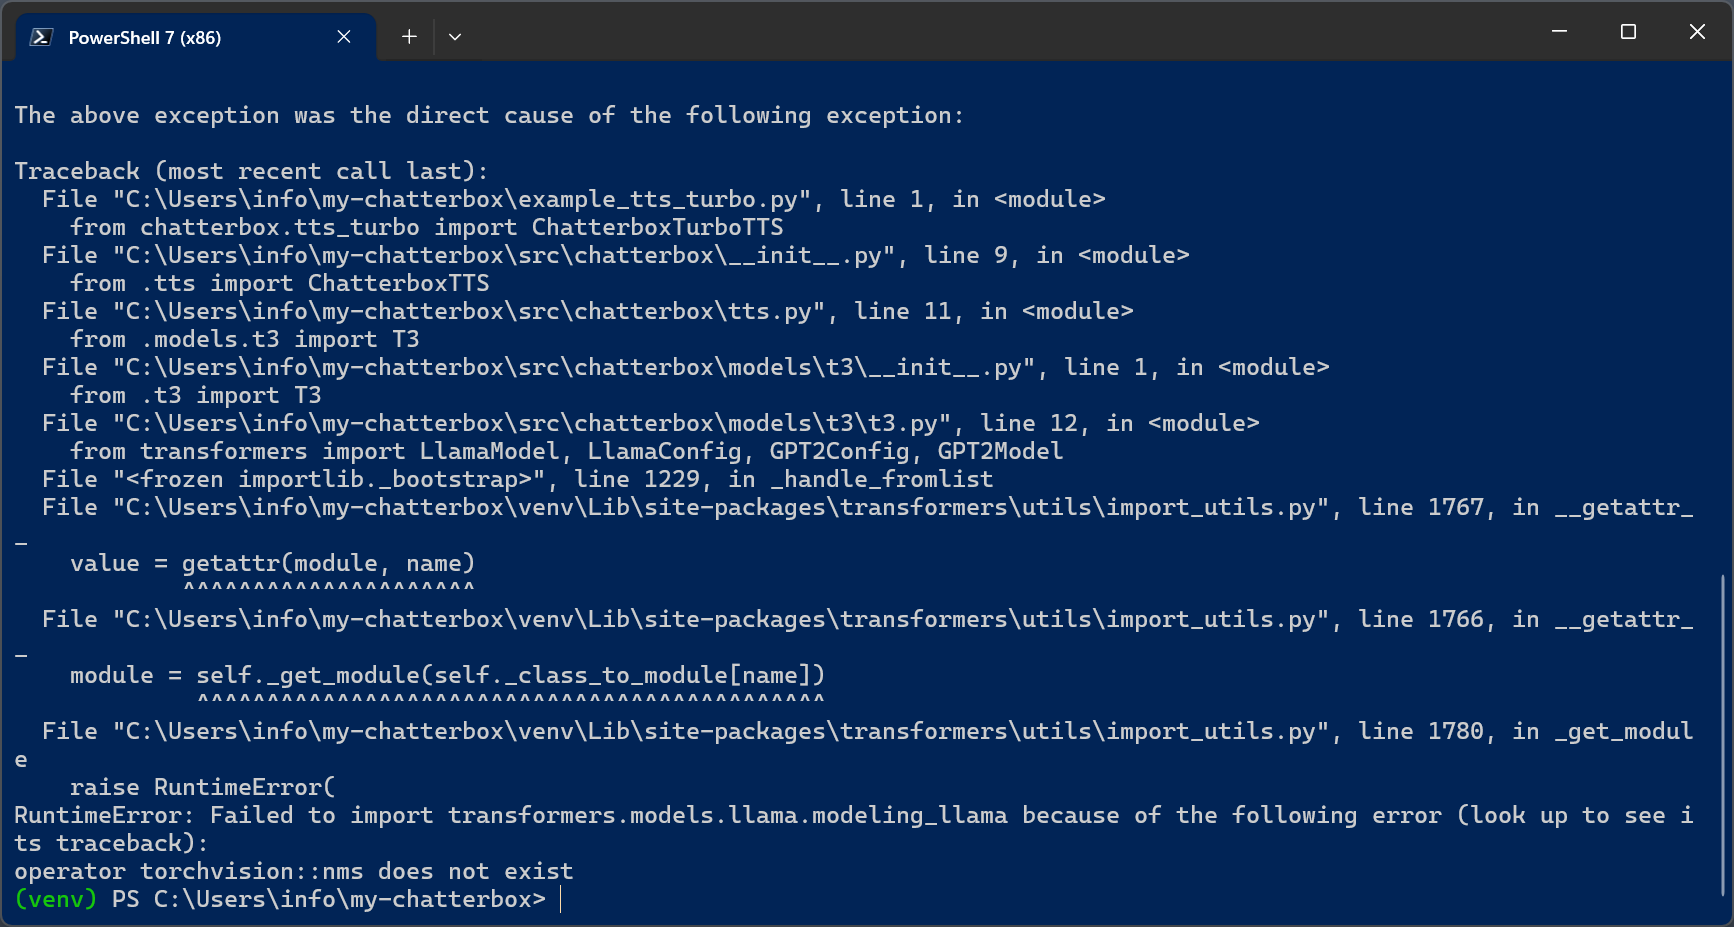
This happens during imports inside Transformers and is not a Chatterbox bug.
Torchvision contains compiled C++ operators. If torch and torchvision are not built for the same version, operators like nms are missing This commonly happens on Windows after multiple installs or partial upgrades.
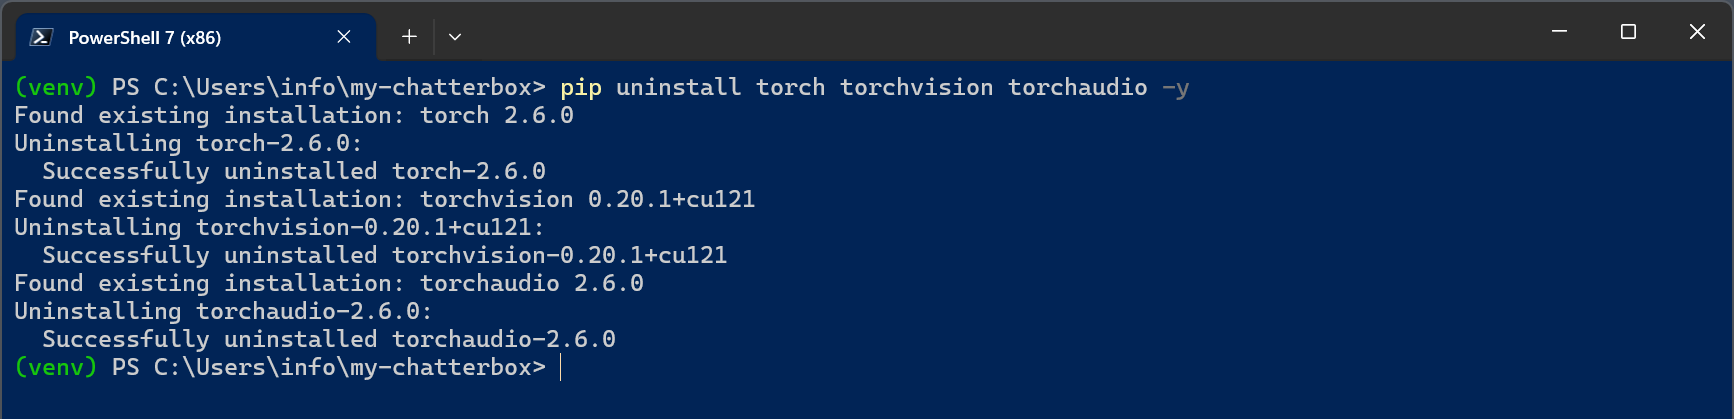
In this case you must fully realign PyTorch and TorchVision by uninstalling everything with
pip uninstall torch torchvision torchaudio -y
Then reinstall everything in one locked command
pip install torch==2.5.1+cu121 torchvision==0.20.1+cu121 torchaudio==2.5.1+cu121 –index-url https://download.pytorch.org/whl/cu121
Only after this should you rerun:
python example_tts_turbo.py
And this time it should work.
As usual you can ignore the warnings.
A note about sample rate: Chatterbox uses 24 kHz natively. This is standard for modern TTS and is not low quality for speech. Resample only if your downstream video pipeline requires 48 kHz.
At this point, you have a fully working local setup and, more importantly, a clear understanding of why each step matters. You’ve seen how to install the required tools, isolate dependencies with virtual environments, configure PyTorch correctly on Windows, and recover from one of the most common pitfalls in modern ML stacks.
With this foundation in place, you can now use Chatterbox Turbo with confidence: experiment with voice generation, move on to voice cloning, build a simple GUI, or integrate the TTS pipeline into your own tools and workflows.
Most importantly, you now have a reproducible setup that you can reinstall or adapt in the future without guesswork or trial-and-error.
Never miss an update! Subscribe, and I will bother you by email only when a new game or full source code comes out.