Working with Phaser, TypeScript and webpack – step 1
Talking about HTML5, Javascript, Phaser and TypeScript.
It is no mystery that one of the biggest difficulties in starting to build Phaser games is the need to install web servers, bundlers, packers, compilers and so on.
A lot of new developers ask me all the time why should they install all this stuff just to run web pages with some JavaScript in it.
There would be a lot of tech-based answers to give, but the best, shortest and simplest that comes to mind is: because the world is moving in this direction.
So, I’m not going to try to convince you to change your way of programming, but rather I’m going to show you that it’s really easy to take this little step.
So easy, that you will continue programming the way you are used to without even noticing the difference, after a little setup.
If you are completely new to concepts like Node.js, npm and Visual Studio Code, I suggest you to have a look at Phaser and the migration from JavaScript to TypeScript step 1, 2, 3 and 4.
In these examples I am using Parcel rather then webpack, but reading the posts will give you the information required to install Node.js and npm.
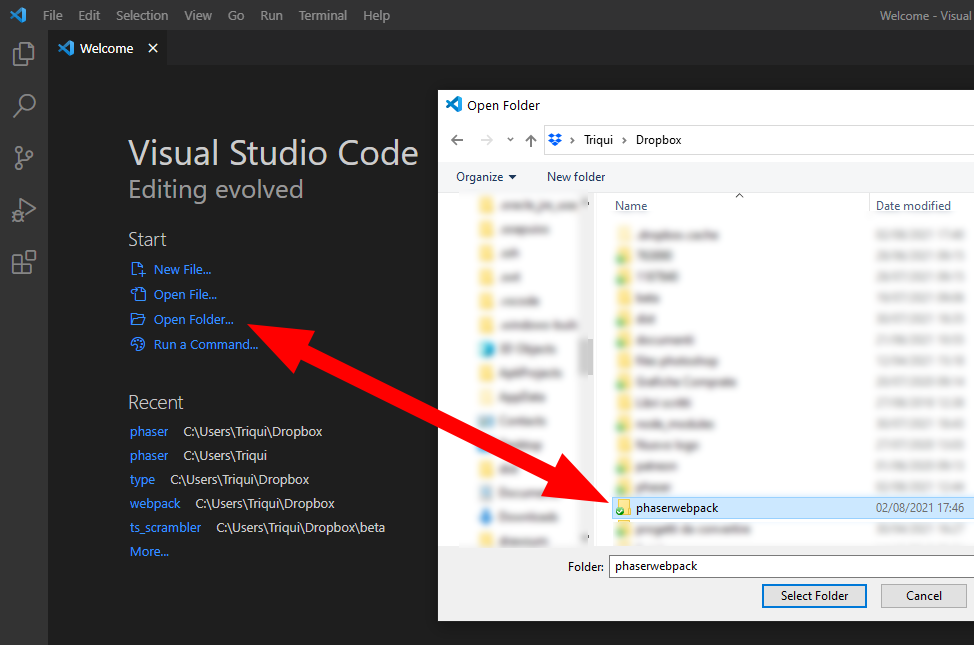
Create a new empty folder, in my example i called it phaserwebpack, launch Visual Studio Code, click “Open Folder” then select the folder you just created:

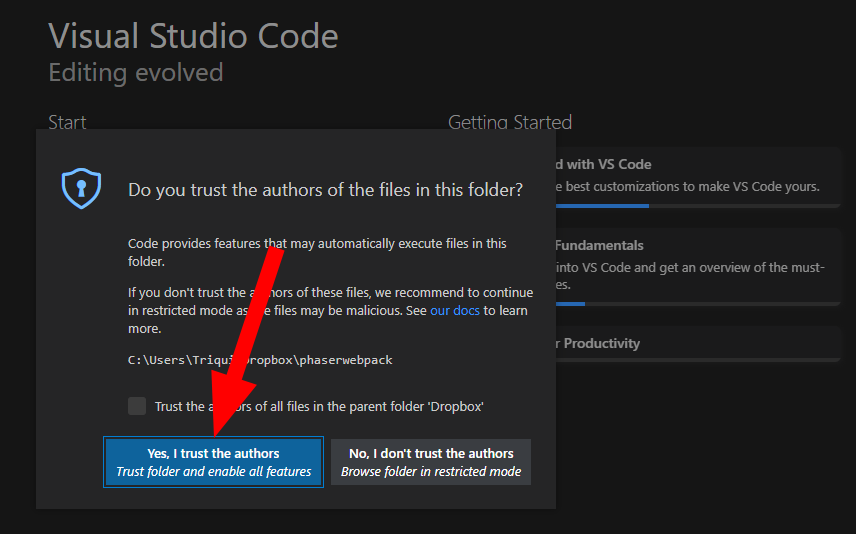
If you are asked to trust the authors, do it. All in all, it’s you!

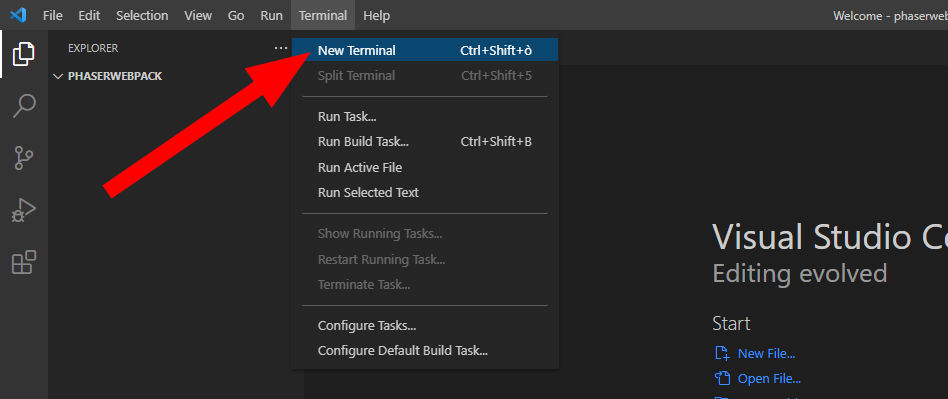
Open a new Terminal window. We are going to use it quite a lot

Let’s start with the creation of a new project with:
npm init -y
This will create a package.json file whose automatic generated content is ok at the moment.
Then, let’s install the latest Phaser version:
npm install --save phaser
Great! You will notice some lines have been added to package.json file.
Finally it’s time to install webpack:
npm install --save-dev webpack
We also need to install an extension to make webpack run from command line interface:
npm install --save-dev webpack-cli
Now, we have to install two plugins to copy files and clear folders. We’ll need them when it’s time to build distribution bundles:
npm install --save-dev copy-webpack-plugin
and
npm install --save-dev clean-webpack-plugin
Last but not least, we need a web server to test our scripts, so let’s install it:
npm install --save-dev webpack-dev-server
Now your package.json file should look like this one:
{
  "name": "phaserwebpack",
  "version": "1.0.0",
  "description": "",
  "main": "index.js",
  "scripts": {
    "test": "echo \"Error: no test specified\" && exit 1"
  },
  "keywords": [],
  "author": "",
  "license": "ISC",
  "dependencies": {
    "phaser": "^3.55.2"
  },
  "devDependencies": {
    "clean-webpack-plugin": "^4.0.0-alpha.0",
    "copy-webpack-plugin": "^9.0.1",
    "webpack": "^5.48.0",
    "webpack-cli": "^4.7.2",
    "webpack-dev-server": "^3.11.2"
  }
}
You probably noticed all stuff you installed using --save-dev, like Phaser, us under “dependencies”, while the stuff installed using --save is under “devDependencies”.
What’s the difference? Under “dependencies” we find the libraries which needs to be included in the final distributable bundle. In this case, a Phaser game obviously requires Phaser.
Under “devDependencies” we find the libraries we use during development, like the web server, webpack and its plugins, but which we don’t need once we need to publish the final bundle.
What to do with webpack? We need to create two configuration files, one for development and one for distribution.
I called my development configuration file webpack.development.js:
const path = require('path');

module.exports = {
    entry: {

        // this is our entry point, the main JavaScript file
        app: './src/main.js',
    },
    output: {

        // this is our output file, the one which bundles all libraries
        filename: 'main.js',

        // and this is the path of the output bundle, "dist" folder
        path: path.resolve(__dirname, 'dist'),
    },

    // we are in development mode
    mode: 'development',

    // we need a source map
    devtool: 'inline-source-map',

    // development server root is "src" folder
    devServer: {
        contentBase: './src'
    }
};
Ok, now we have a development configuration, so let’s start developing something.
This simple official example is good to build with webpack, as it also features an image.
At line 7 of webpack.development.js we decided the entry point is ./src/main.js, so let’s create a src folder with these files:
index.html, the classic HTML page which can host a Phaser game:
<!DOCTYPE html>
<html>
    <head>
        <script src="main.js"></script>
    </head>
<body>
    <div id="thegame"></div>
</body>
</html>
Look at line 4 how we include main.js which is the entry point, and at line 7 with the thegame element where we want our Phaser game to run in.
Now, let’s write main.js:
import 'phaser';

class PlayGame extends Phaser.Scene {
    constructor() {
        super("PlayGame");
    }
    preload() {
        this.load.image('logo', 'assets/phaser3-logo.png');
    }
    create() {
        this.image = this.add.image(400, 300, 'logo');
    }
    update() {
        this.image.rotation += 0.01;
    }
}

let config = {
    width: 800,
    height: 600,
    parent: 'thegame',
    scene: PlayGame
};

new Phaser.Game(config);
There isn’t that much to say here, it’s just the official example rewritten.
And obviously we need to add the phaser3-logo.png image to assets folder.
Now, let’s change a bit package.json by removing the test script and adding our own:
{
    "name": "phaserwebpack",
    "version": "1.0.0",
    "description": "",
    "main": "index.js",
    "scripts": {
        "development": "webpack serve --open --config webpack.development.js"
    },
    "keywords": [],
    "author": "",
    "license": "ISC",
    "dependencies": {
        "phaser": "^3.55.2"
    },
    "devDependencies": {
        "clean-webpack-plugin": "^4.0.0-alpha.0",
        "copy-webpack-plugin": "^9.0.1",
        "webpack": "^5.48.0",
        "webpack-cli": "^4.7.2",
        "webpack-dev-server": "^3.11.2"
    }
}
And now in the console just write:
npm run development
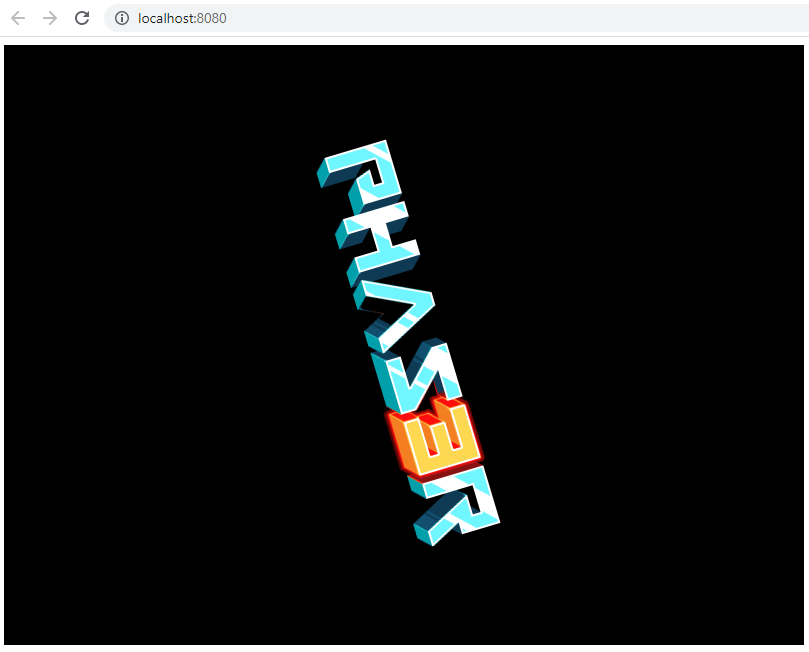
A new browser window should open, with the Phaser example running in it:

If you change something in your main.js file, such as the rotation speed, and save, the webpage will reload automatically and show the updated result.
It was easy, wasn’t it? During next step, out this week, we’ll see how to bundle and distribute your games, and finally in the third step how to work with TypeScript.
Never miss an update! Subscribe, and I will bother you by email only when a new game or full source code comes out.

