

Totem Destroyer prototype made with Dreemchest
Talking about Totem Destroyer game, Box2D and Game development.
Do you remember Dreemchest? It’s an amazing 2D development engine packed with features I blogged about some time ago.
Meanwhile Dreemchest evolved and got a bunch of new features, and now the first Dreemchest-powered game, Match them All, has been released on the App Store.
Do you want to have a brief overview of Dreemchest capabilities? Let’s see how to crate a Totem Destroyer prototype in just a few steps. The aim of the tutorial is to create some physics crates destroyable with a mouse click, using the WYSIWYG editor.
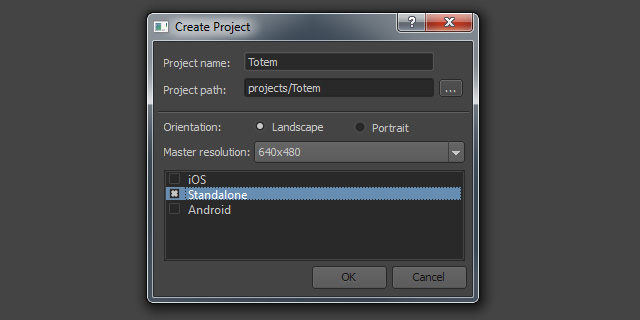
First, we want to create a standalone project, which is an executable file to be run on the computer. Let’s enter the resolution and the project name.
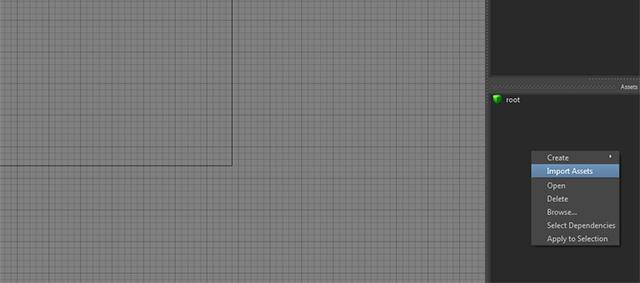
We need some graphics, so in the Assets panel let’s start to import assets.
A large brown bar will be our ground, so we are placing it at the very bottom of the stage.

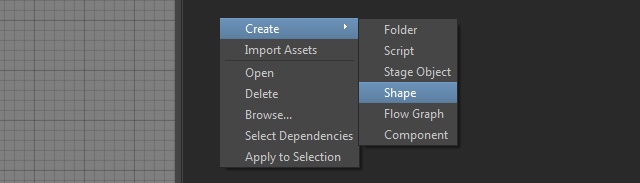
It’s just a PNG image at the moment, so we need to create a physics body which will represent it. In the Assets panel let’s create a shape.
Which kind of shape are we going to create? A rectangle
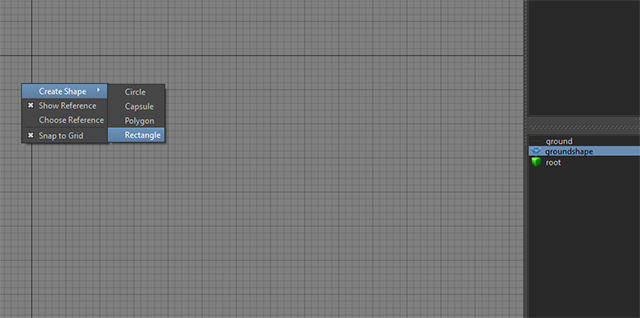
We assign the newly created shape the same size of the PNG ground

Now that the ground physics body has been created, drag and drop it onto the PNG image to bind physics body to the image.
And we are done with the terrain. The creation of the blocks will require just a little bit of scripting because of the mouse listener.

Create a new script
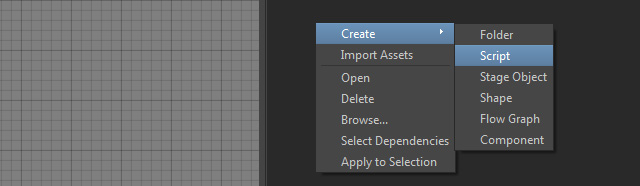
Which will contain this lua code:
-- Declare new class called 'Create' and subclass it from 'Graphics'
class "Crate"( Graphics )

-- Class constructor
function Crate:Crate()
	-- Set the crate texture, 'bmpCrate' identifier is attached to
	-- 'box.png' image on an 'Assets' pannel
	--
	-- Select the box.png image and you'll see that 'Class' is equal to 'bmpCrate'
	-- on the 'Properties' pannel
	self.texture = 'bmpCrate'

	-- Same thing with a 'crateshape' asset
	self:physicalize( { shape = 'shCrate', static = false } )

	-- Now attach a listener
	self:attachListener( TapEvent.Up, self, 'onTapUp' )
end

function Crate:onTapUp( e )
	self:release()
end

-- Now you can place this script on the stage by drag-and-drop like an image
-- This will automatically call a constructor and the placed object will have a
-- physical body, image and will be clickable
It’s now easy to load the new crate asset and assign it the bmpCrate class and the physics shape with shCrate class.

At this time, just drag and drop the class on the stage and you will create physics driven boxes which will disappear on mouse click.

This is how your main project will look when you’re done:
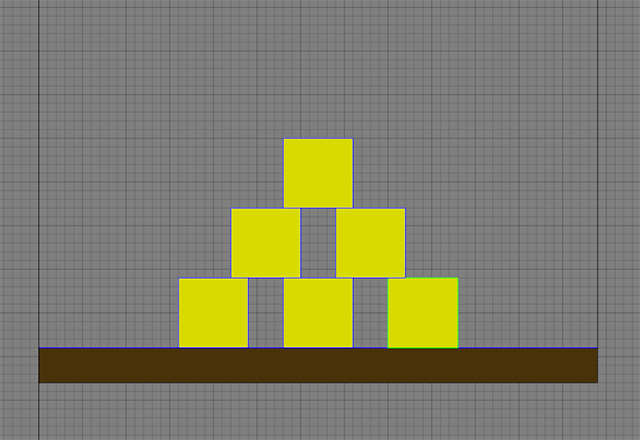
As you can see, with Dreemchest you can easily create games with basic scripting and a WYSIWYG editor. Download the project source code or the final Windows exacutable.
Never miss an update! Subscribe, and I will bother you by email only when a new game or full source code comes out.