

Basic webpack guide to bundle all your JavaScript files in one, useful to publish HTML5 games
Talking about Game development, HTML5, Javascript and Phaser.
The idea behind this basic guide came for two reasons:
1 – There isn’t a basic webpack guide around the web. Actually. I mean it. Most – but I’d rather say “all” – recent tutorials you can find around the web do not cover the bare bones of webpack, so I think a “Hello World” is needed.
2 – Most HTML5 game publishers want your game to fit in one single JavaScript file, and while you should be able to build a game in a single file, what about frameworks like Phaser and other kind of dependencies?
If you look at a recent project like vvvvvv game with ray casting, its index page has this code:
<!DOCTYPE html>
<html>
	<head>
        <style type = "text/css">
            body{
                background: #000000;
                padding: 0px;
                margin: 0px;
            }
        </style>
        <script src = "phaser.min.js"></script>
		<script src = "visibility_polygon_dev.js"></script>
        <script src = "game.js"></script>
    </head>
	<body>
        <div id = "thegame"></div>
	</body>
</html>
As you can see, while the game is scripted entirely inside game.js, we also have to include both Phaser and the library to calculate the visibility polygon.
As a result, we have three JavaScript files. At this time, we can manually bundle all JavaScript into one single file, but we run into two “what if”:
1 – What if we need to update, let’s say, Phaser? We should download the new file, then copy and paste its source code inside the big JavaScript file we previously created. Not the best idea if we have to update a dozen games.
2 – What if our game relies on several third party libraries? We should manually copy and paste files one by one.
There should be a better way to handle this task.
And here it comes webpack: an open source JavaScript module bundler.
Let me show you how to take the advantages of webpack with the minimum effort possible.
First, you need to install Node.js on your machine. You should already have installed it, if you are publishing your HTML5 games to mobile stores, anyway in your Command Prompt, or Terminal, or any other CLI of your choice, write:
node -v
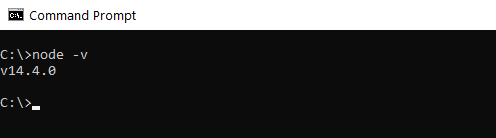
If you get an error, or you have a version older than the one available on the official download page, then install it.
Once you have Node.js working, install webpack with
npm install --global webpack
This will install webpack globally, and although it’s not recommended on the official installation page, you won’t have any problem if you rely on webpack only to bundle your JavaScript files.
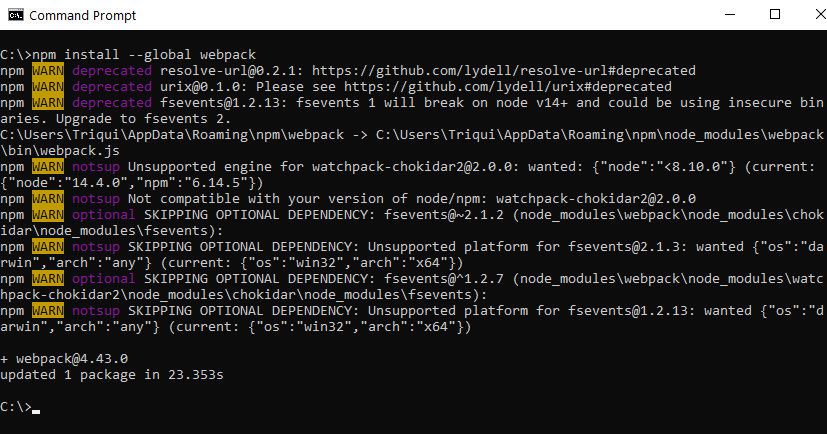
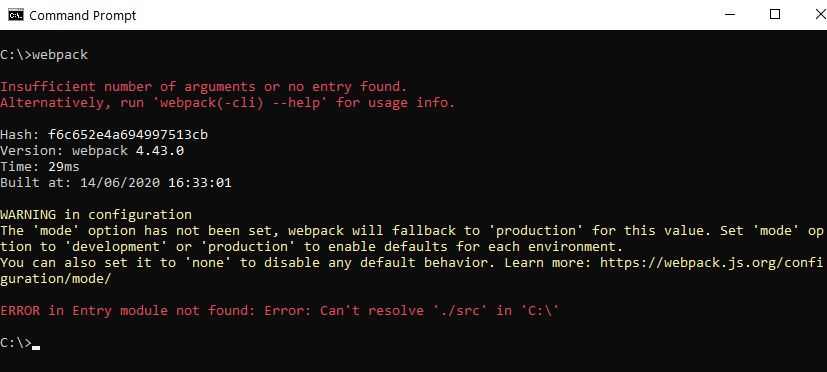
Ignore the output on the terminal, and just type
wepack
to ensure it’s installed. This time you’ll get a couple of errors, but it’s just to ensure everything is ready to run.
Once webpack is installed, it’s time to change index.html of our game, this way:
<!DOCTYPE html>
<html>
	<head>
        <style type = "text/css">
            body{
                background: #000000;
                padding: 0px;
                margin: 0px;
            }
        </style>
        <script src = "bundle.js"></script>
    </head>
	<body>
        <div id = "thegame"></div>
	</body>
</html>
Look: I removed all JavaScript inclusions, leaving only bundle.js.
This file does not exist at the moment, but we’ll create it in a matter of seconds: we just have to add a couple of lines to game.js:
import {VisibilityPolygon} from "./visibility_polygon_dev.js";
import "./phaser.min.js";

// rest of the game
We are specifying we are going to use both Phaser file and the script to handle visibility polygon. Why are we using two different ways to include them?
Because Phaser has been designed with inclusion in mind, while the visibility polygon library is just a set of functions, and we have to import its main function name to make it available in the scope of our Phaser game.
Now we have to create a new file, in our game folder, called webpack.config.js:
module.exports = {

    // production mode
    mode: "production",

    // input file
    entry: "./game.js",

    // output file
    output: {

        // file name
        filename: "bundle.js",

        // complete path
        path: __dirname
    }
}
This is the very basic configuration management of webpack. Basically we say we are using “production” mode, and specifying input and output files.
Look at the name of the output file: bundle.js.
Now just move inside your game folder, and enter
webpack
And magically bundle.js will be created.
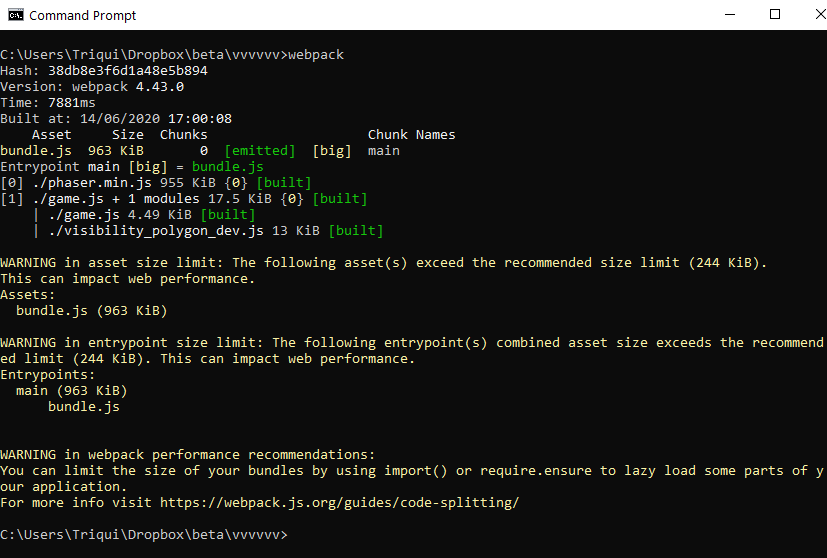
Now the game runs relying only on one single, bundled, JavaScript
Move left and right with LEFT and RIGHT arrow keys, switch gravity with SPACEBAR, but once you switch the gravity, you’ll have to wait for the character to land on the ground – or on the ceiling – to be able to switch gravity once more.
Now you can distribute your game with only one JavaScript file, while leavign unaltered your original files.
This is only the most basic feature of webpack, but at the moment it’s enough to start distributing your HTML5 games packed in one single file.
Download the source code of the entire project.
Never miss an update! Subscribe, and I will bother you by email only when a new game or full source code comes out.