Getting Started with Phaser 4: Vite + TypeScript Setup, using the official Create Game App
Phaser 4 is finally here, and the best way to explore it is by getting our hands dirty. In this post we’ll create a brand new project using the official Create Game App, powered by Vite and TypeScript, our main tools for a fast, modern development workflow.
Before we begin, make sure you have Node.js installed: it’s a JavaScript runtime that lets you run tools like npm to manage dependencies and scripts. You’ll also want Visual Studio Code, a lightweight but powerful code editor with great support for TypeScript, extensions, and debugging.
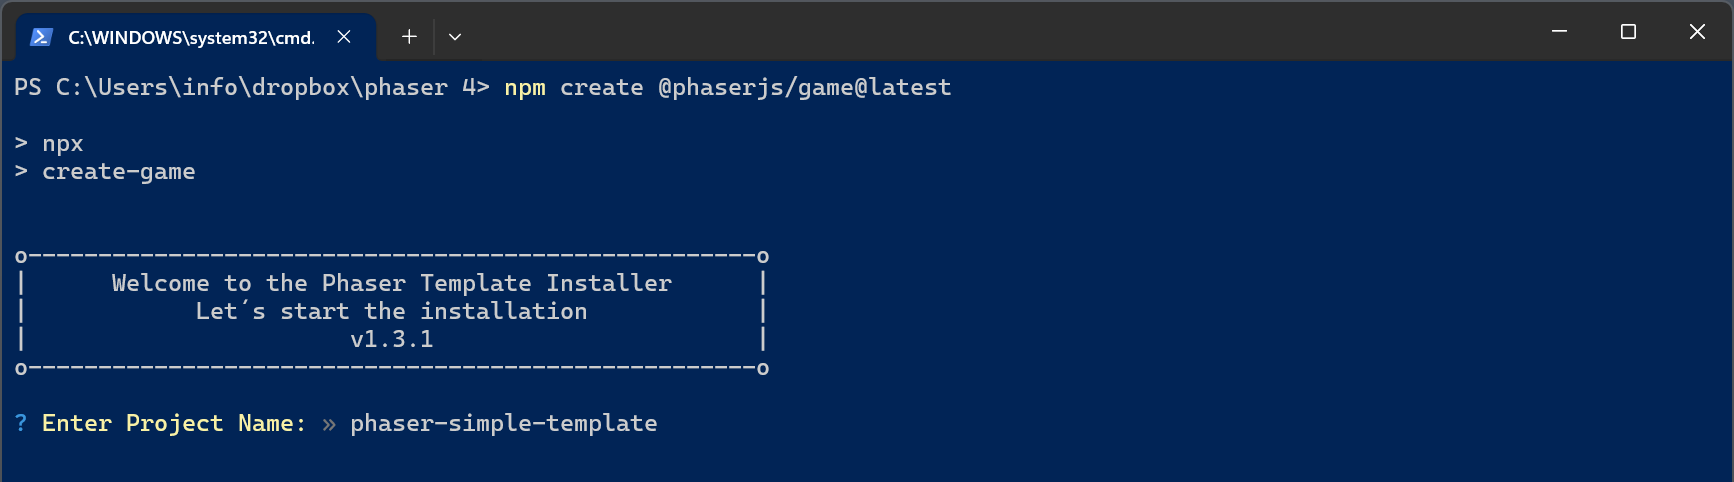
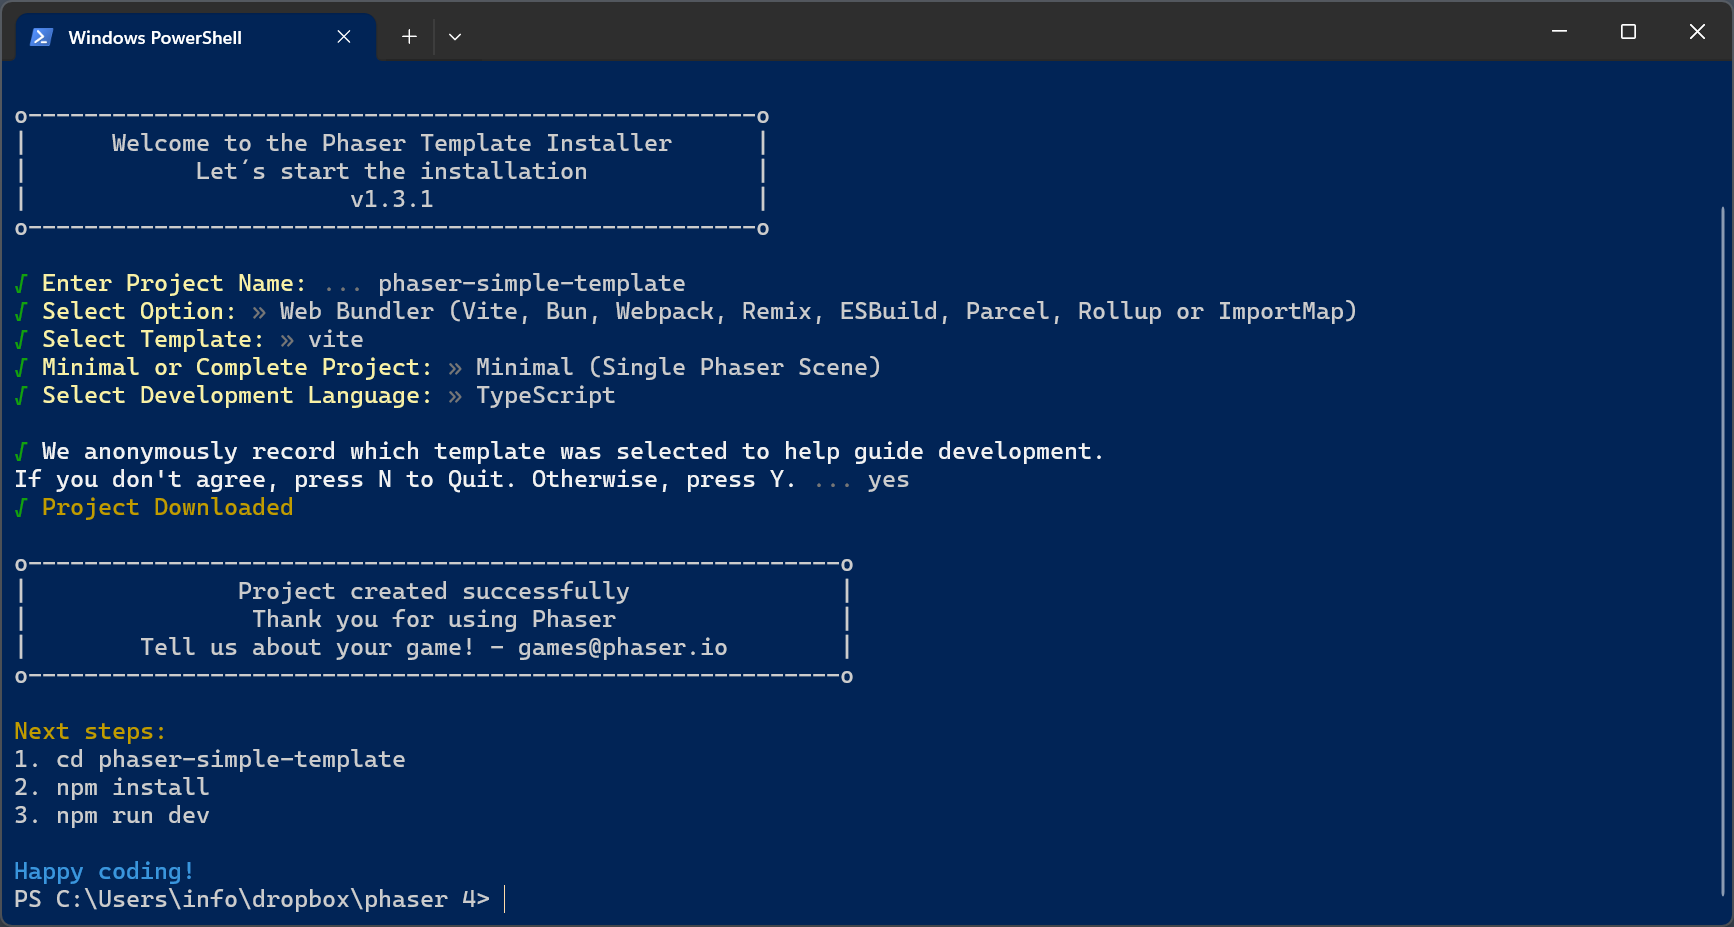
Once we are sure we have Node.js and npm installed, we can launch the Create Phaser Game app. Write in the CLI
npm create @phaserjs/game@latestYou will be asked for the project name. The script will create a folder of the same name, with all required files. I called it phaser-simple-template.
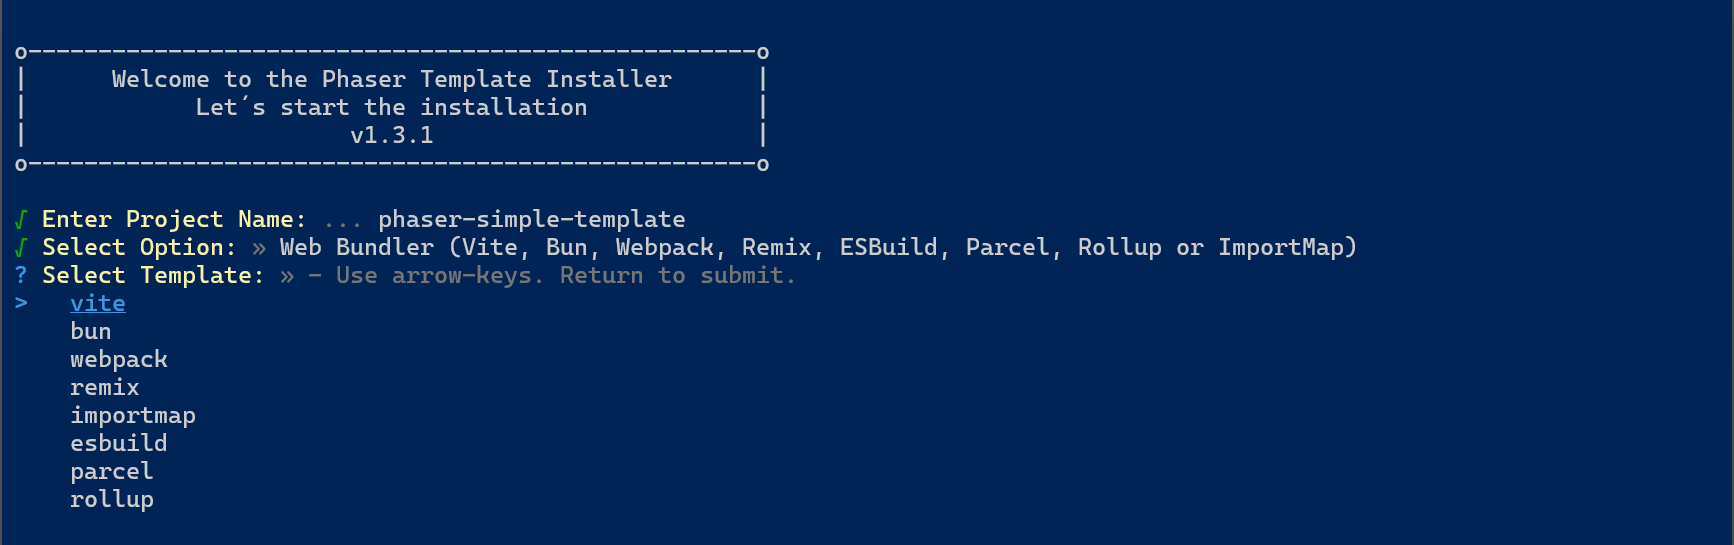
Select the Web Bundler option.

Then choose vite.
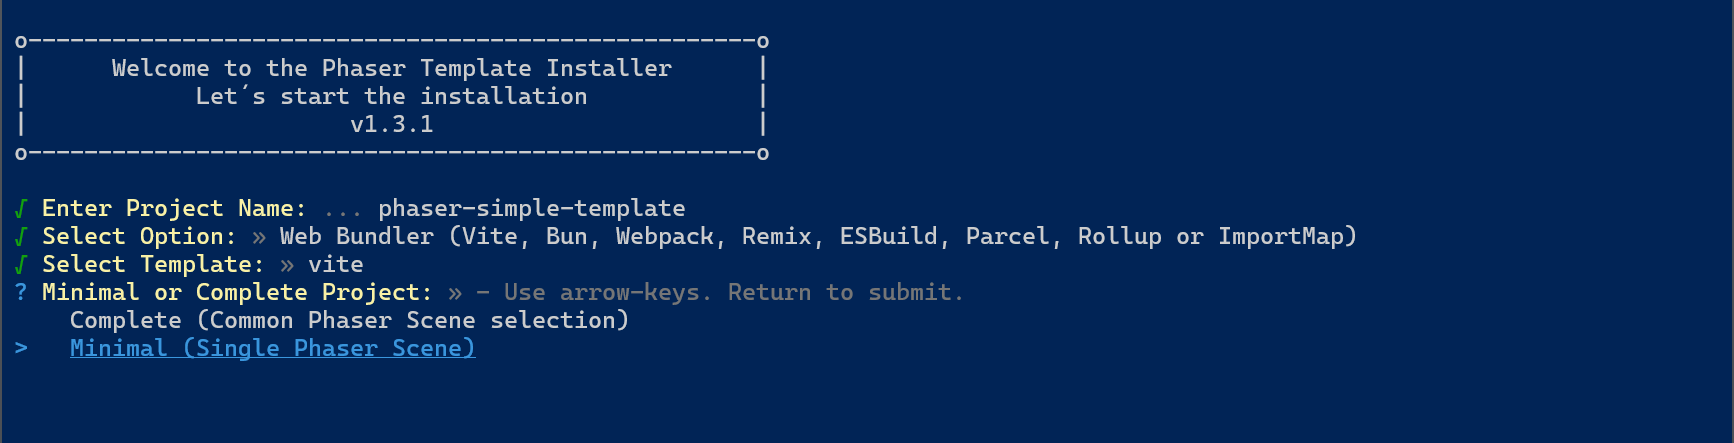
For your first project, select Minimal. Actually, you can use Minimal even for bigger projects, as the Complete only contains some more scenes you can build in a matter of minutes.
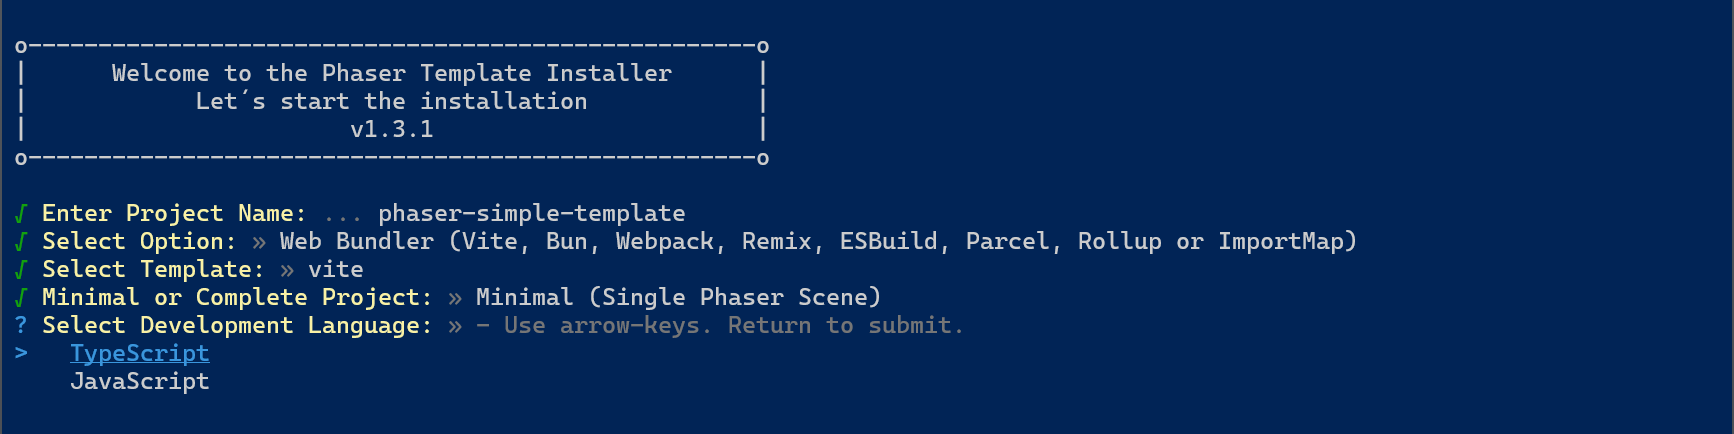
Finally, choose TypeScript.
The last question is a permission to record which template are you selecting, in order to know which is the most used by developers. It has no effect on the files that are generated.
At this time, the project is ready. Now launch Visual Studio Code and open the folder with the created project.
Once you are in the project folder, open a new terminal with Teminal > New Terminal.

Inside the terminal, write
npm install
Now your project is ready. You will see a lot of file and folders, let’s examine them in detail.
node_modules folder contains all the installed dependencies required by the project. It is automatically generated by npm and should not be manually edited or committed to version control.
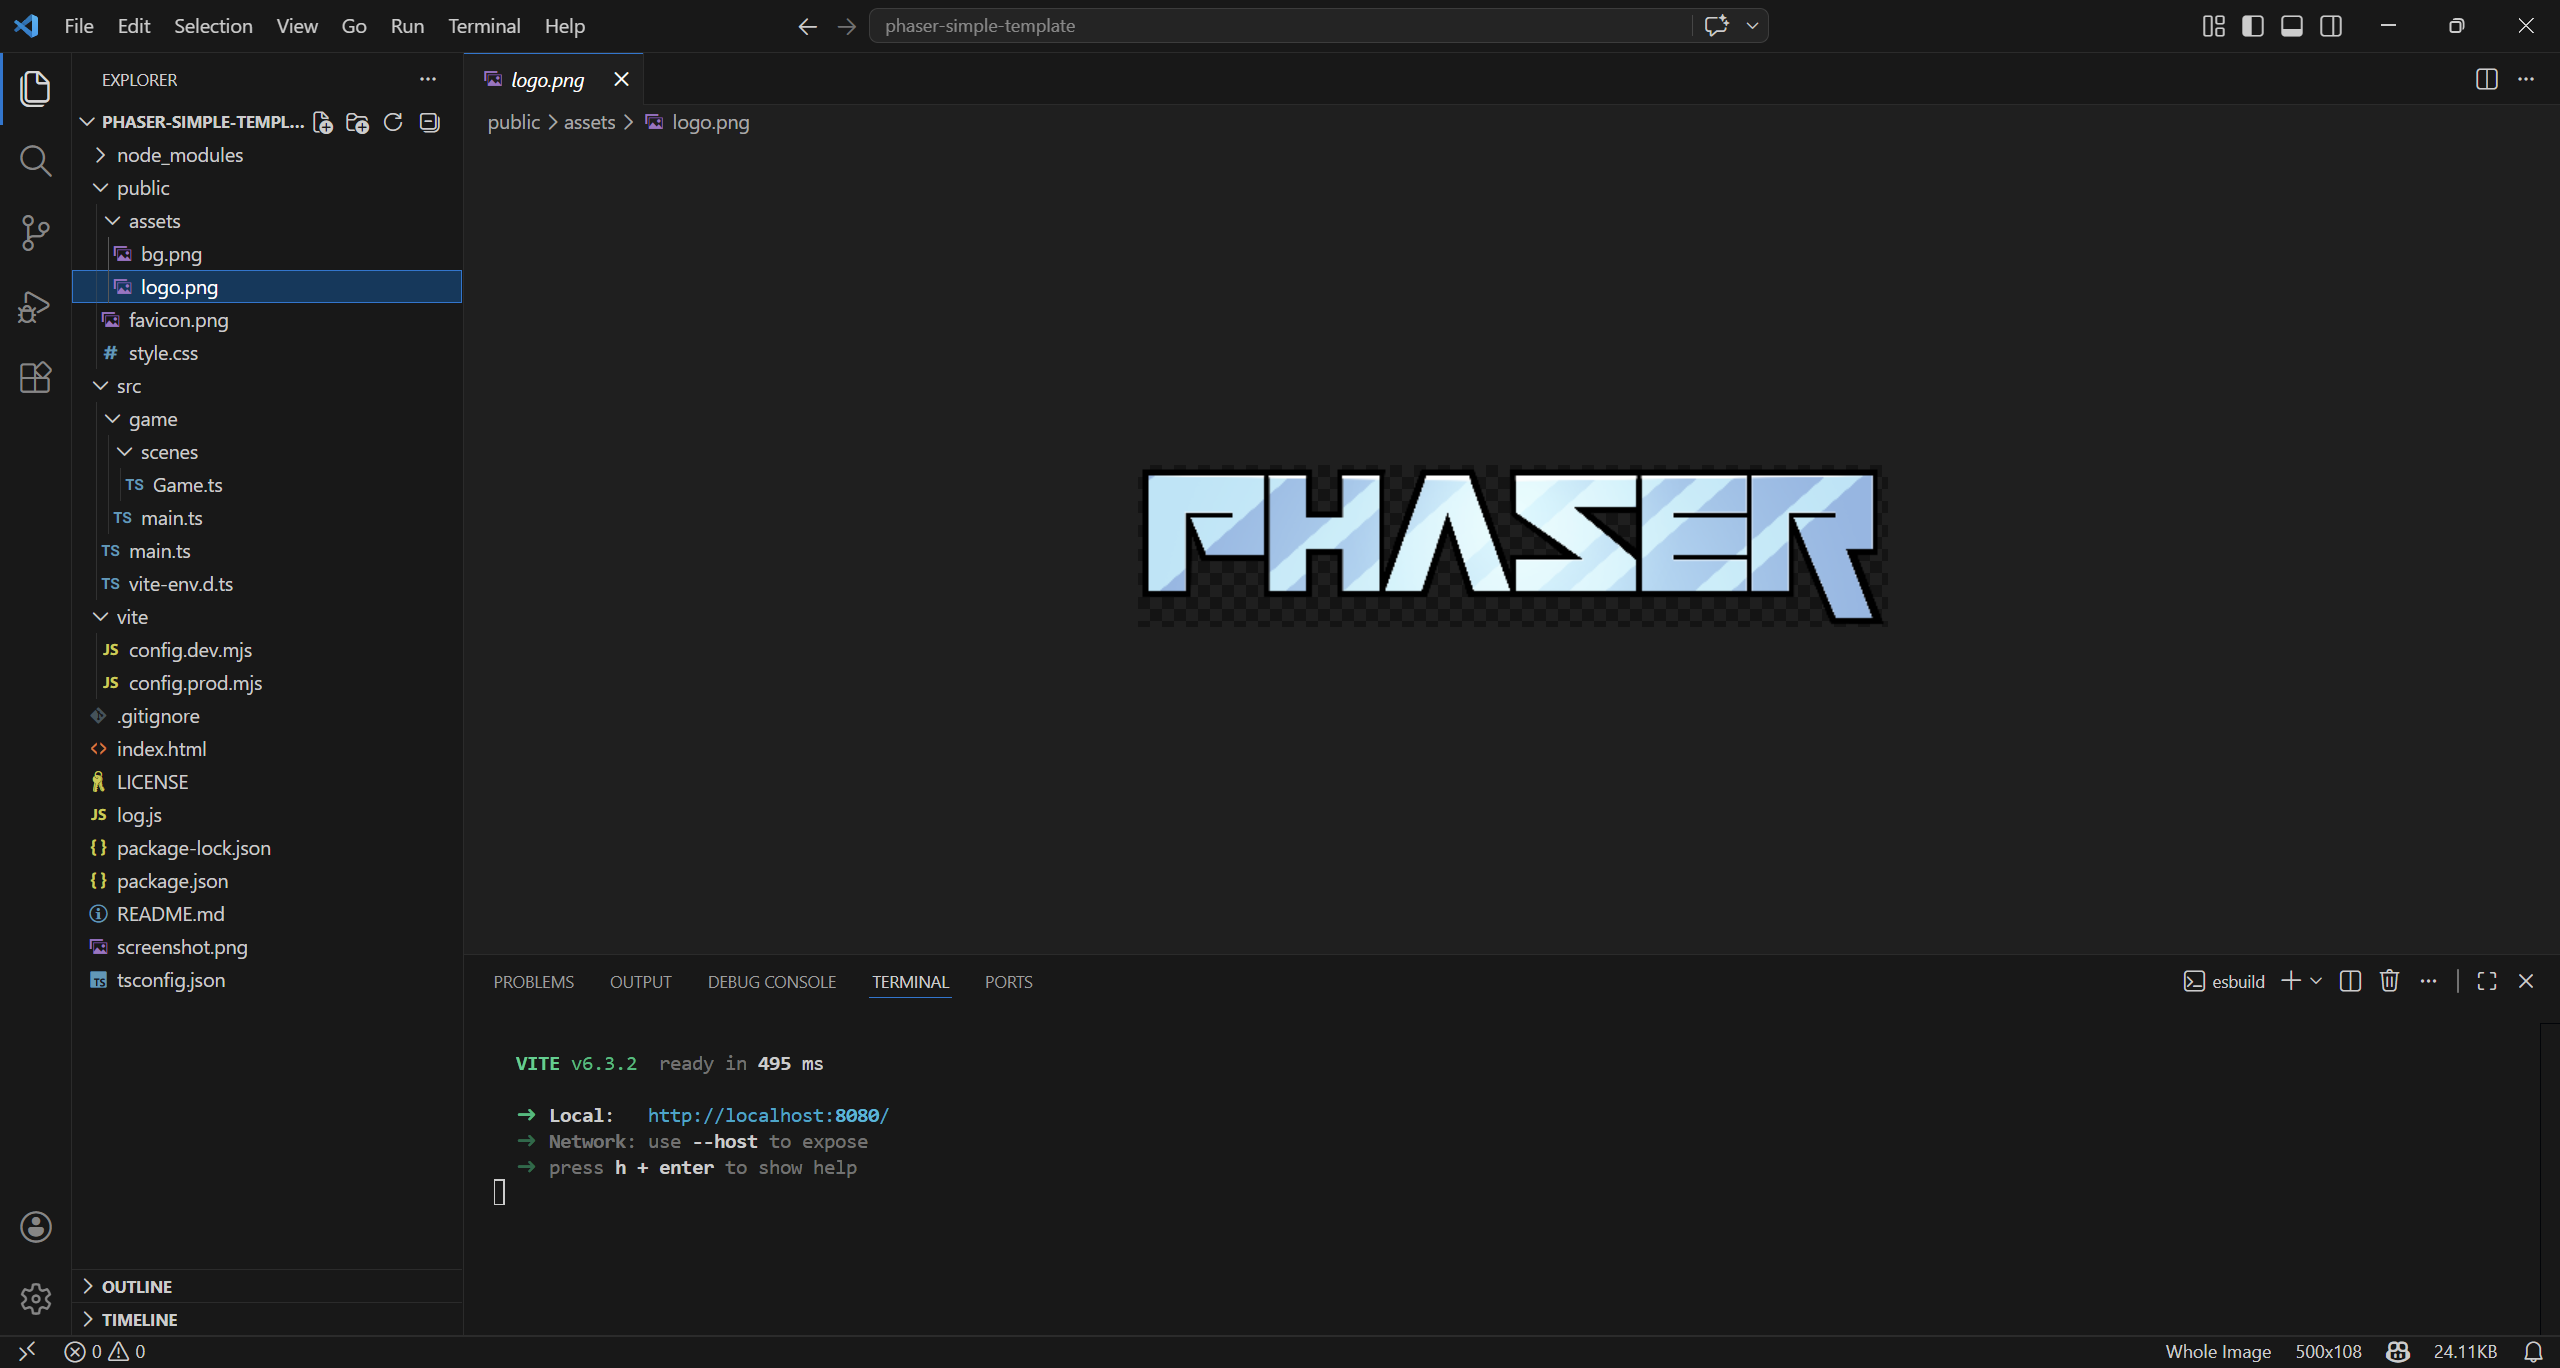
public/assets/bg.png is the background image used in the game.

public/assets/logo.png is the Phaser logo image used in the game.
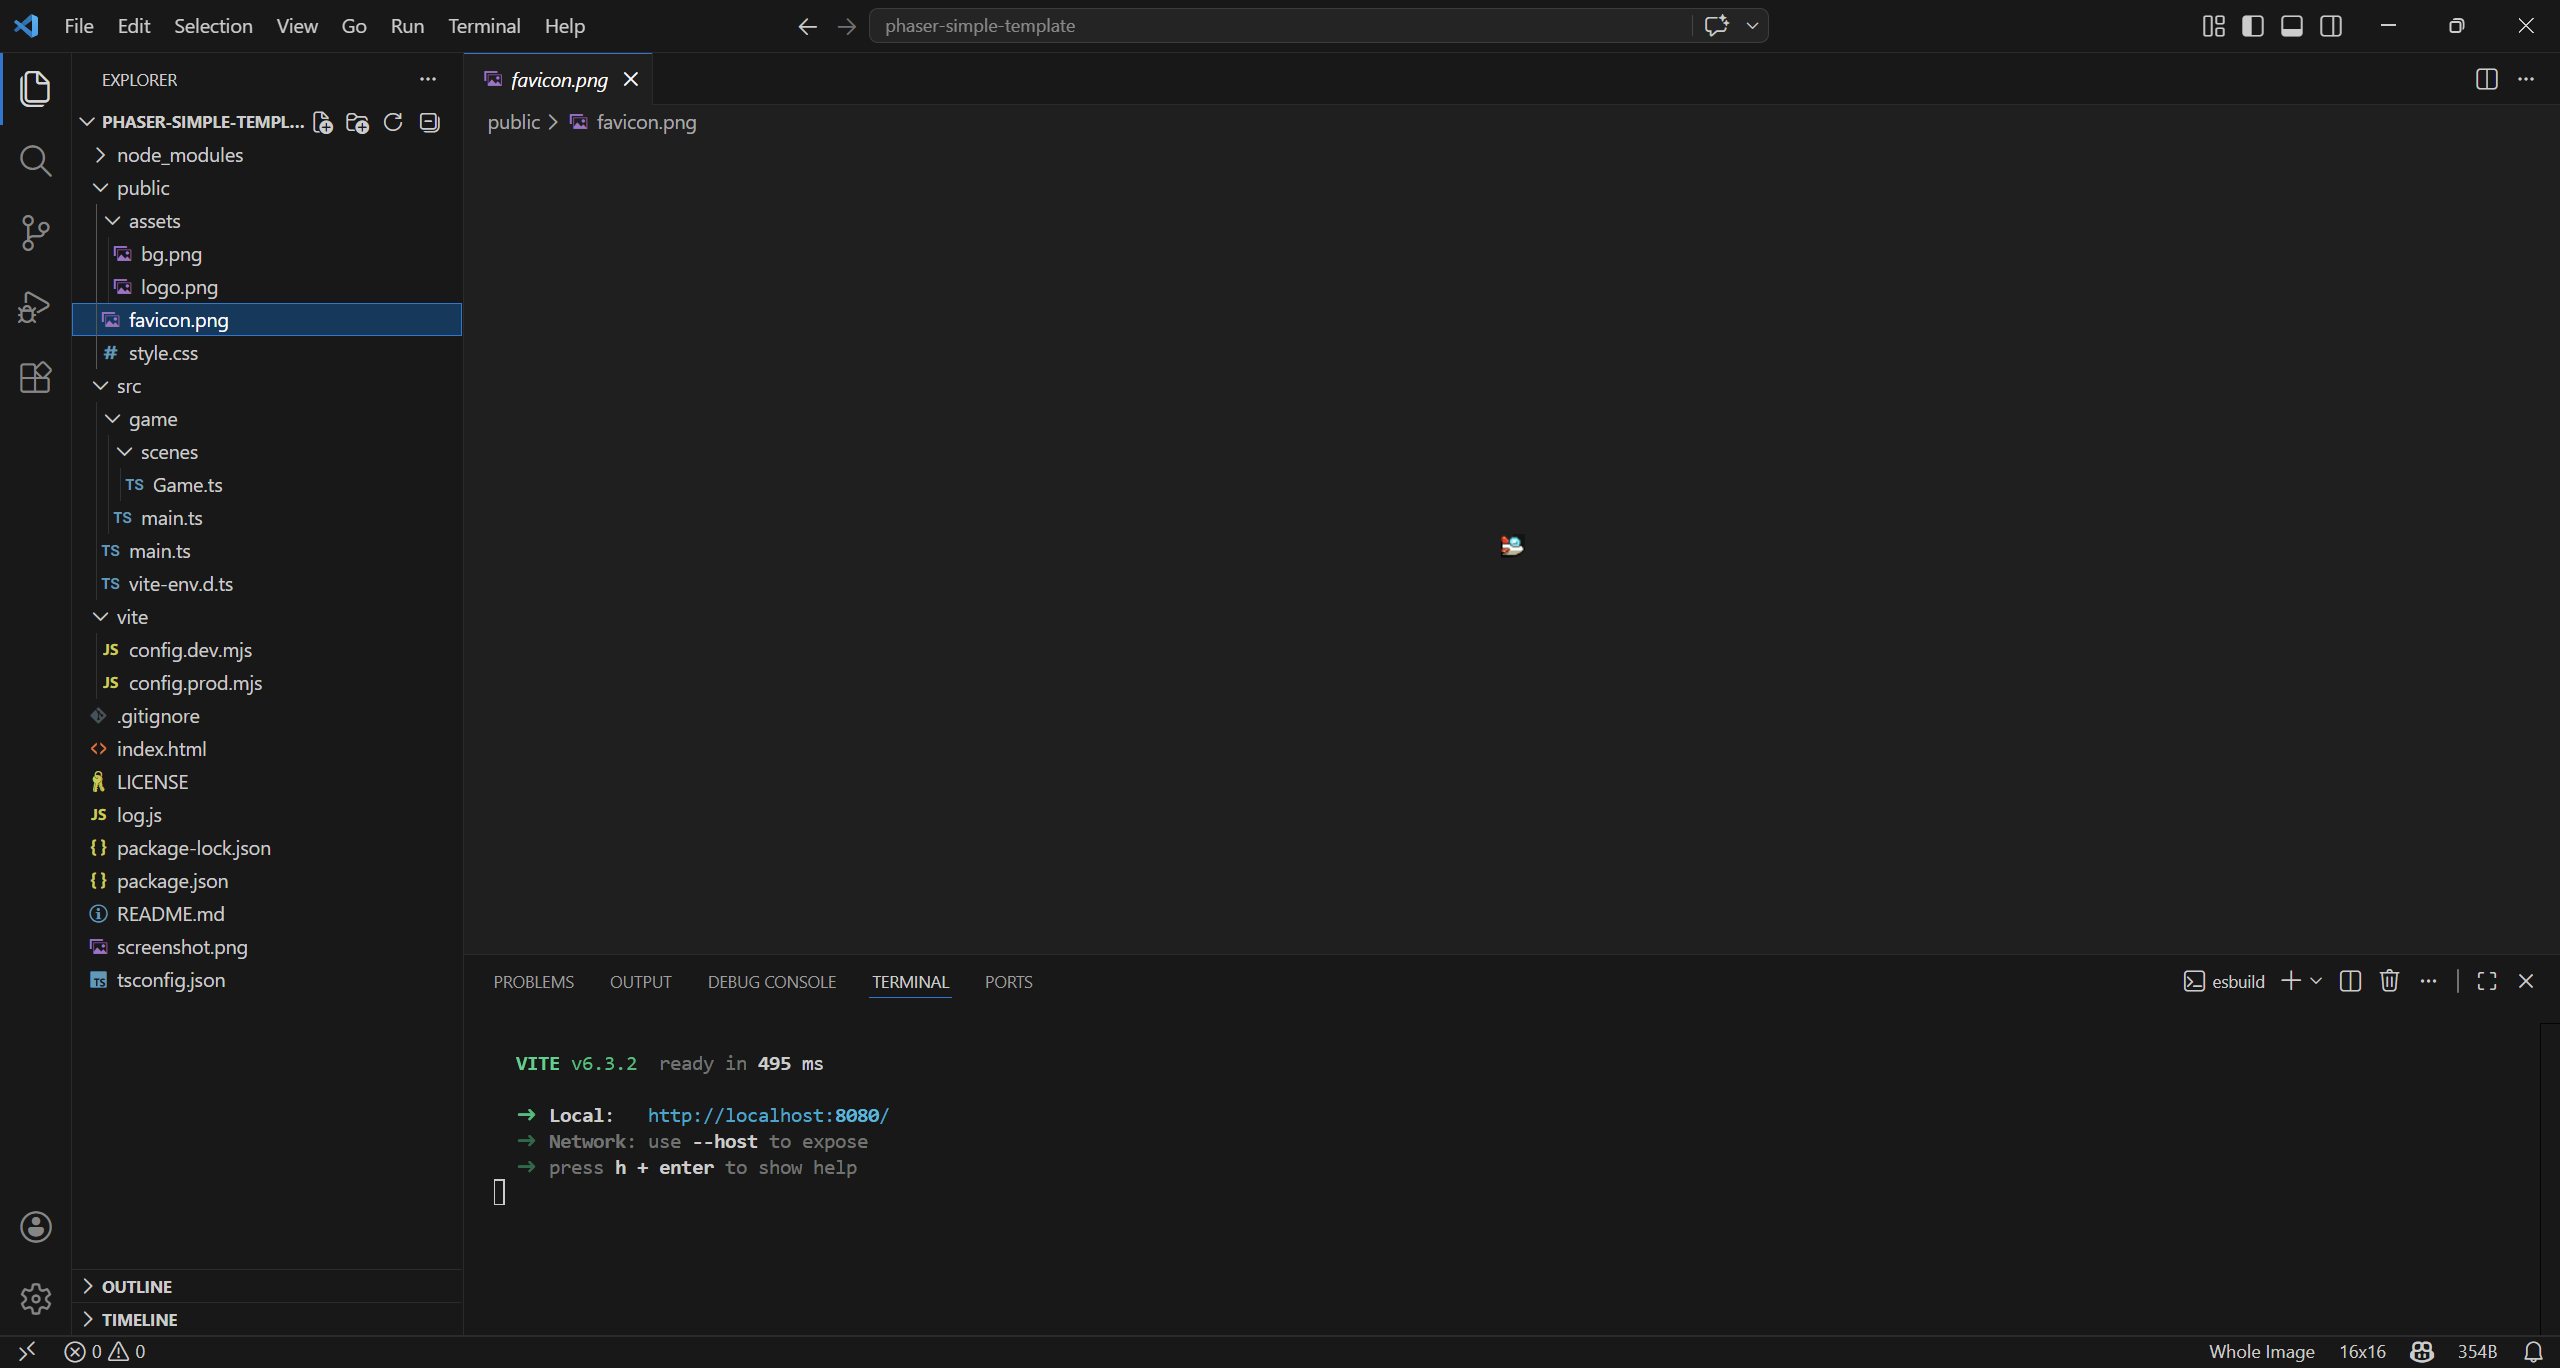
public/assets/favicon.png is the small icon shown in the browser tab next to the page title. It helps identify the website visually in tabs, bookmarks, and browser history.
public/style.css is the page stylesheet and contains the visual styling rules for a webpage (colors, layout, spacing, etc.). It controls how HTML elements are displayed in the browser, separate from the page’s logic.

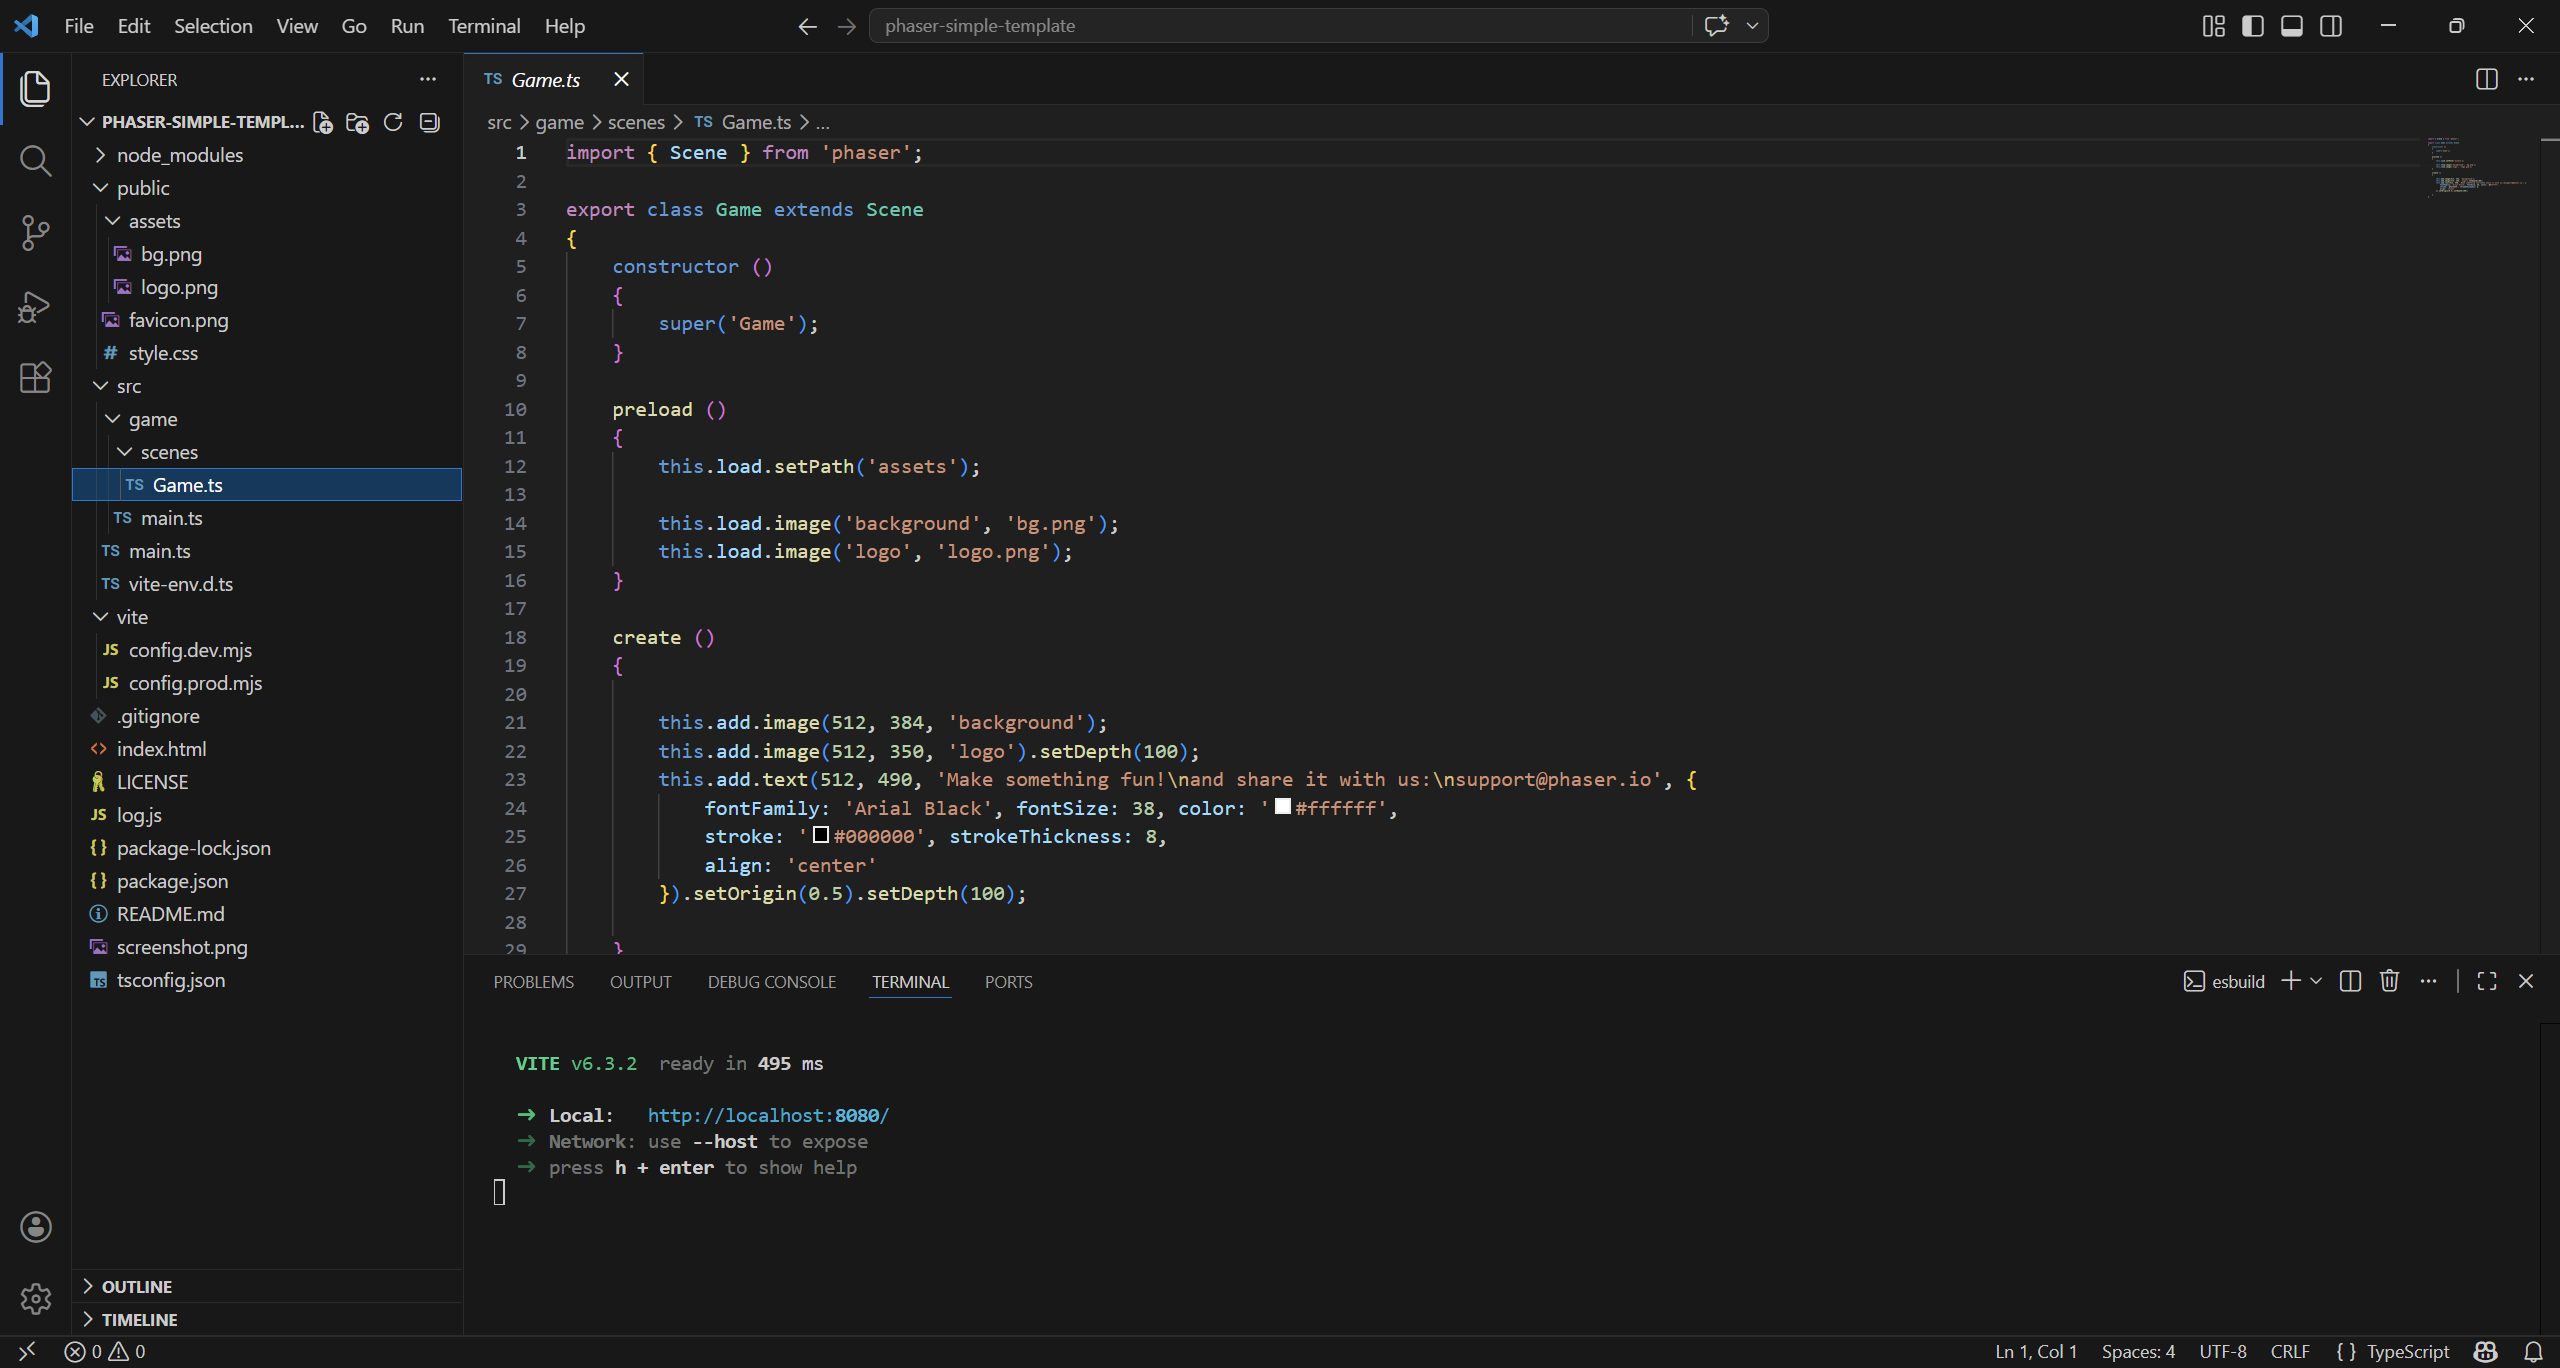
src/game/scenes/Game.ts is the file containing the game itself. This file defines a Phaser scene that loads assets (images) and displays them on screen. When the game starts, it shows a background, a logo, and a text message centered in the scene.
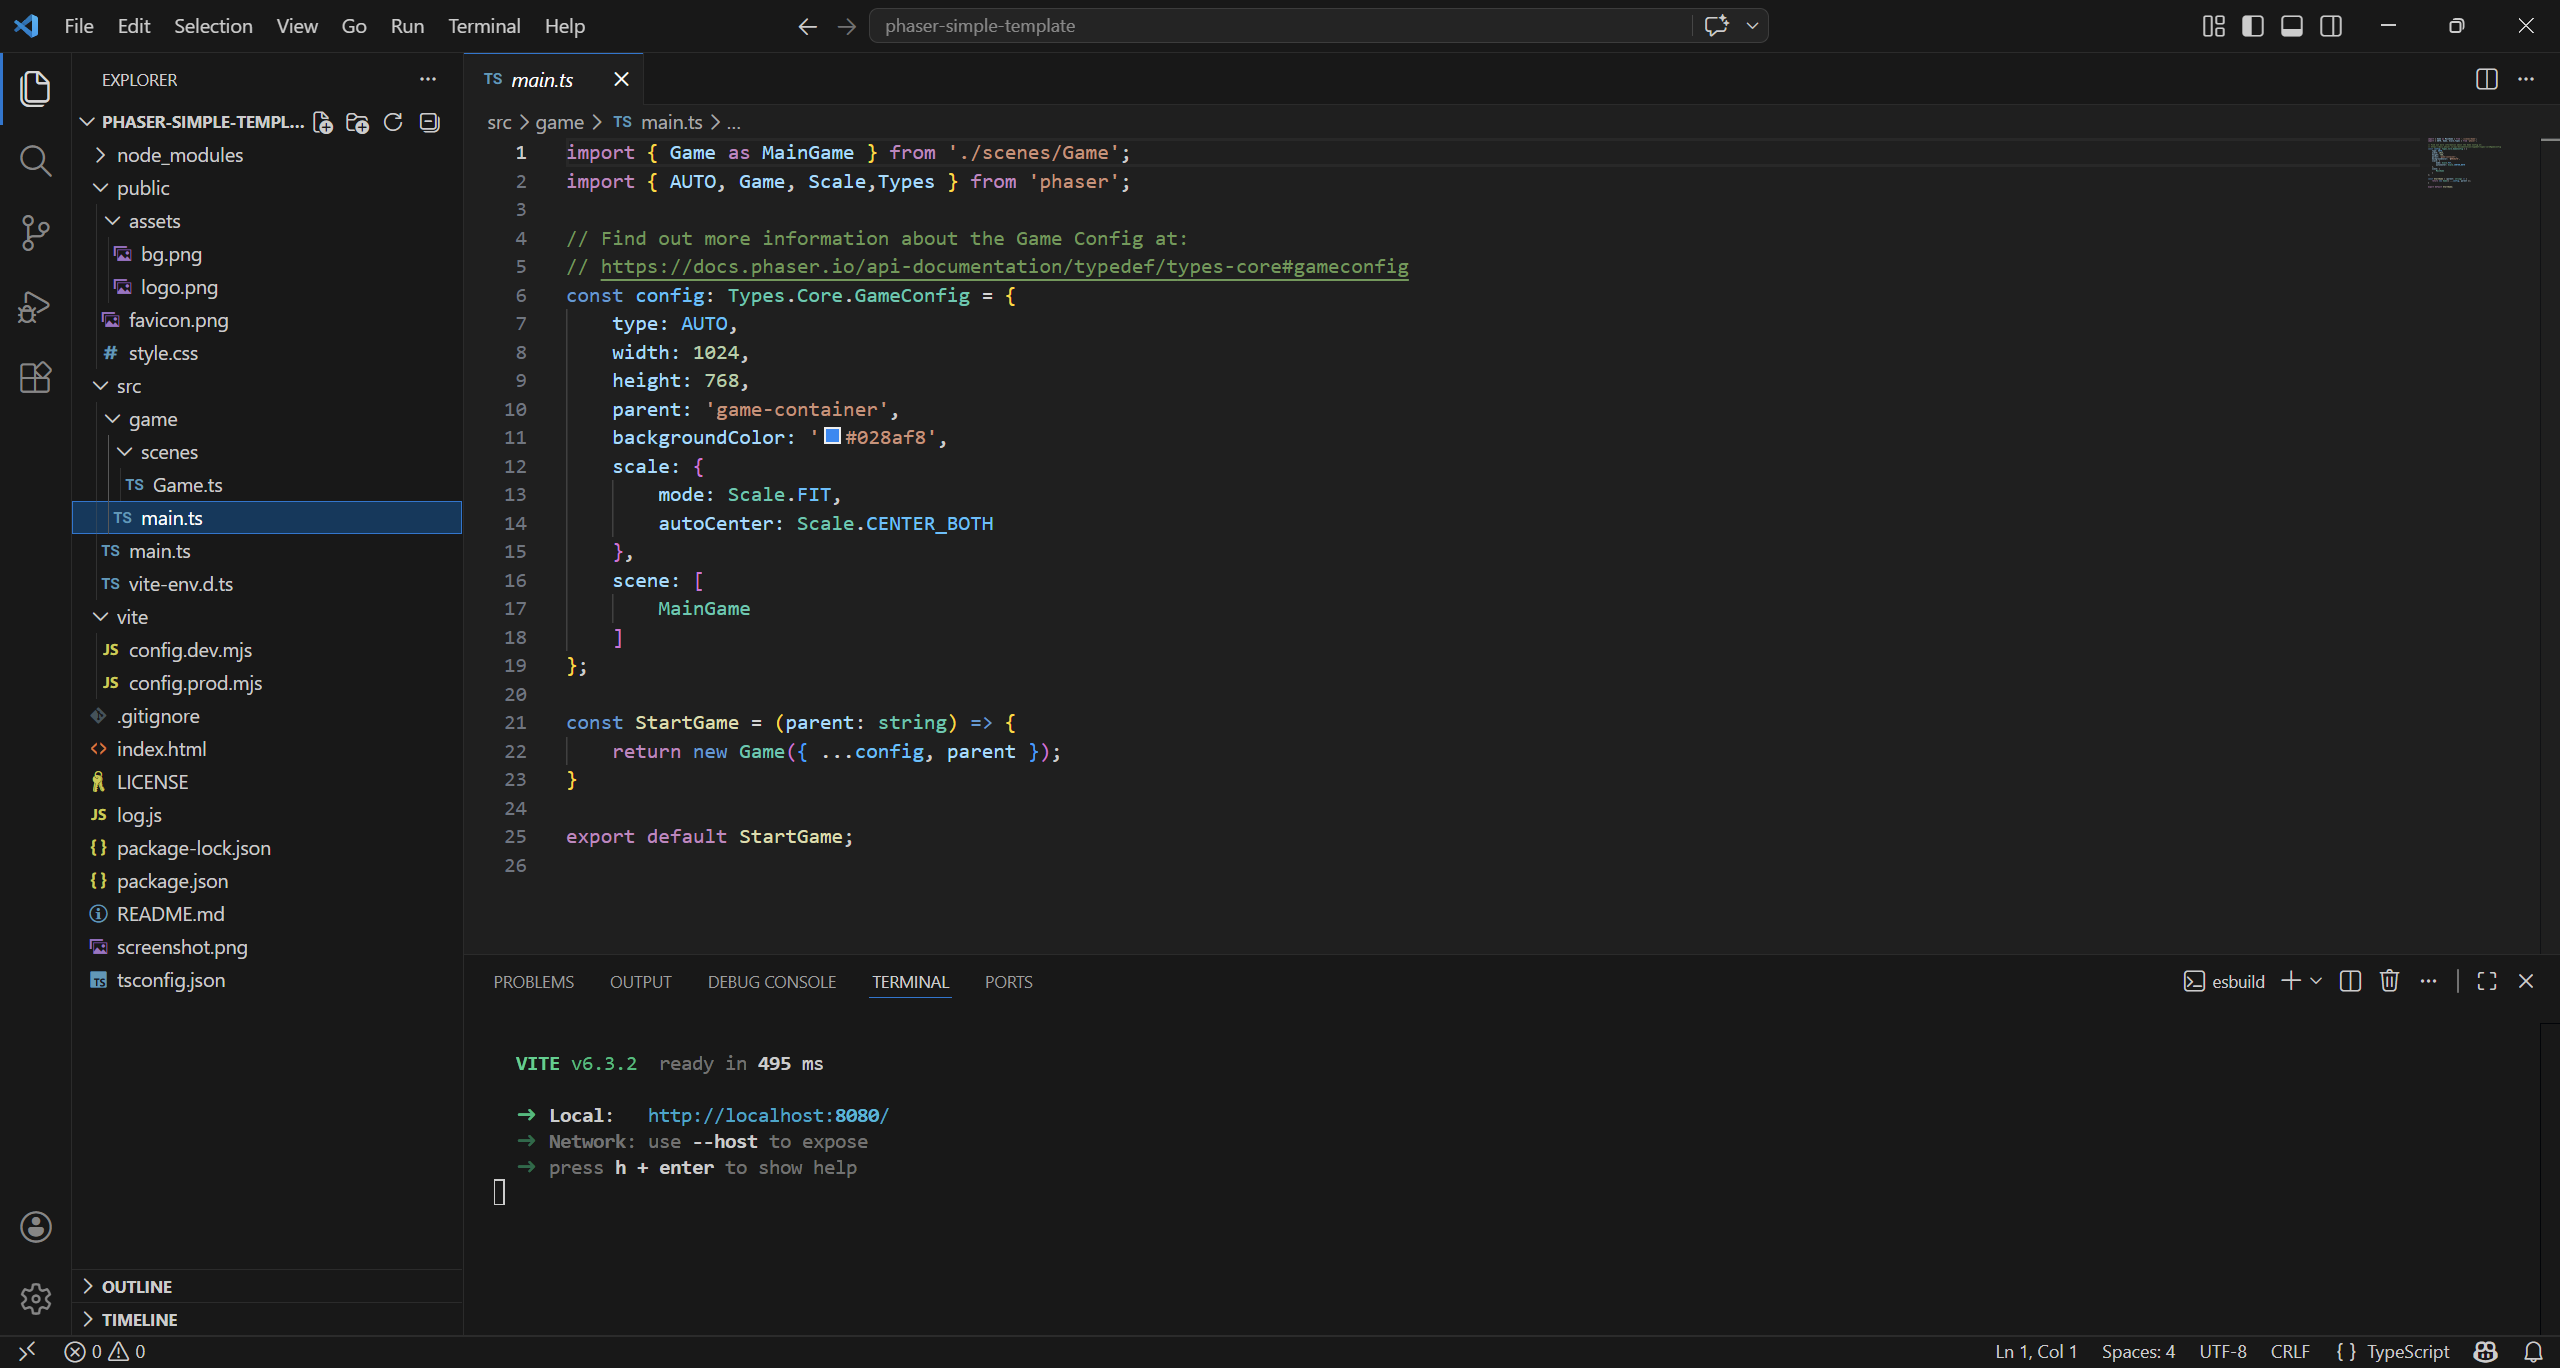
src/game/main.ts defines the configuration for a Phaser game (resolution, scaling, scene, and rendering type). It exports a function that creates and starts the game instance inside a specified HTML container.
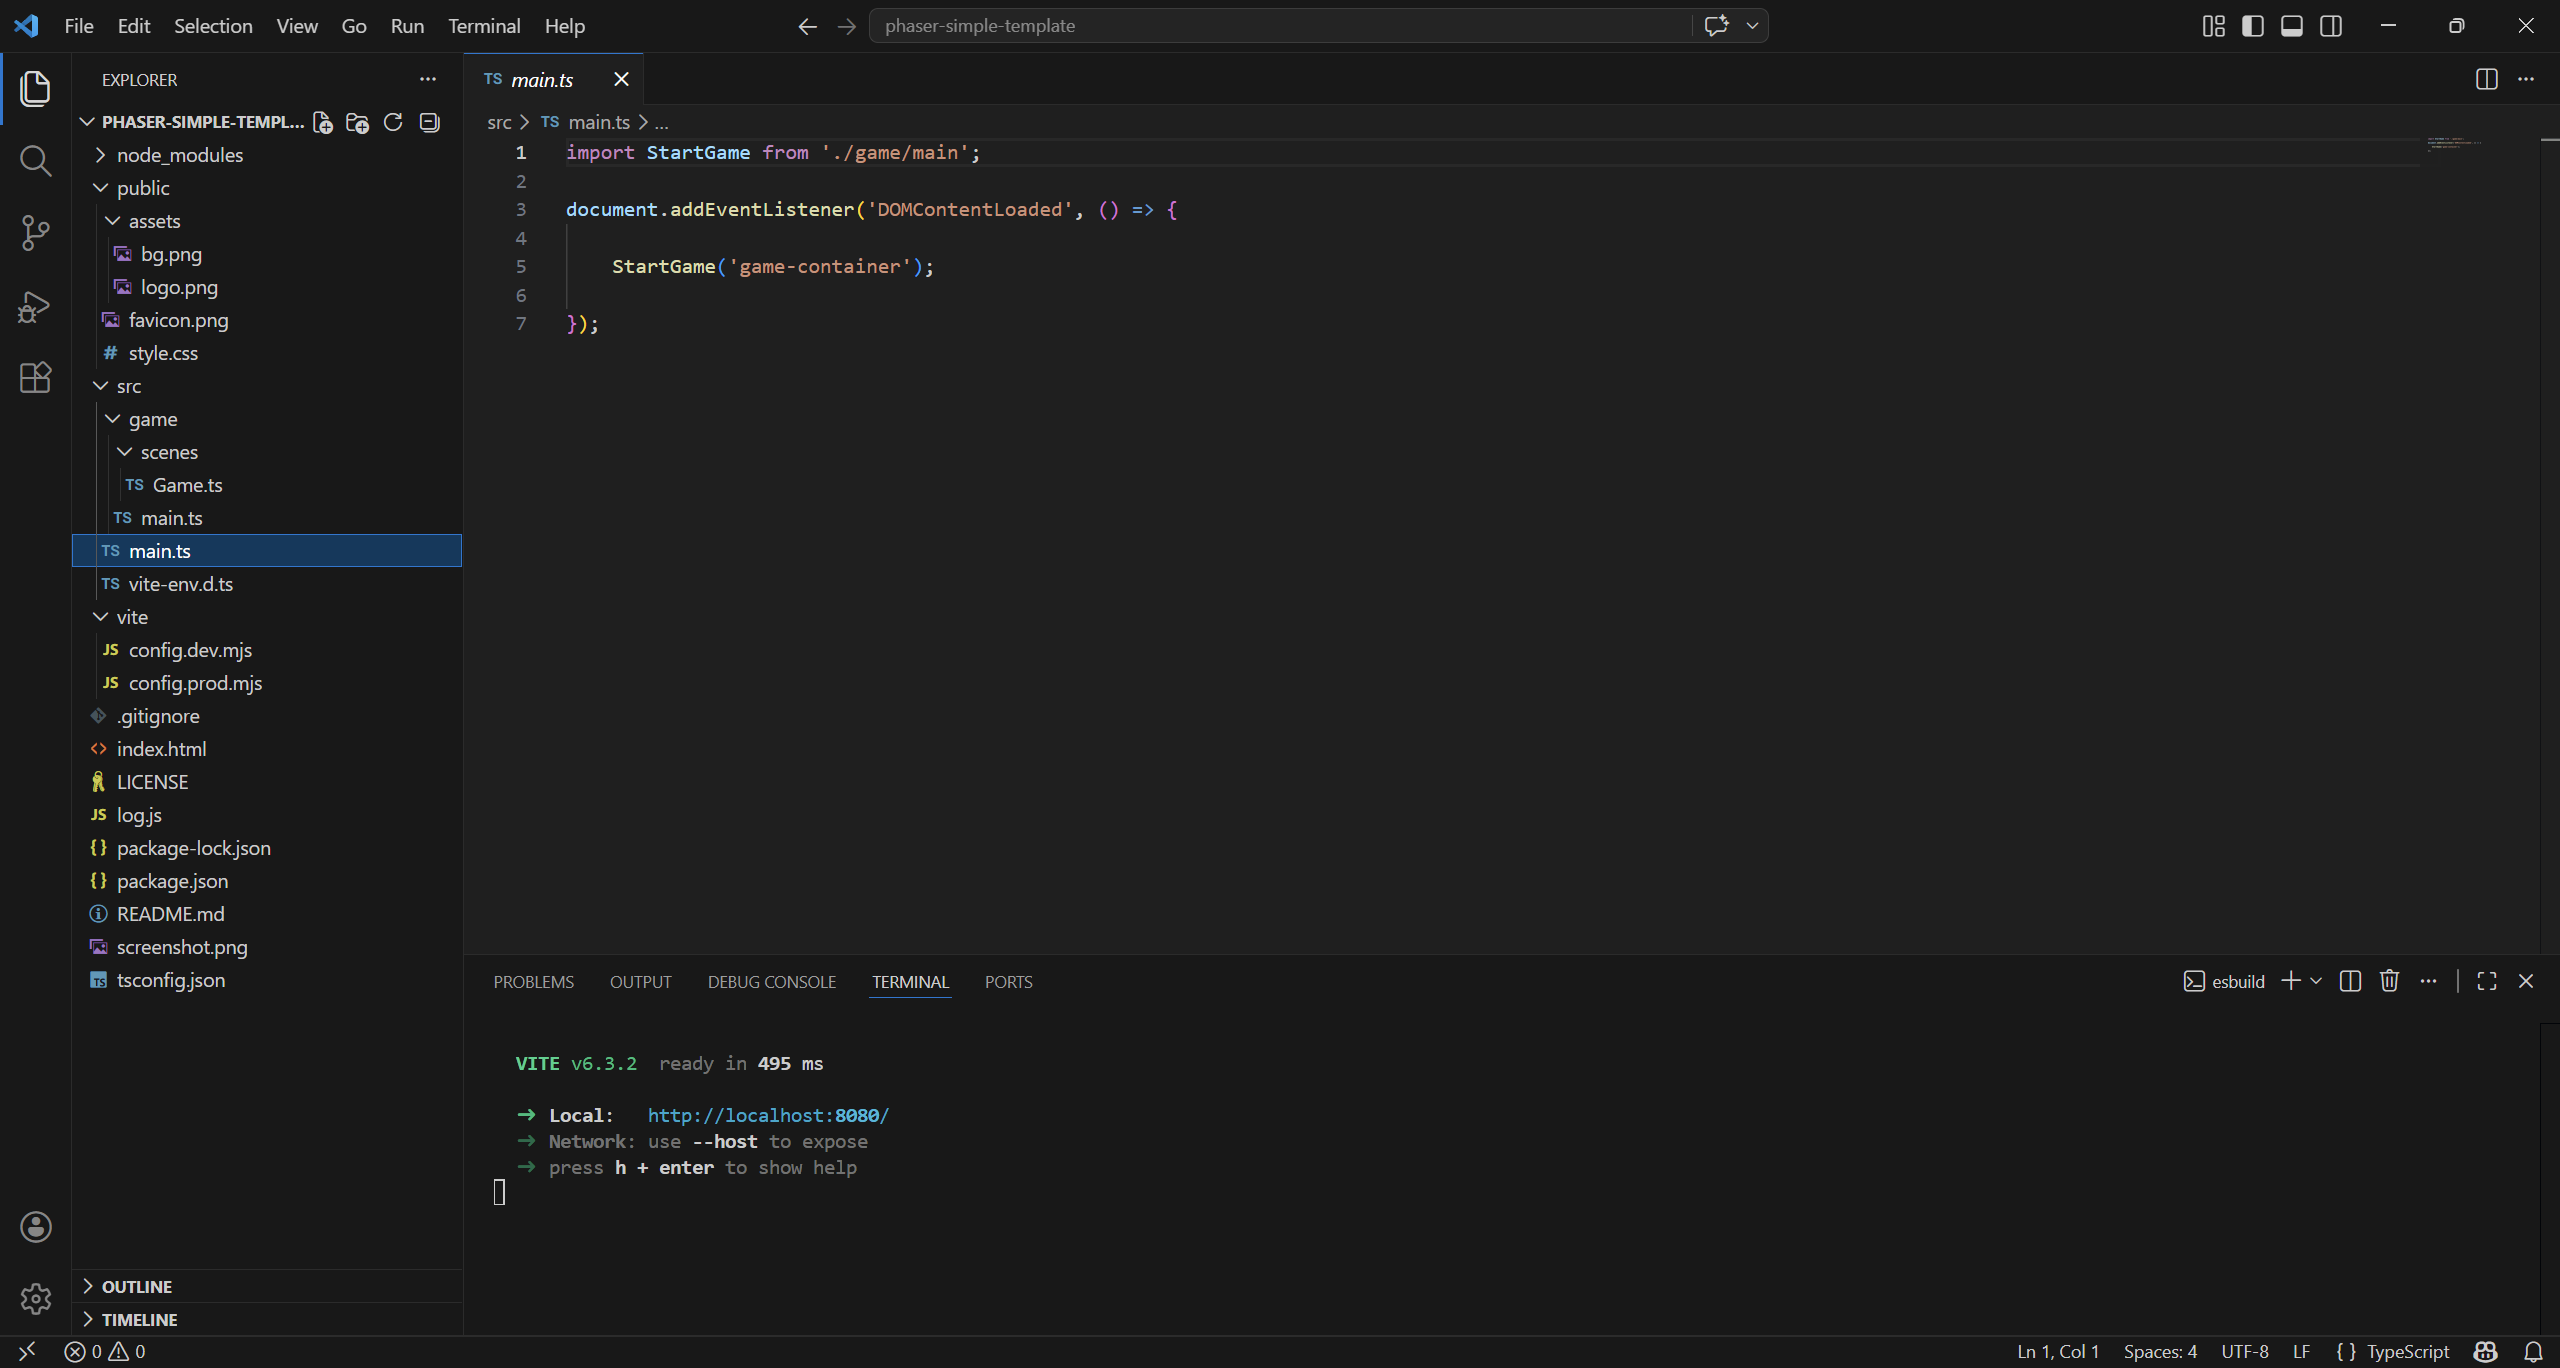
src/main.ts, not to be confused with src/game/main.ts, waits for the HTML page to be fully loaded before running any game logic. Once ready, it calls StartGame to initialize and render the Phaser game inside the game-container element.
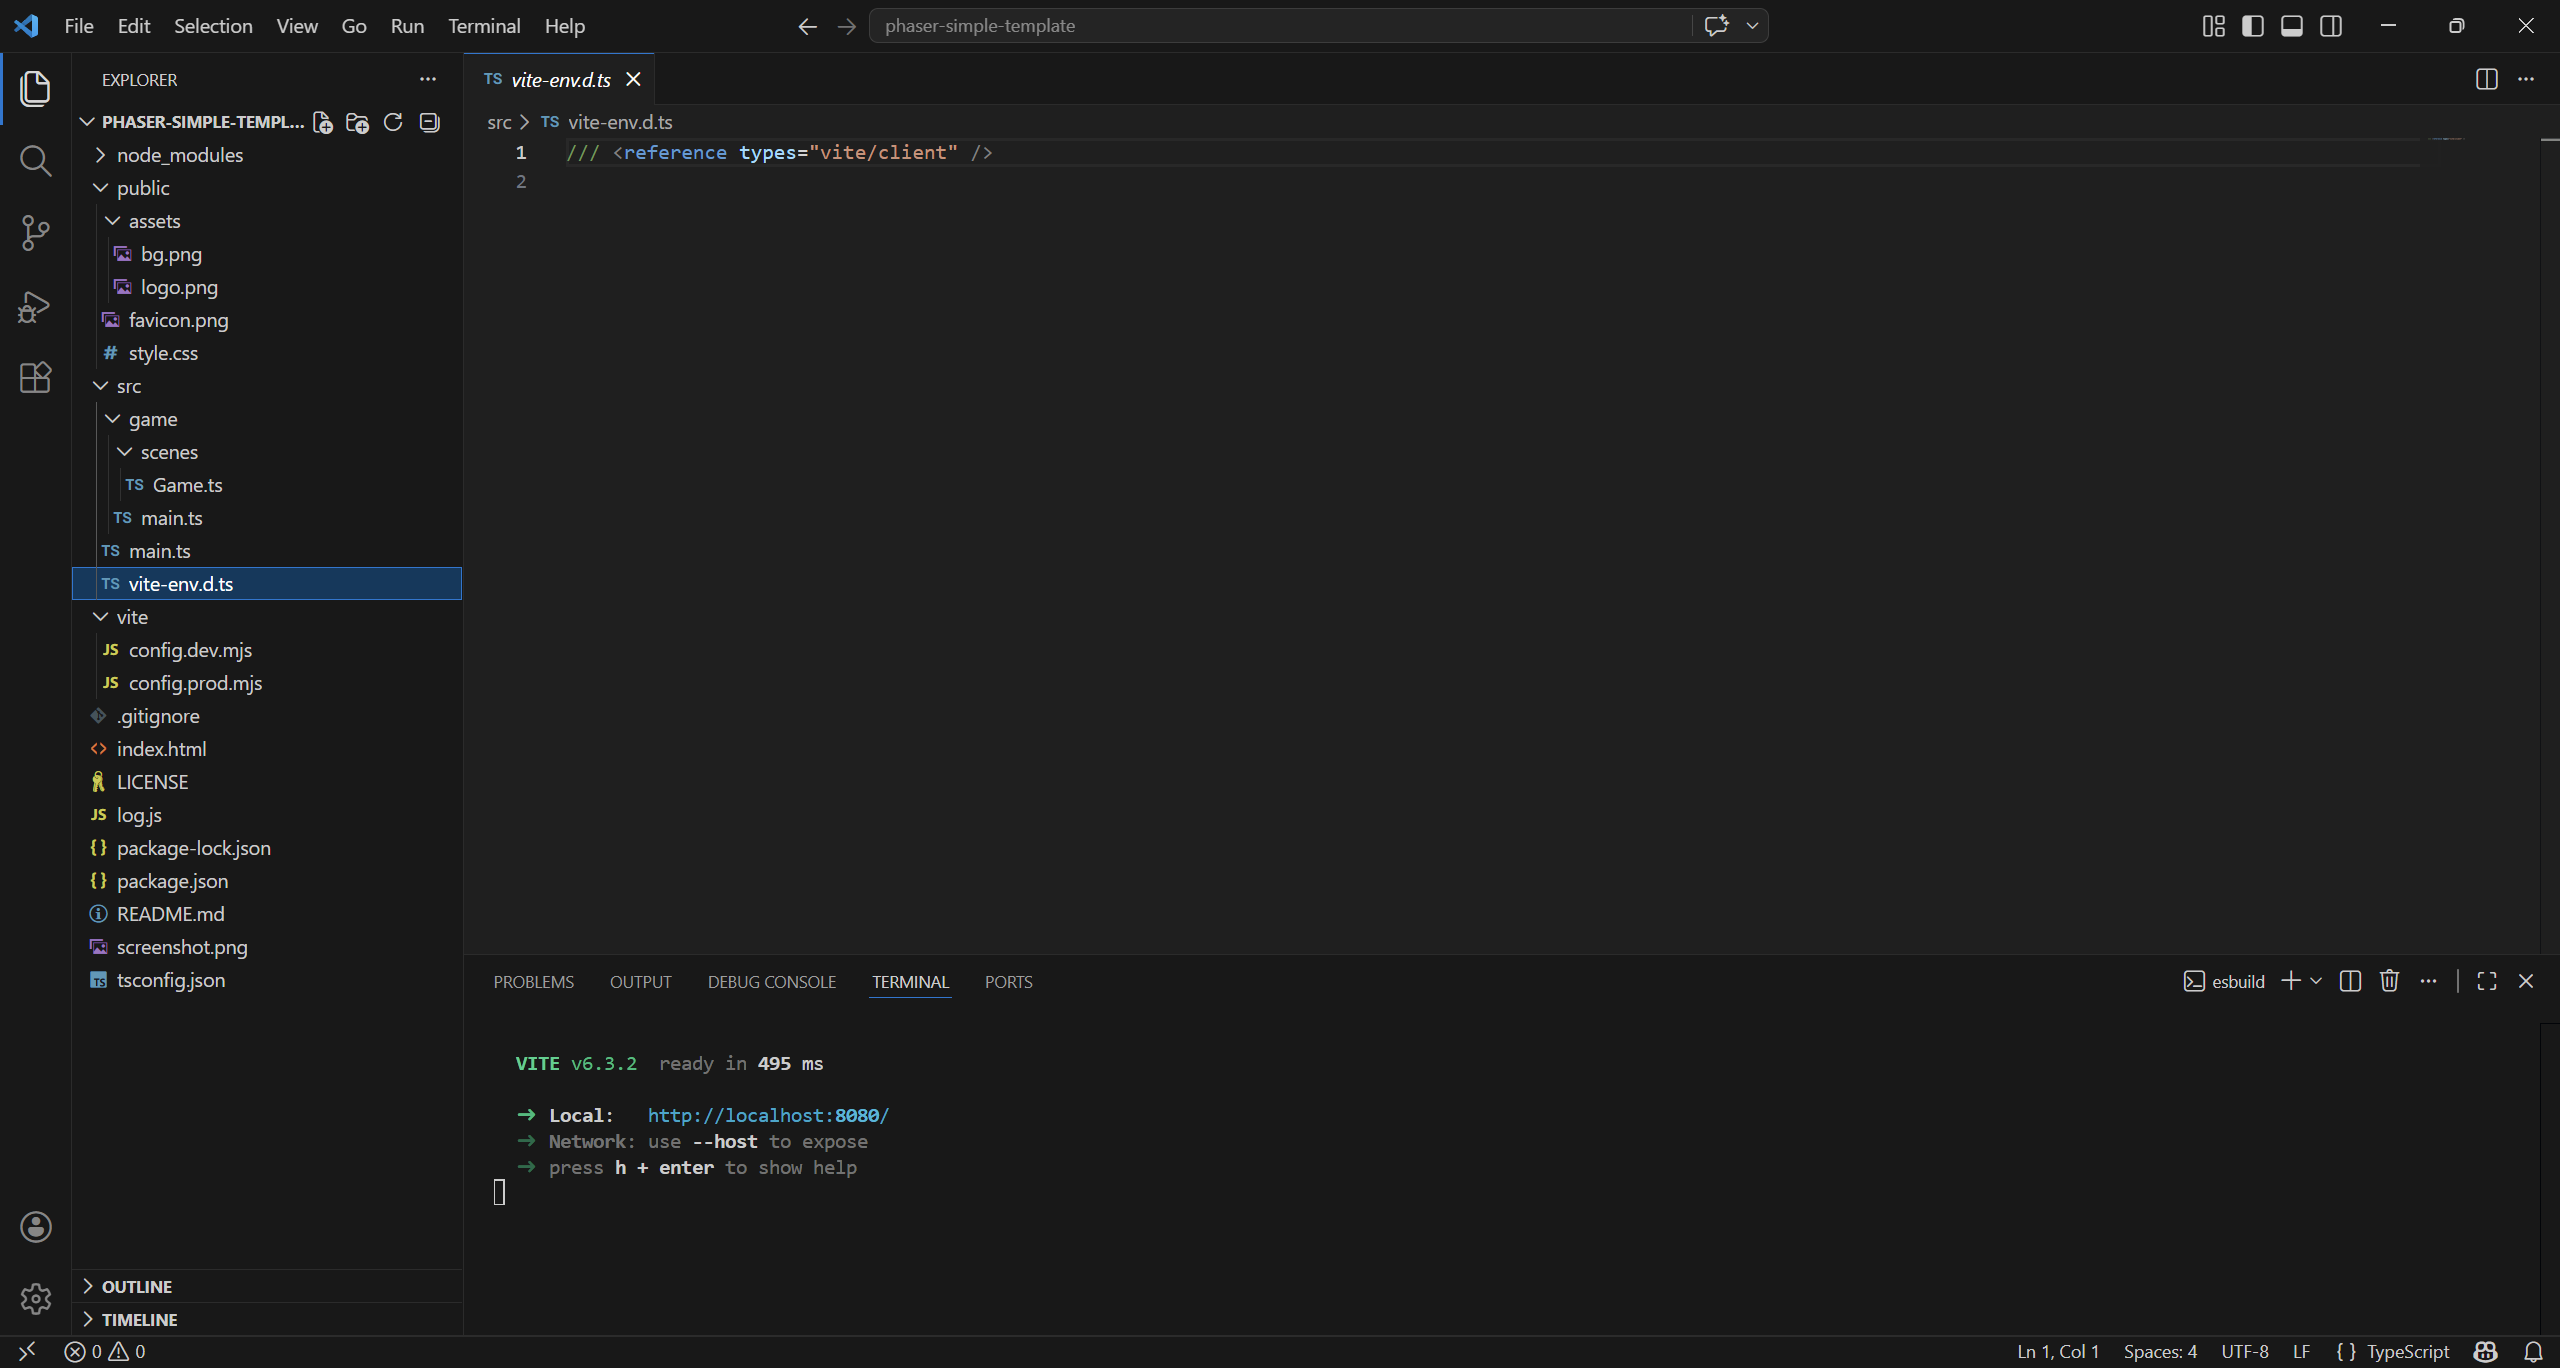
src/vite-env.d.ts provides TypeScript with type definitions for Vite-specific features and environment variables. The reference line tells the compiler to include Vite’s built-in typings so your code can use them without errors.
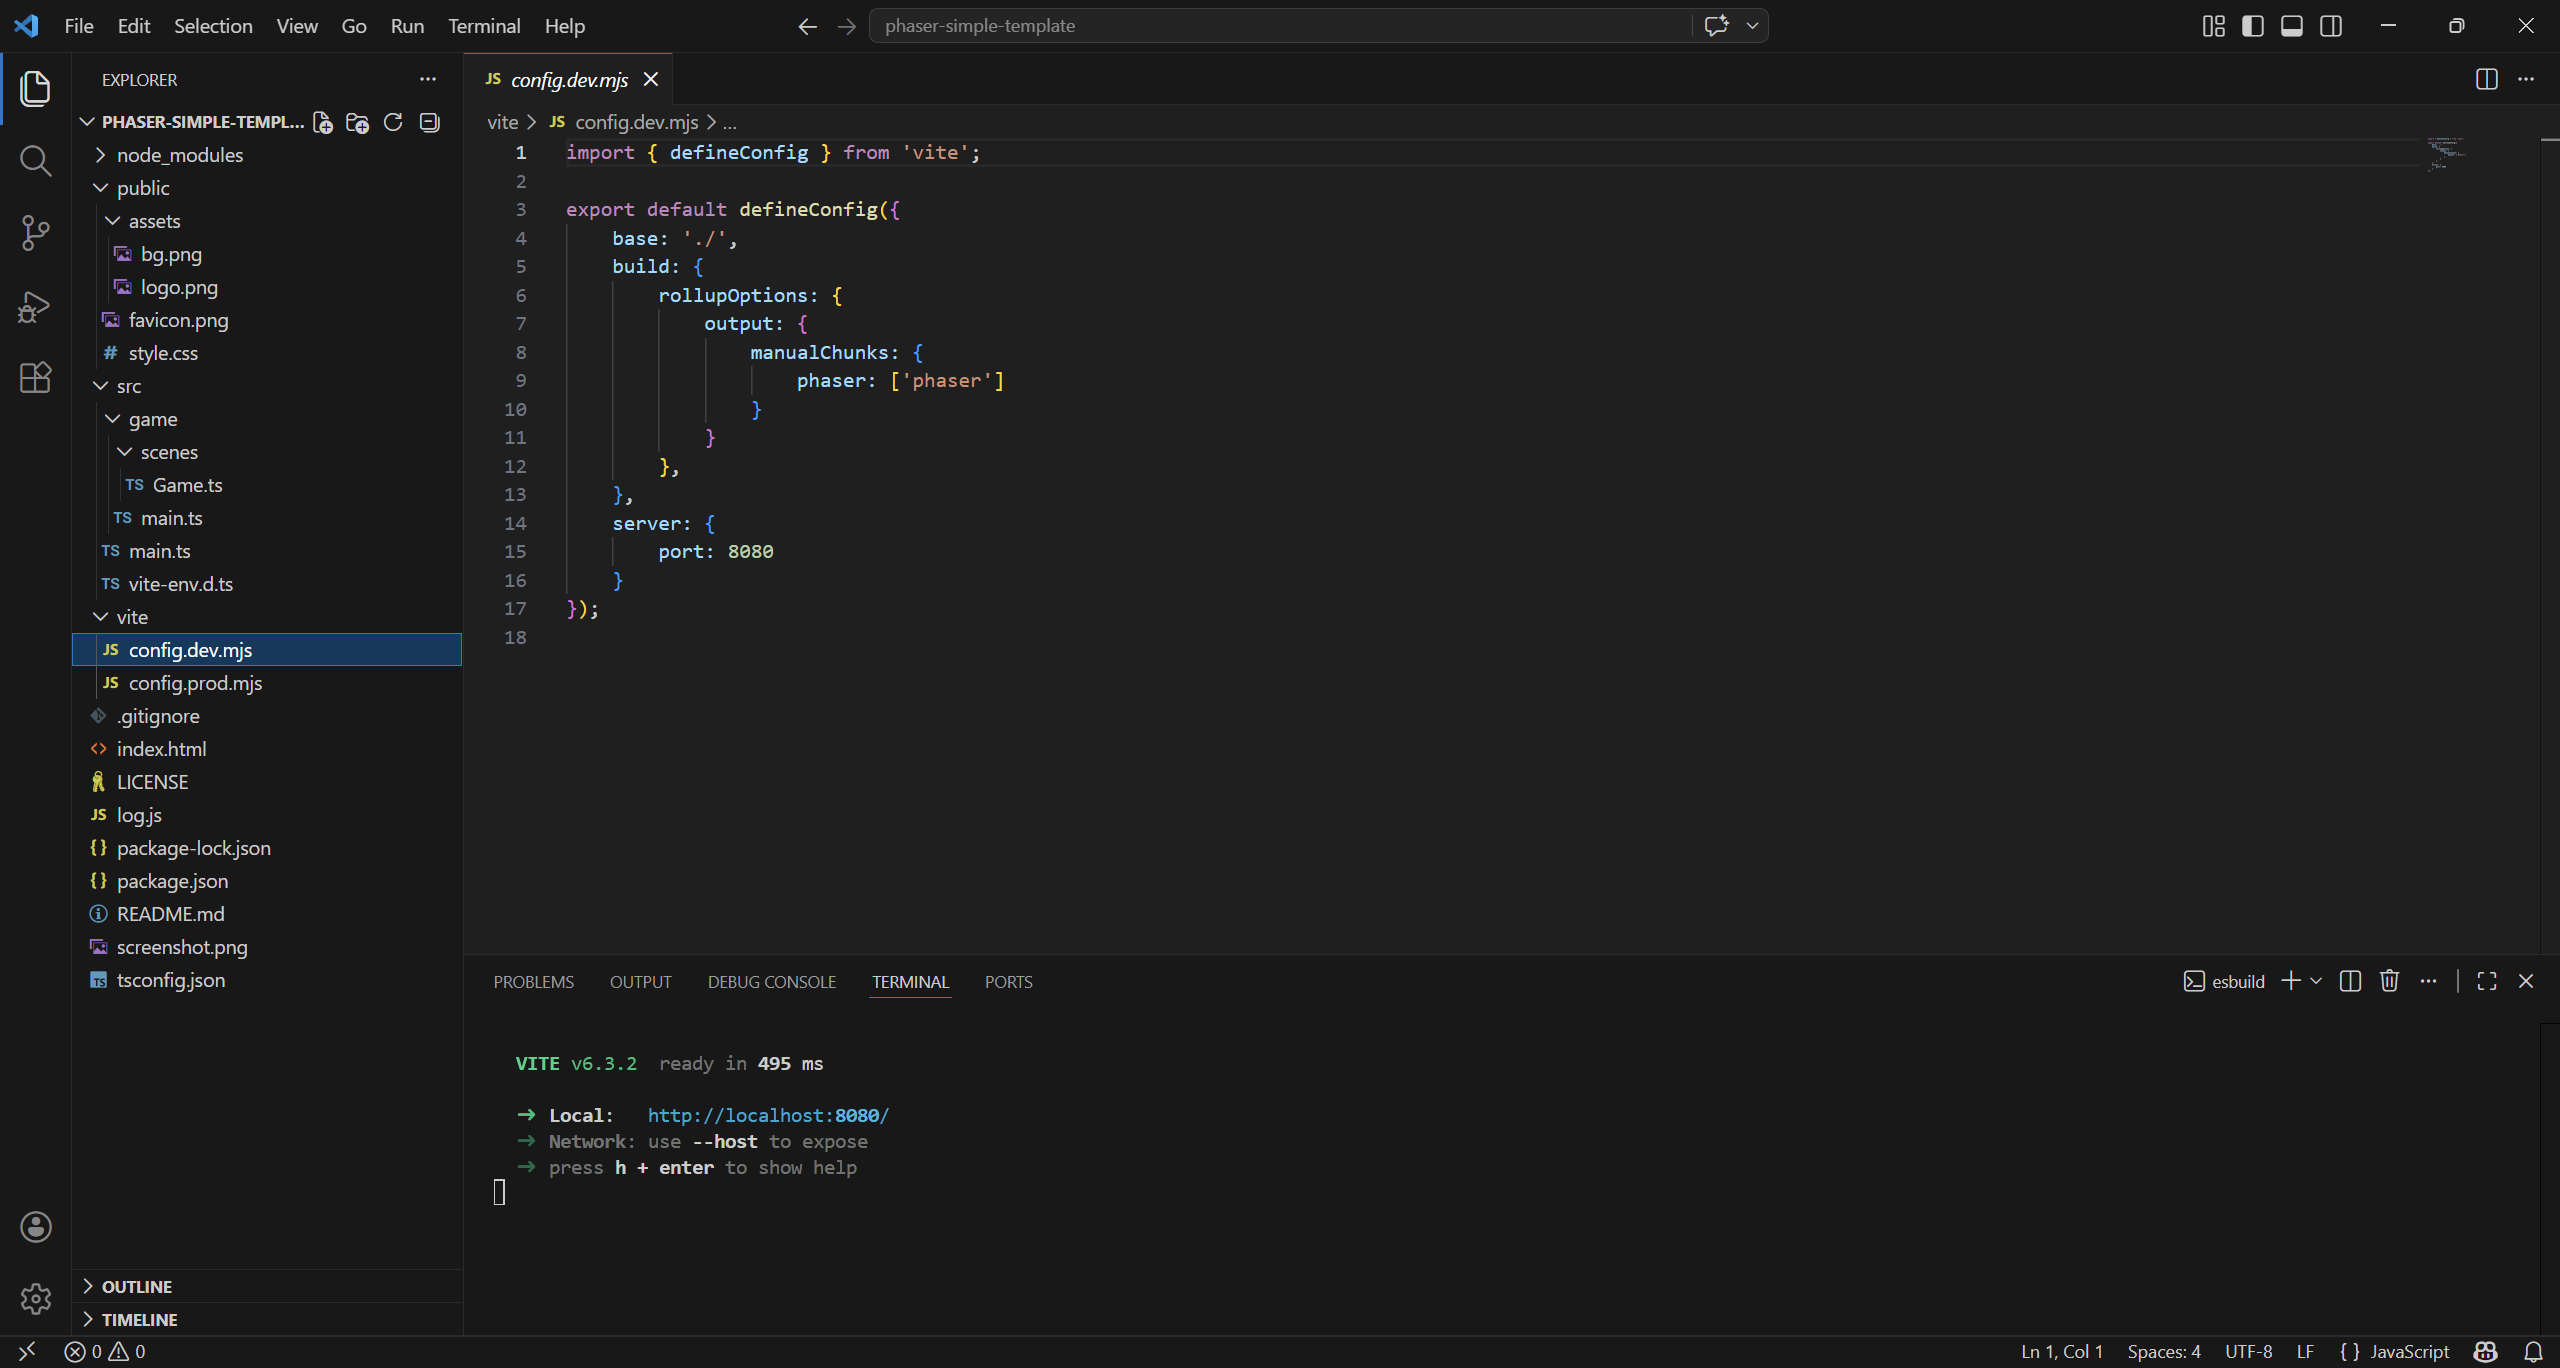
vite/config.dev.mjs configures Vite, defining how the project is built and served during development. It sets the dev server port, uses a relative base path, and splits Phaser into a separate bundle chunk for better optimization.
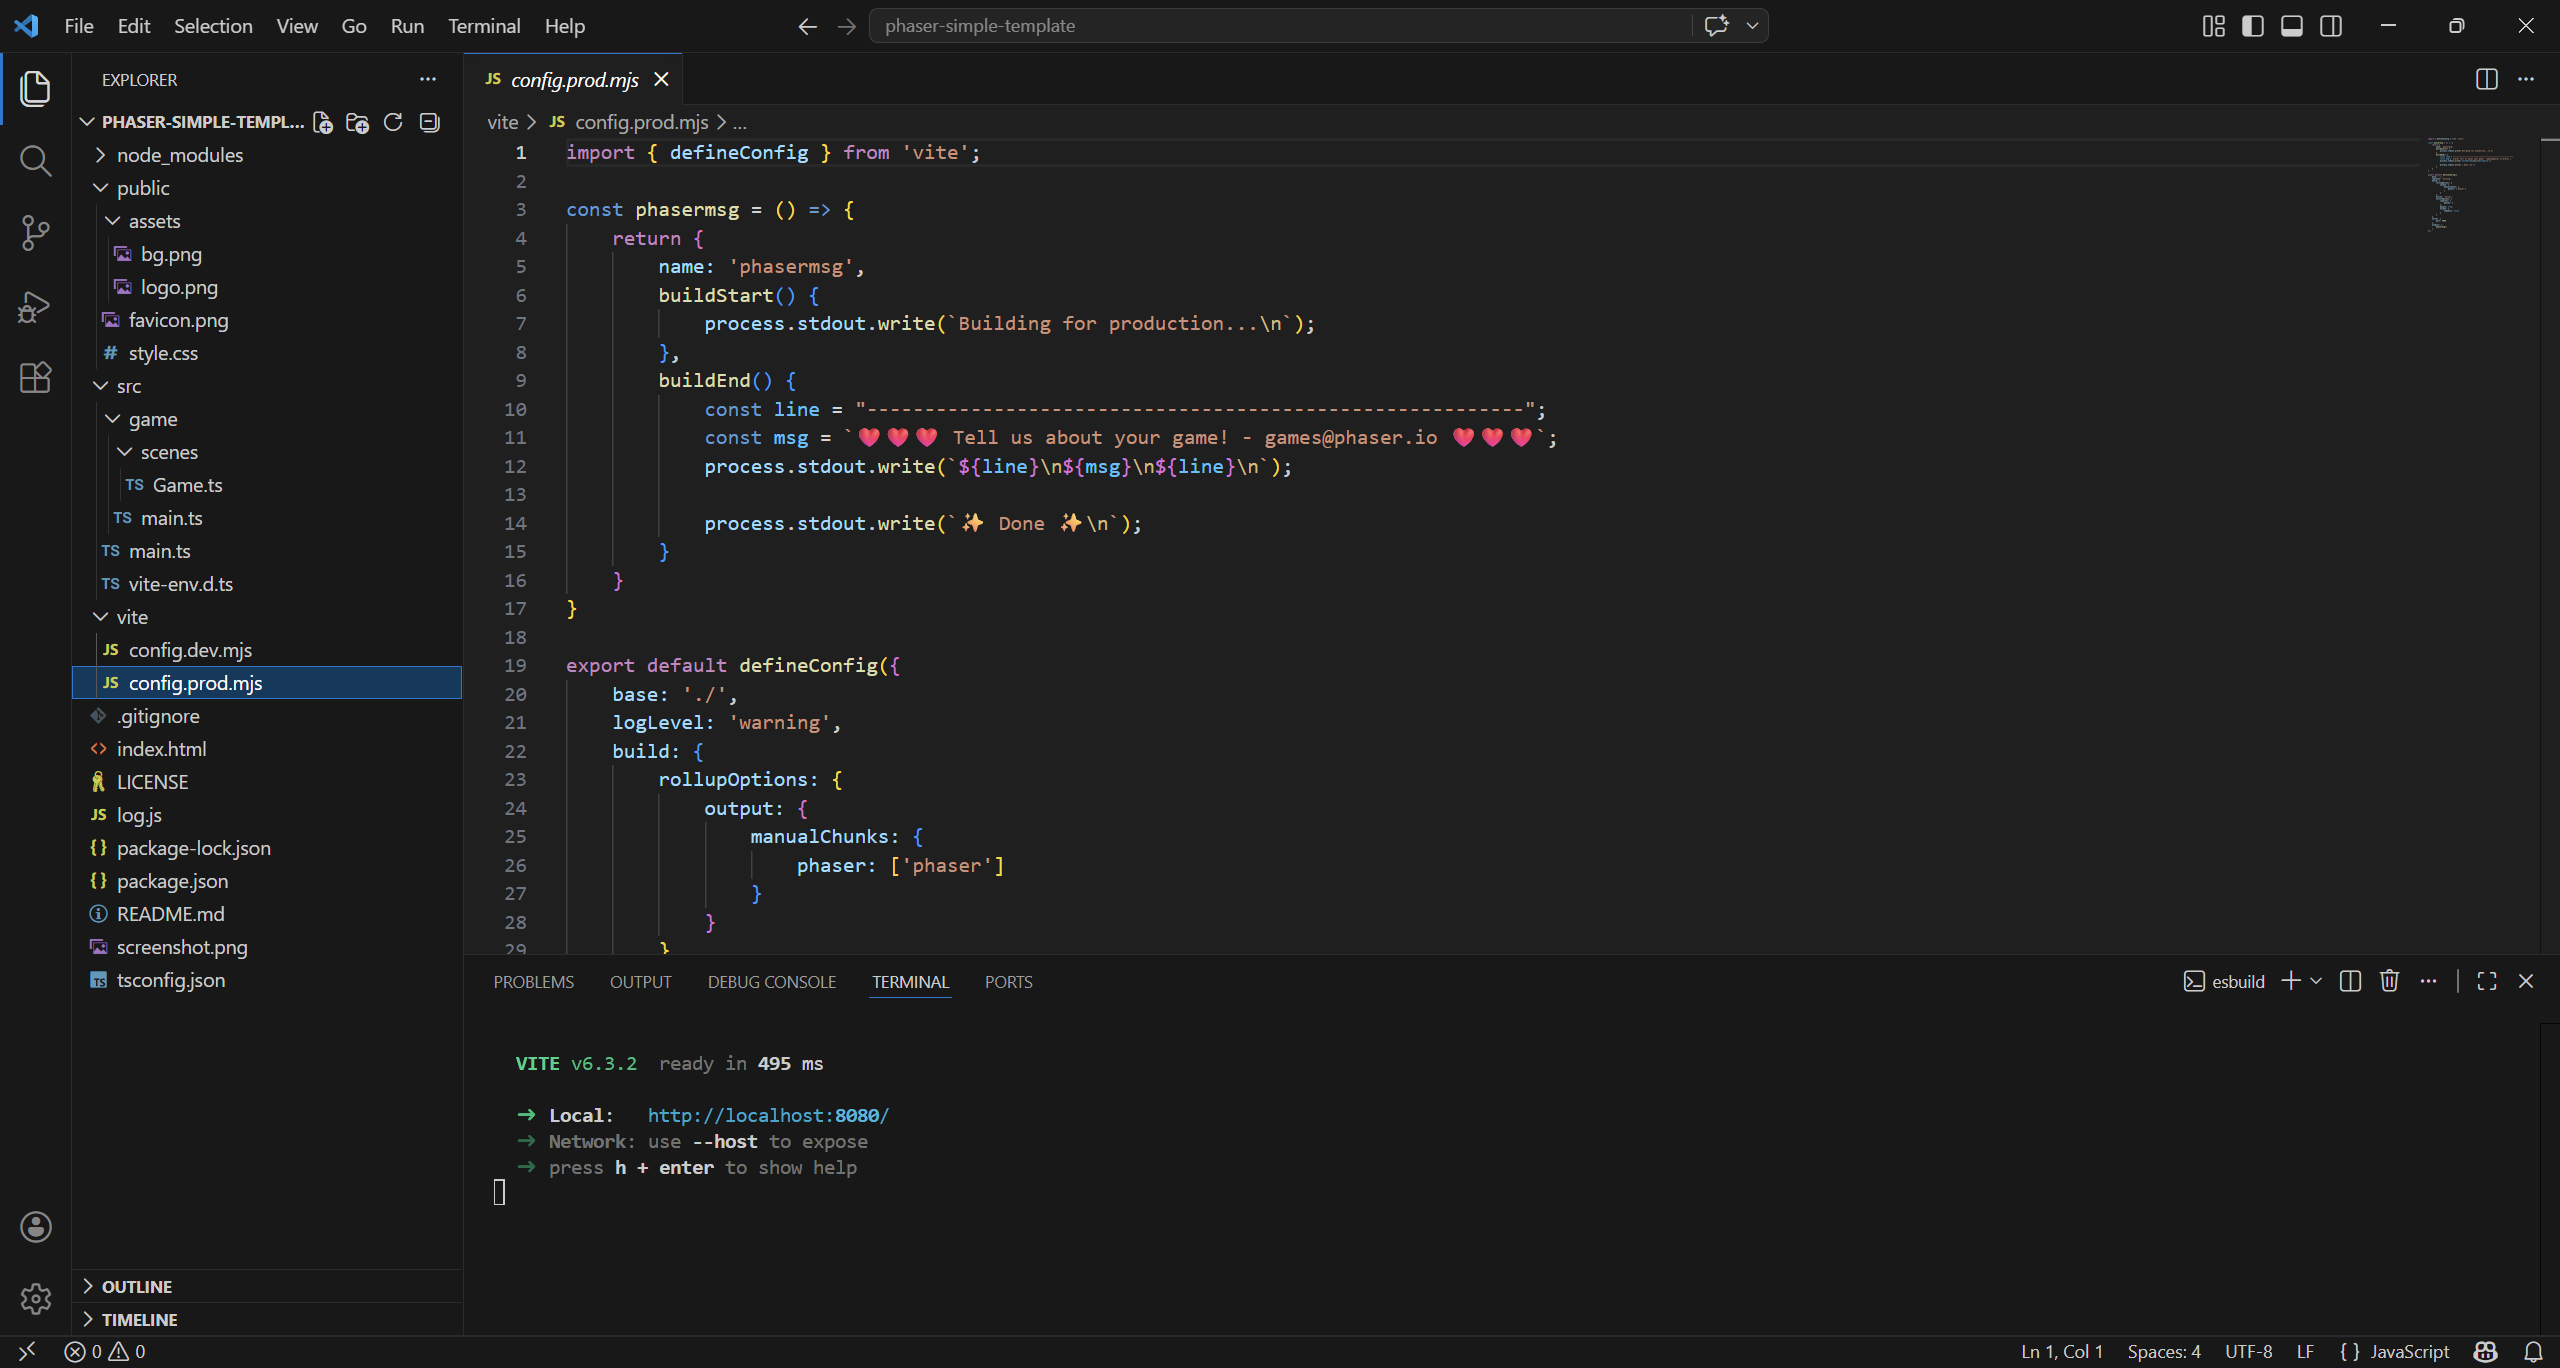
vite/config.prod.mjs configures Vite for building and serving the project, including optimization settings like minification and code splitting (separating Phaser into its own chunk). It also adds a custom plugin that prints friendly messages in the terminal during the build process.
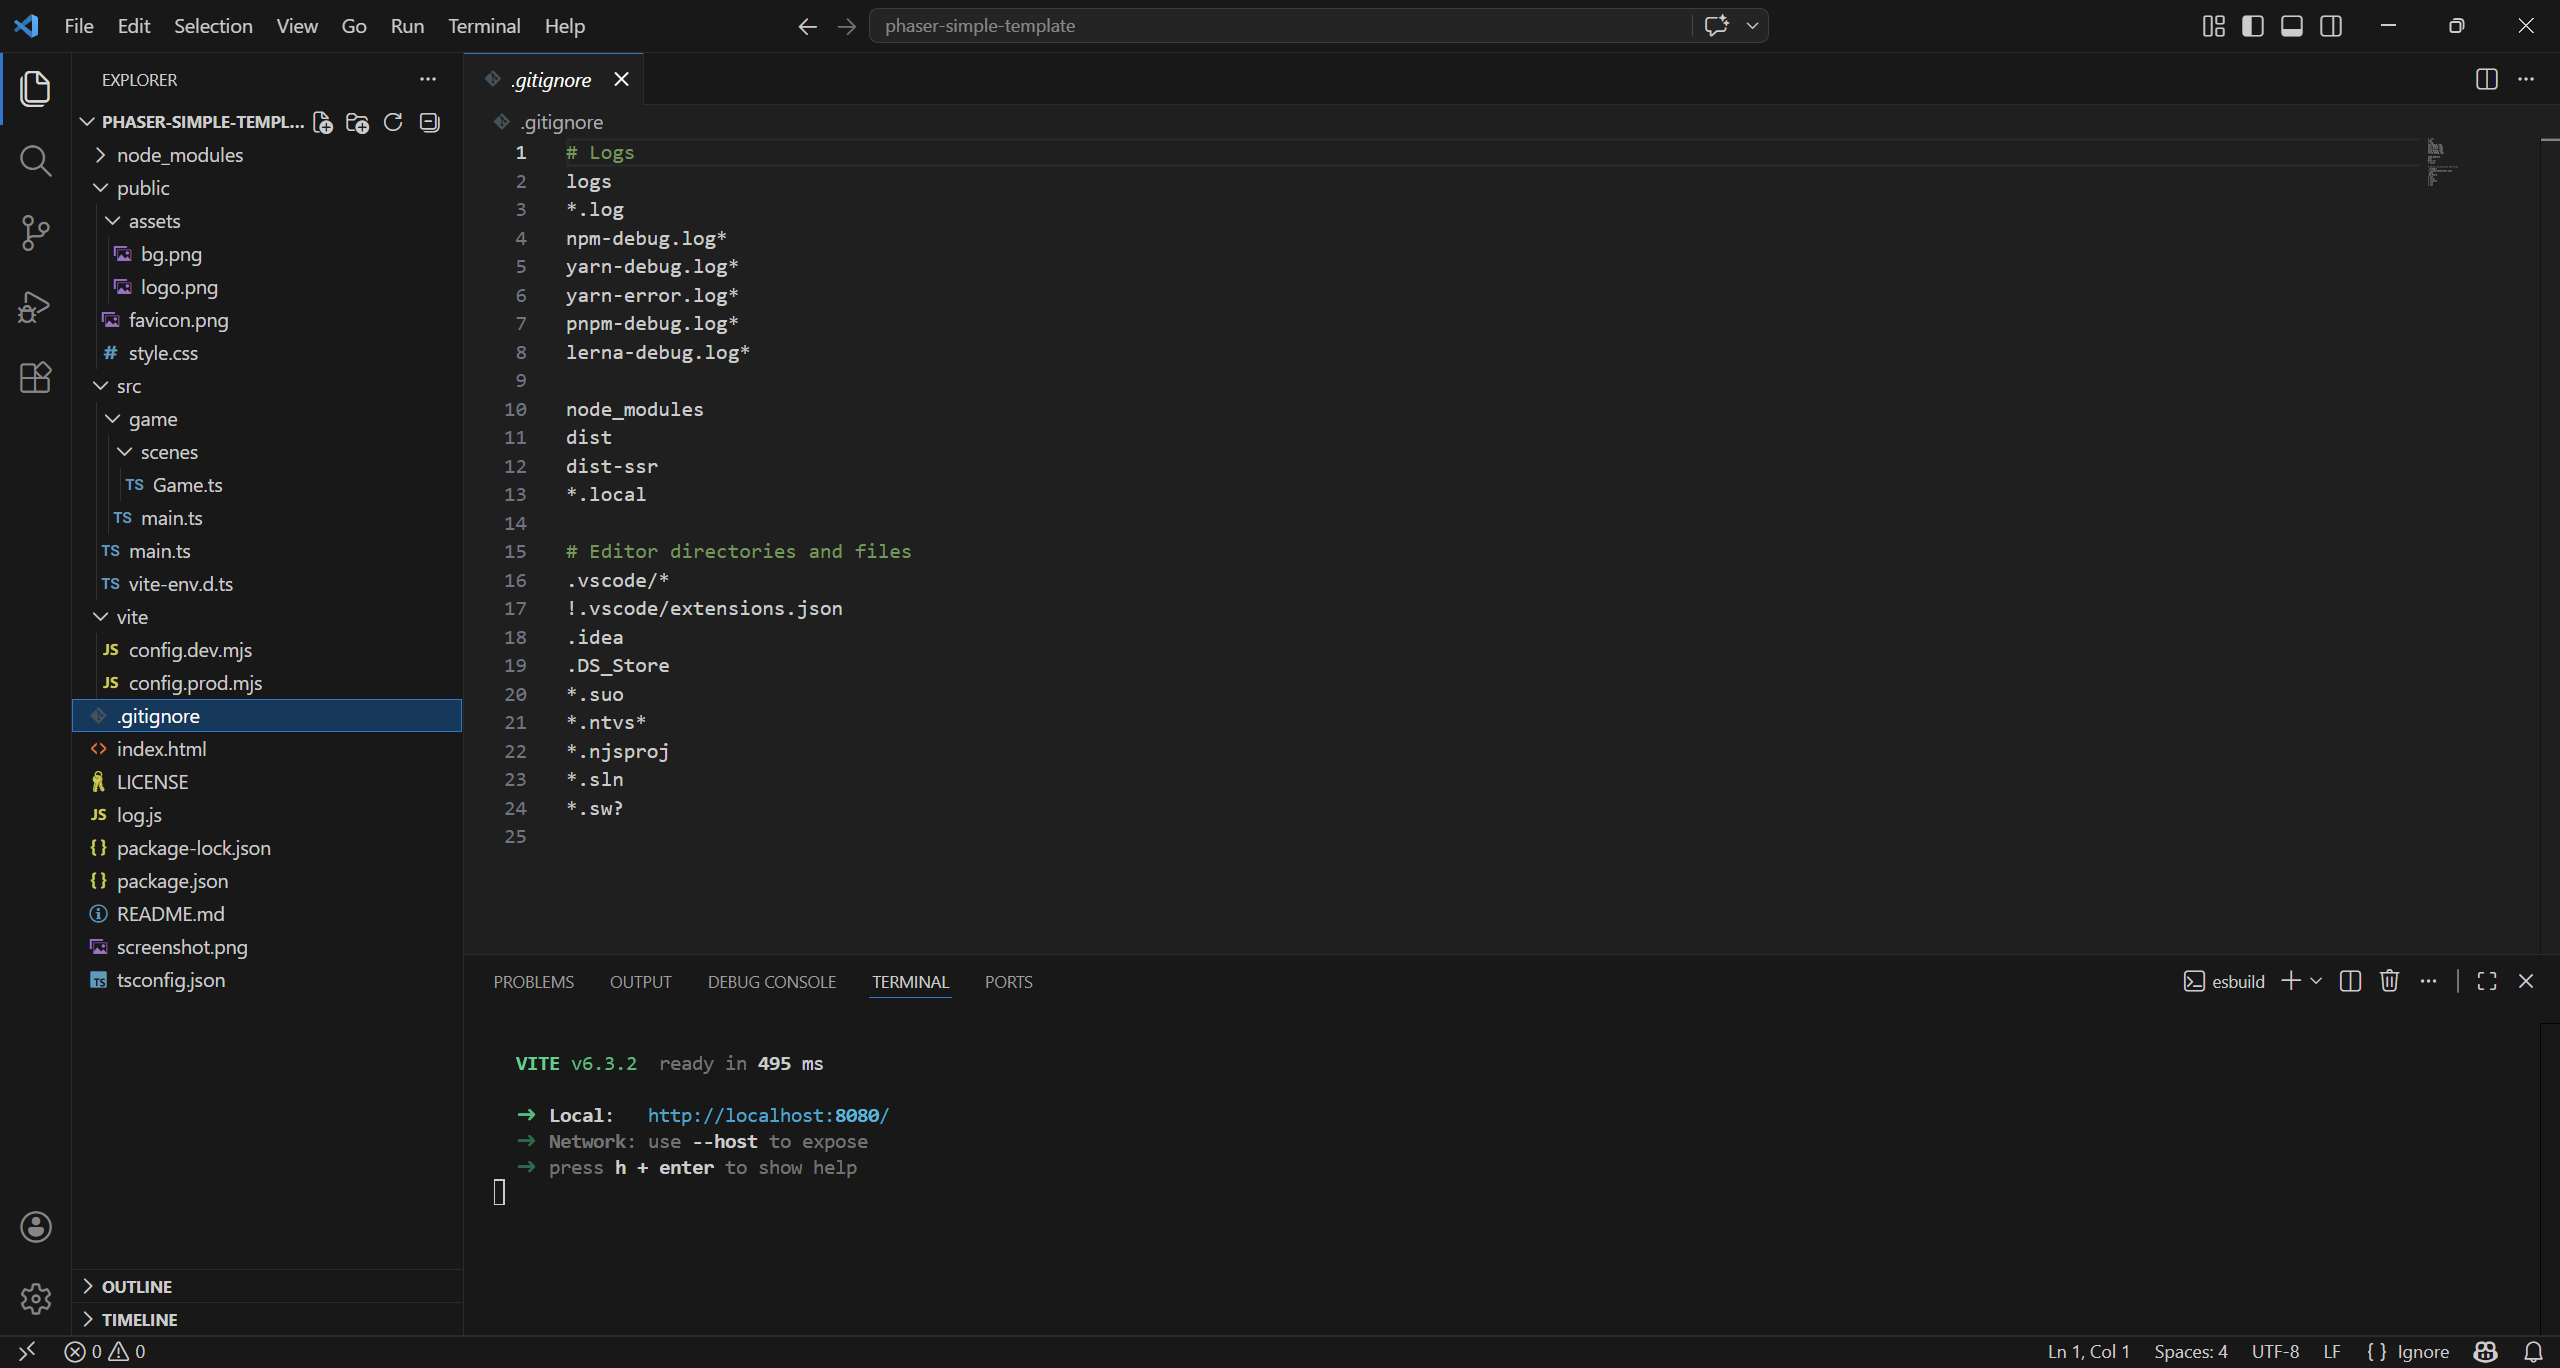
.gitignore tells Git which files and folders should not be tracked in a repository. It usually includes dependencies, build outputs, temporary files, and sensitive data like environment variables. If you don’t plan to publish your work on Git, you can delete it.
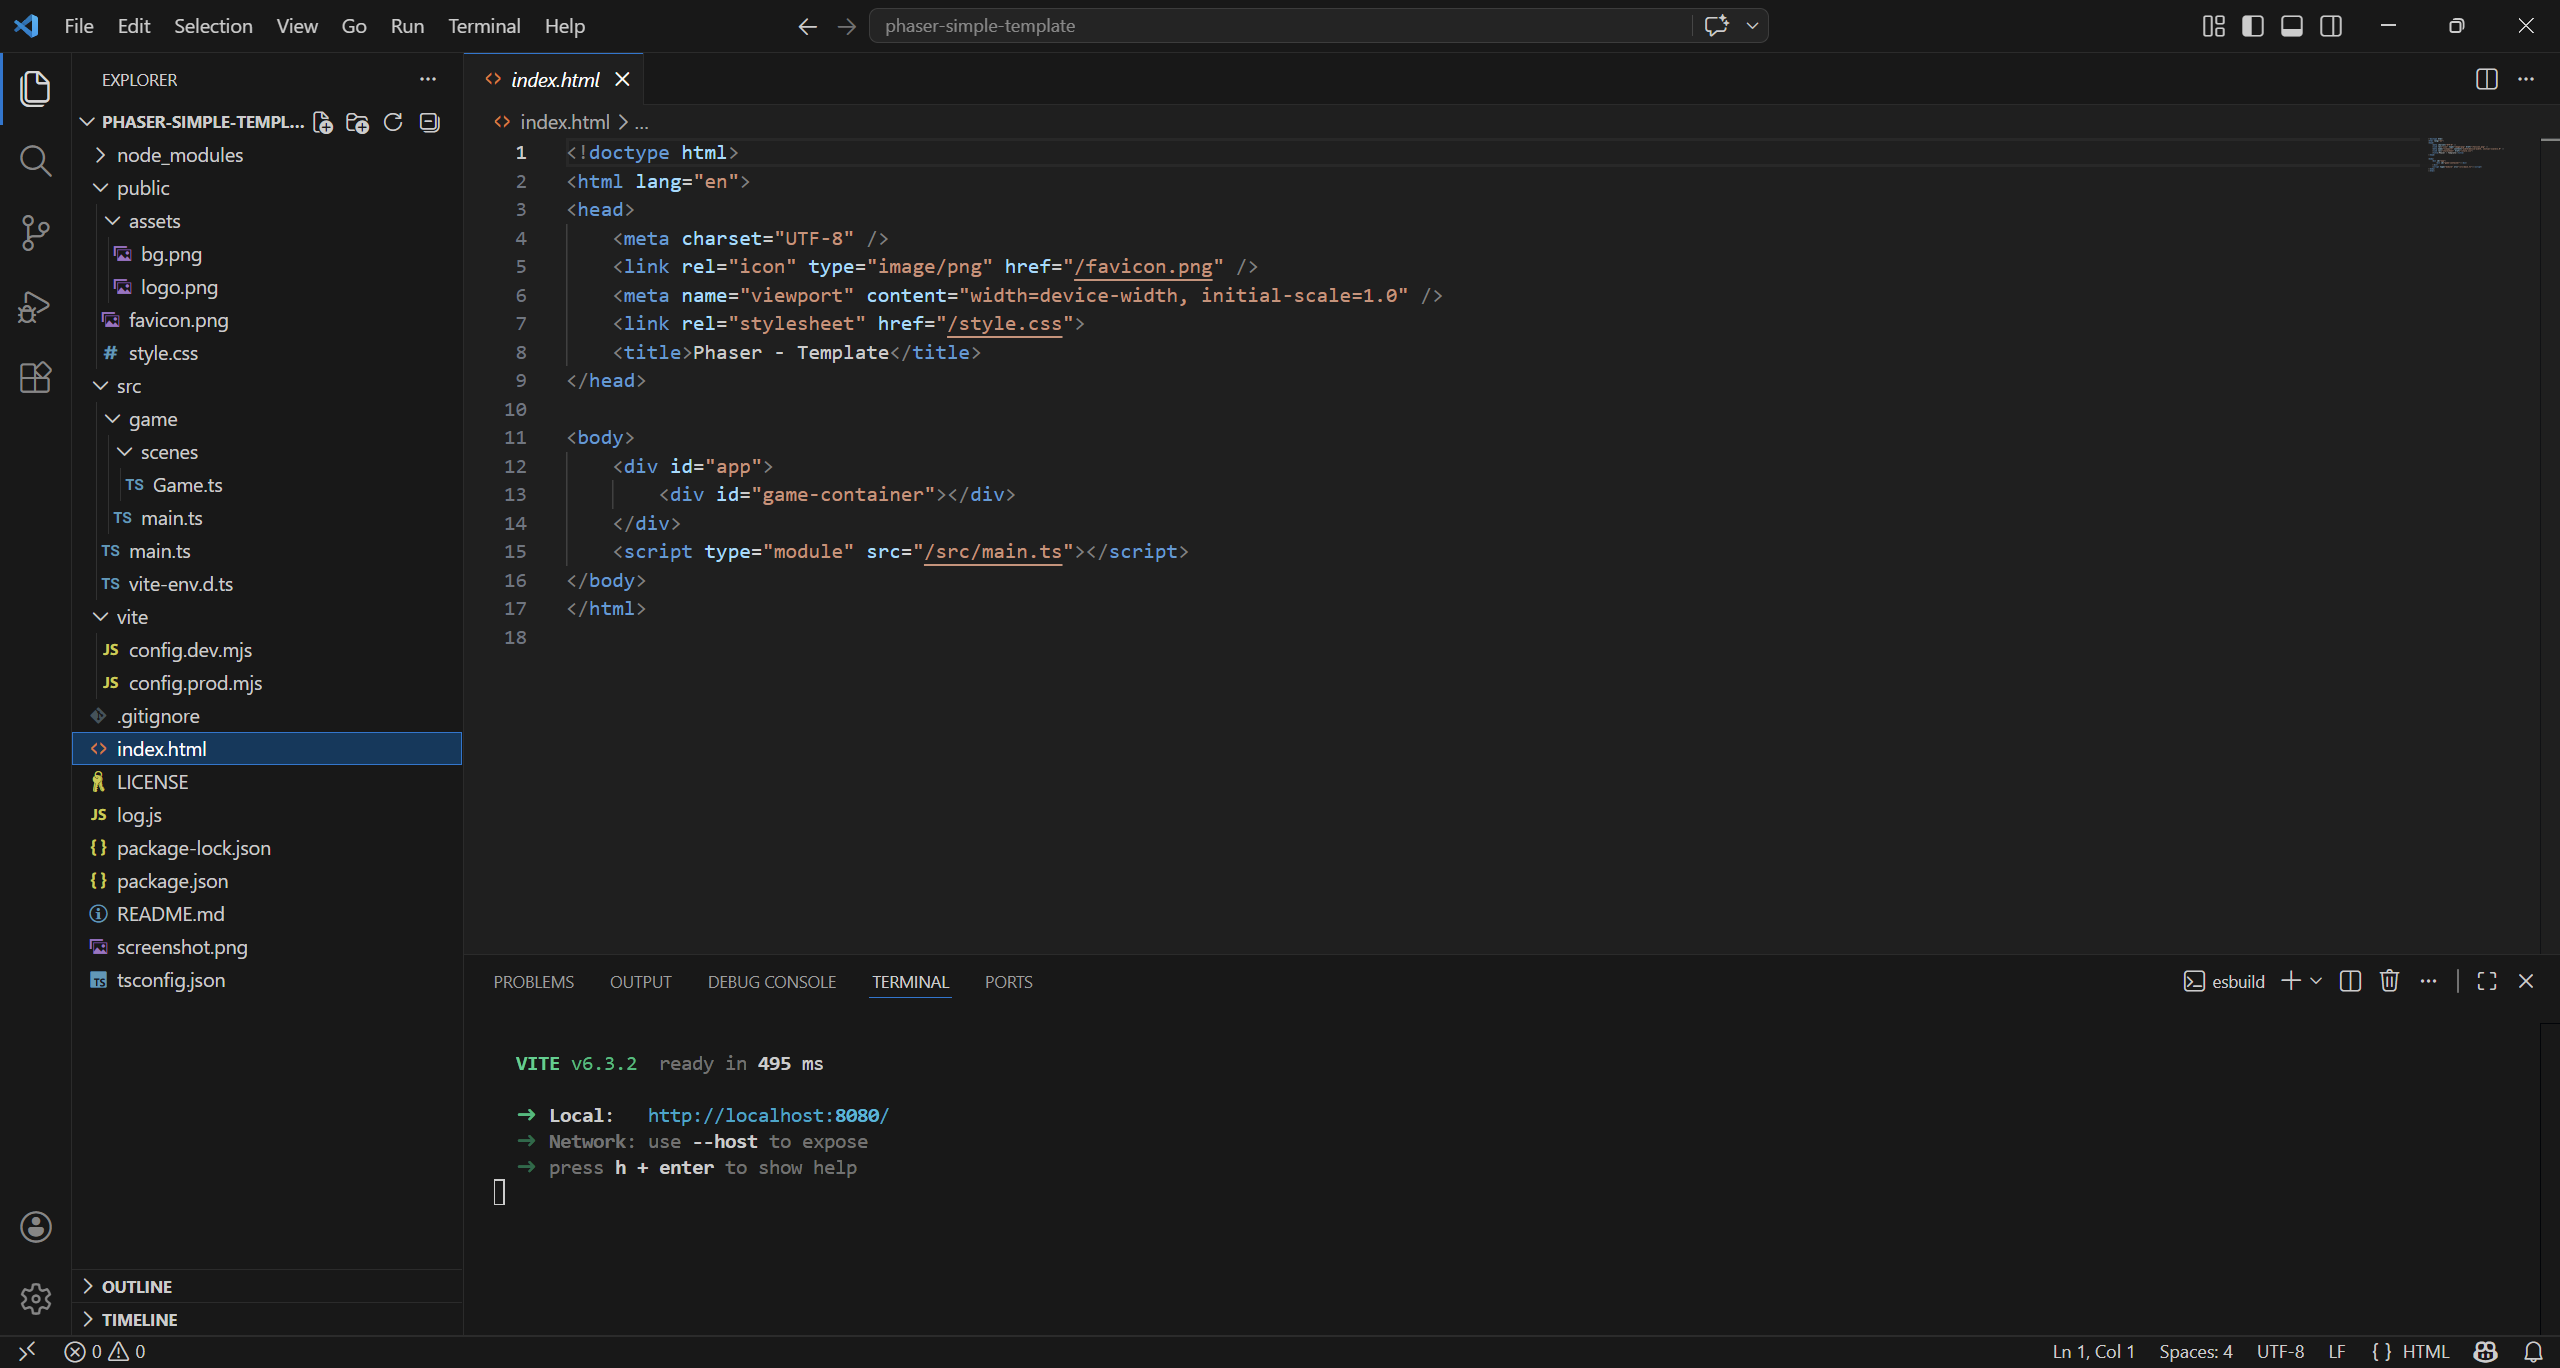
index.html is the entry point, the actual game HTML page. This HTML file sets up the page structure, including the container where the Phaser game will be rendered. It links the CSS for styling and loads the main TypeScript entry point that initializes the game.
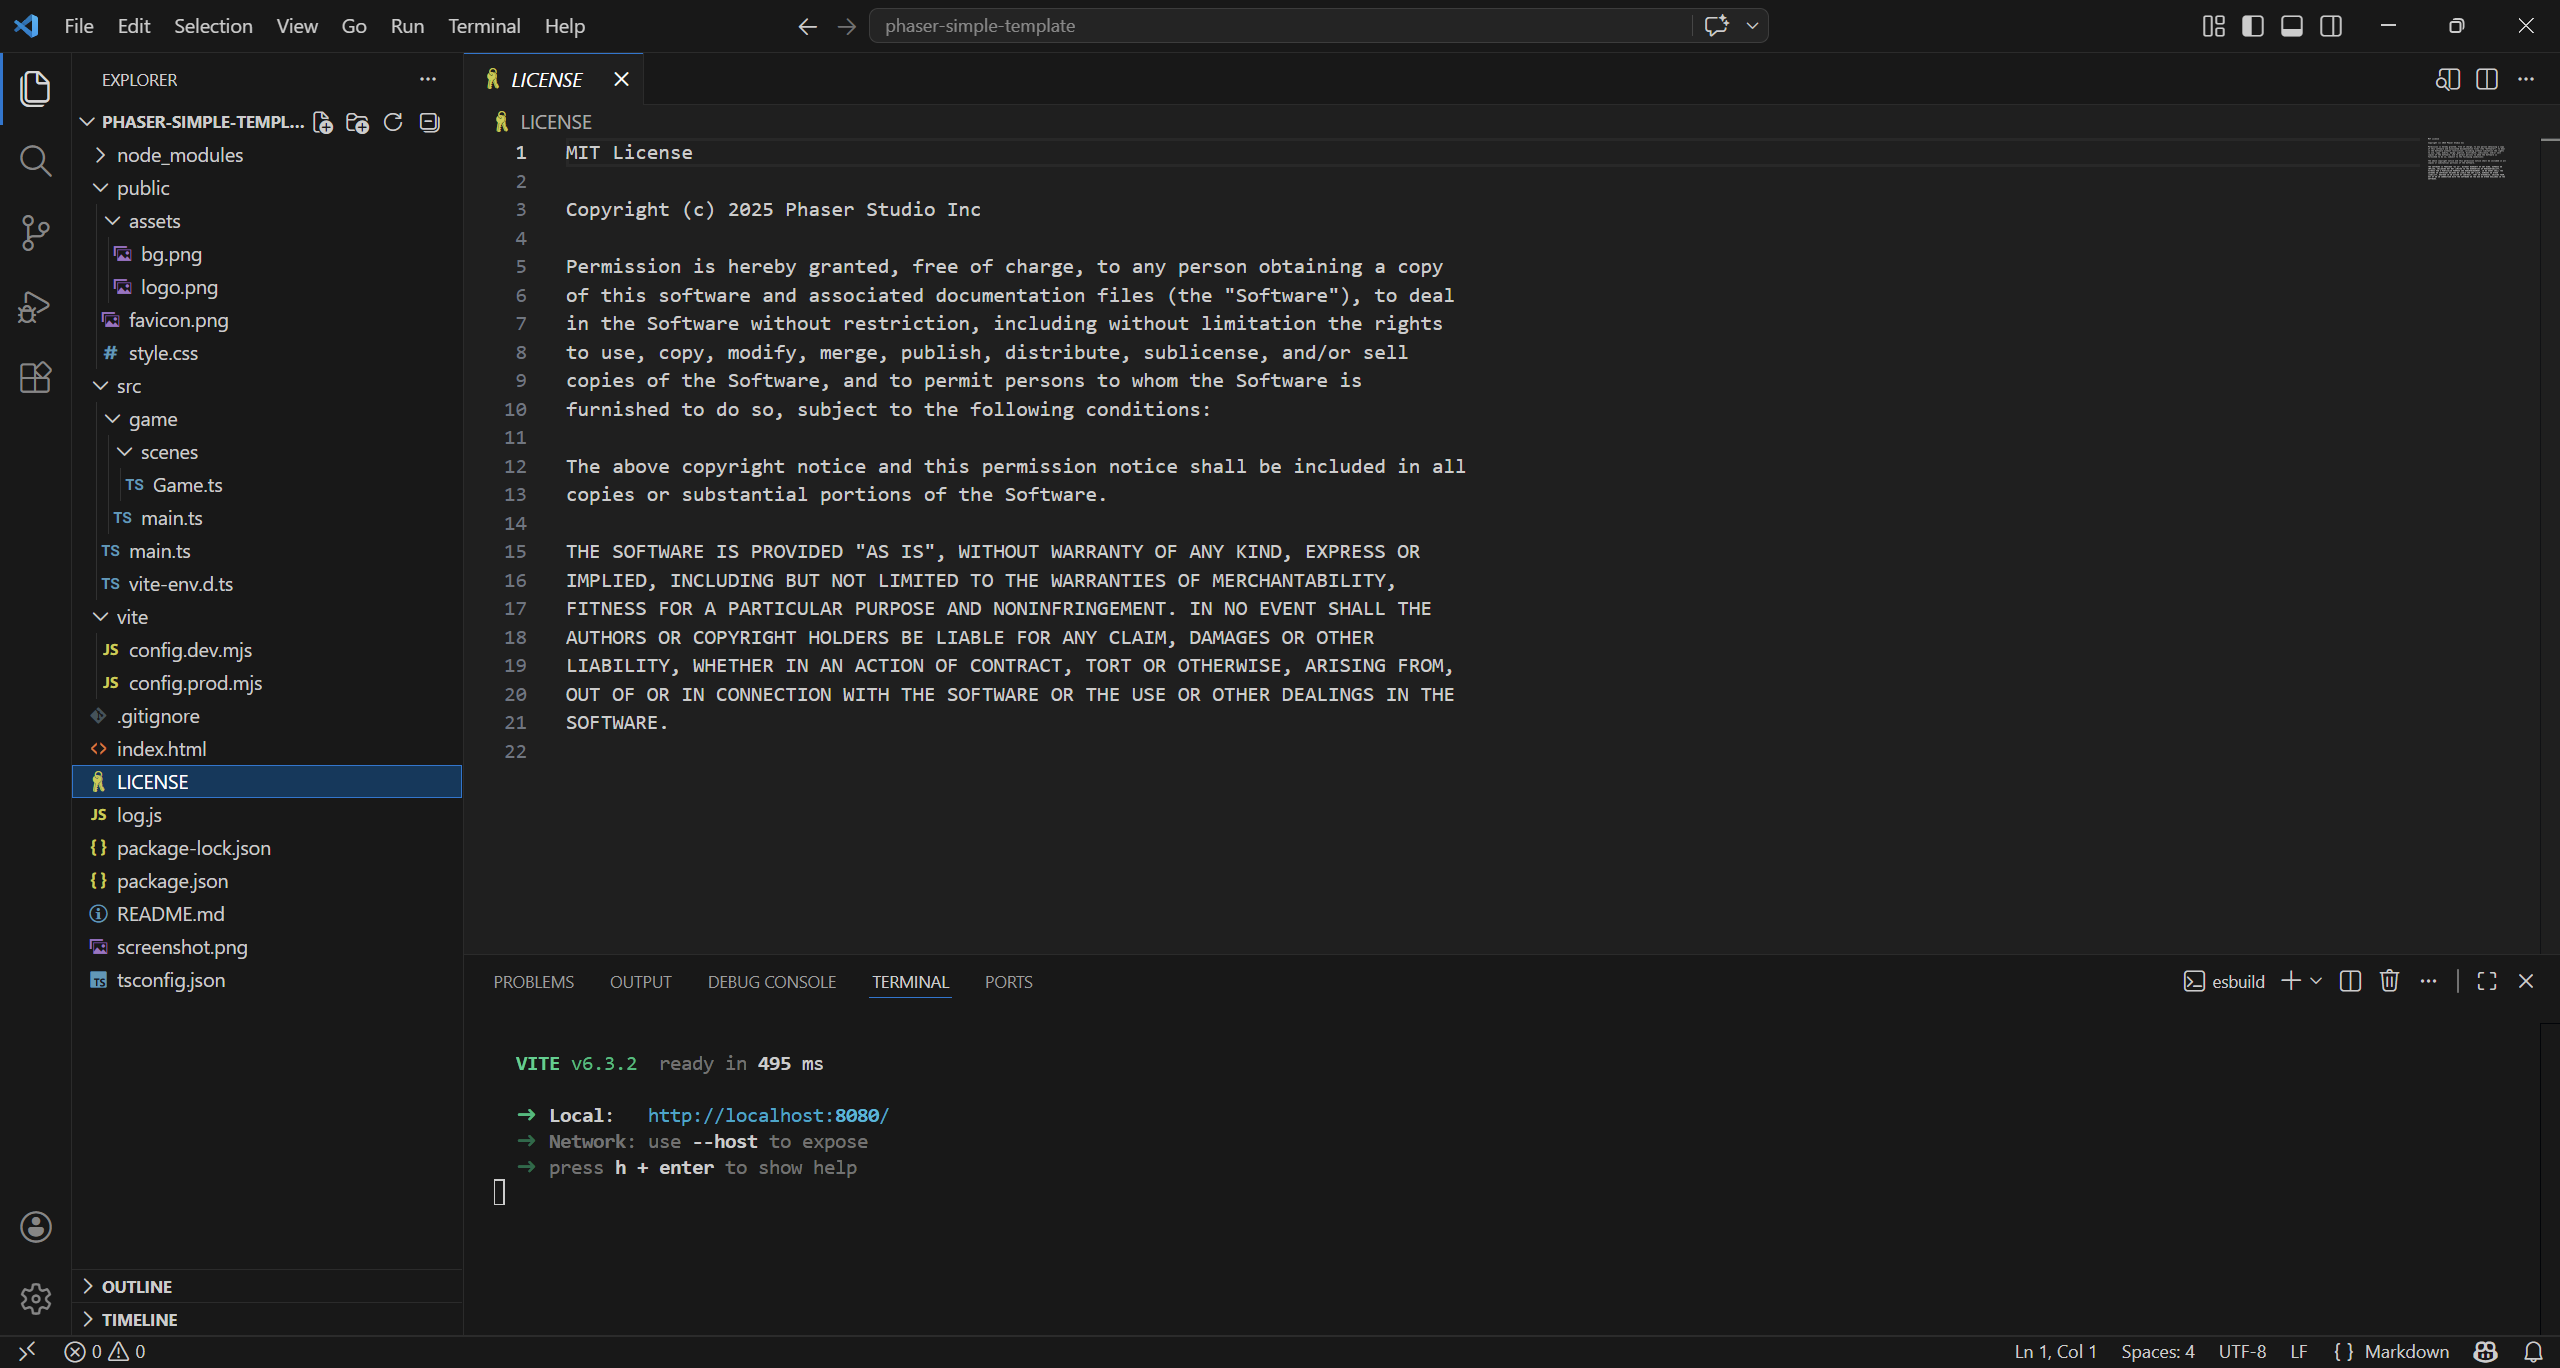
LICENSE defines how others can use, modify, and distribute your code. It protects your rights as the author and clarifies permissions for developers who use your project. If you don’t plan to distribute your project, you can delete it.
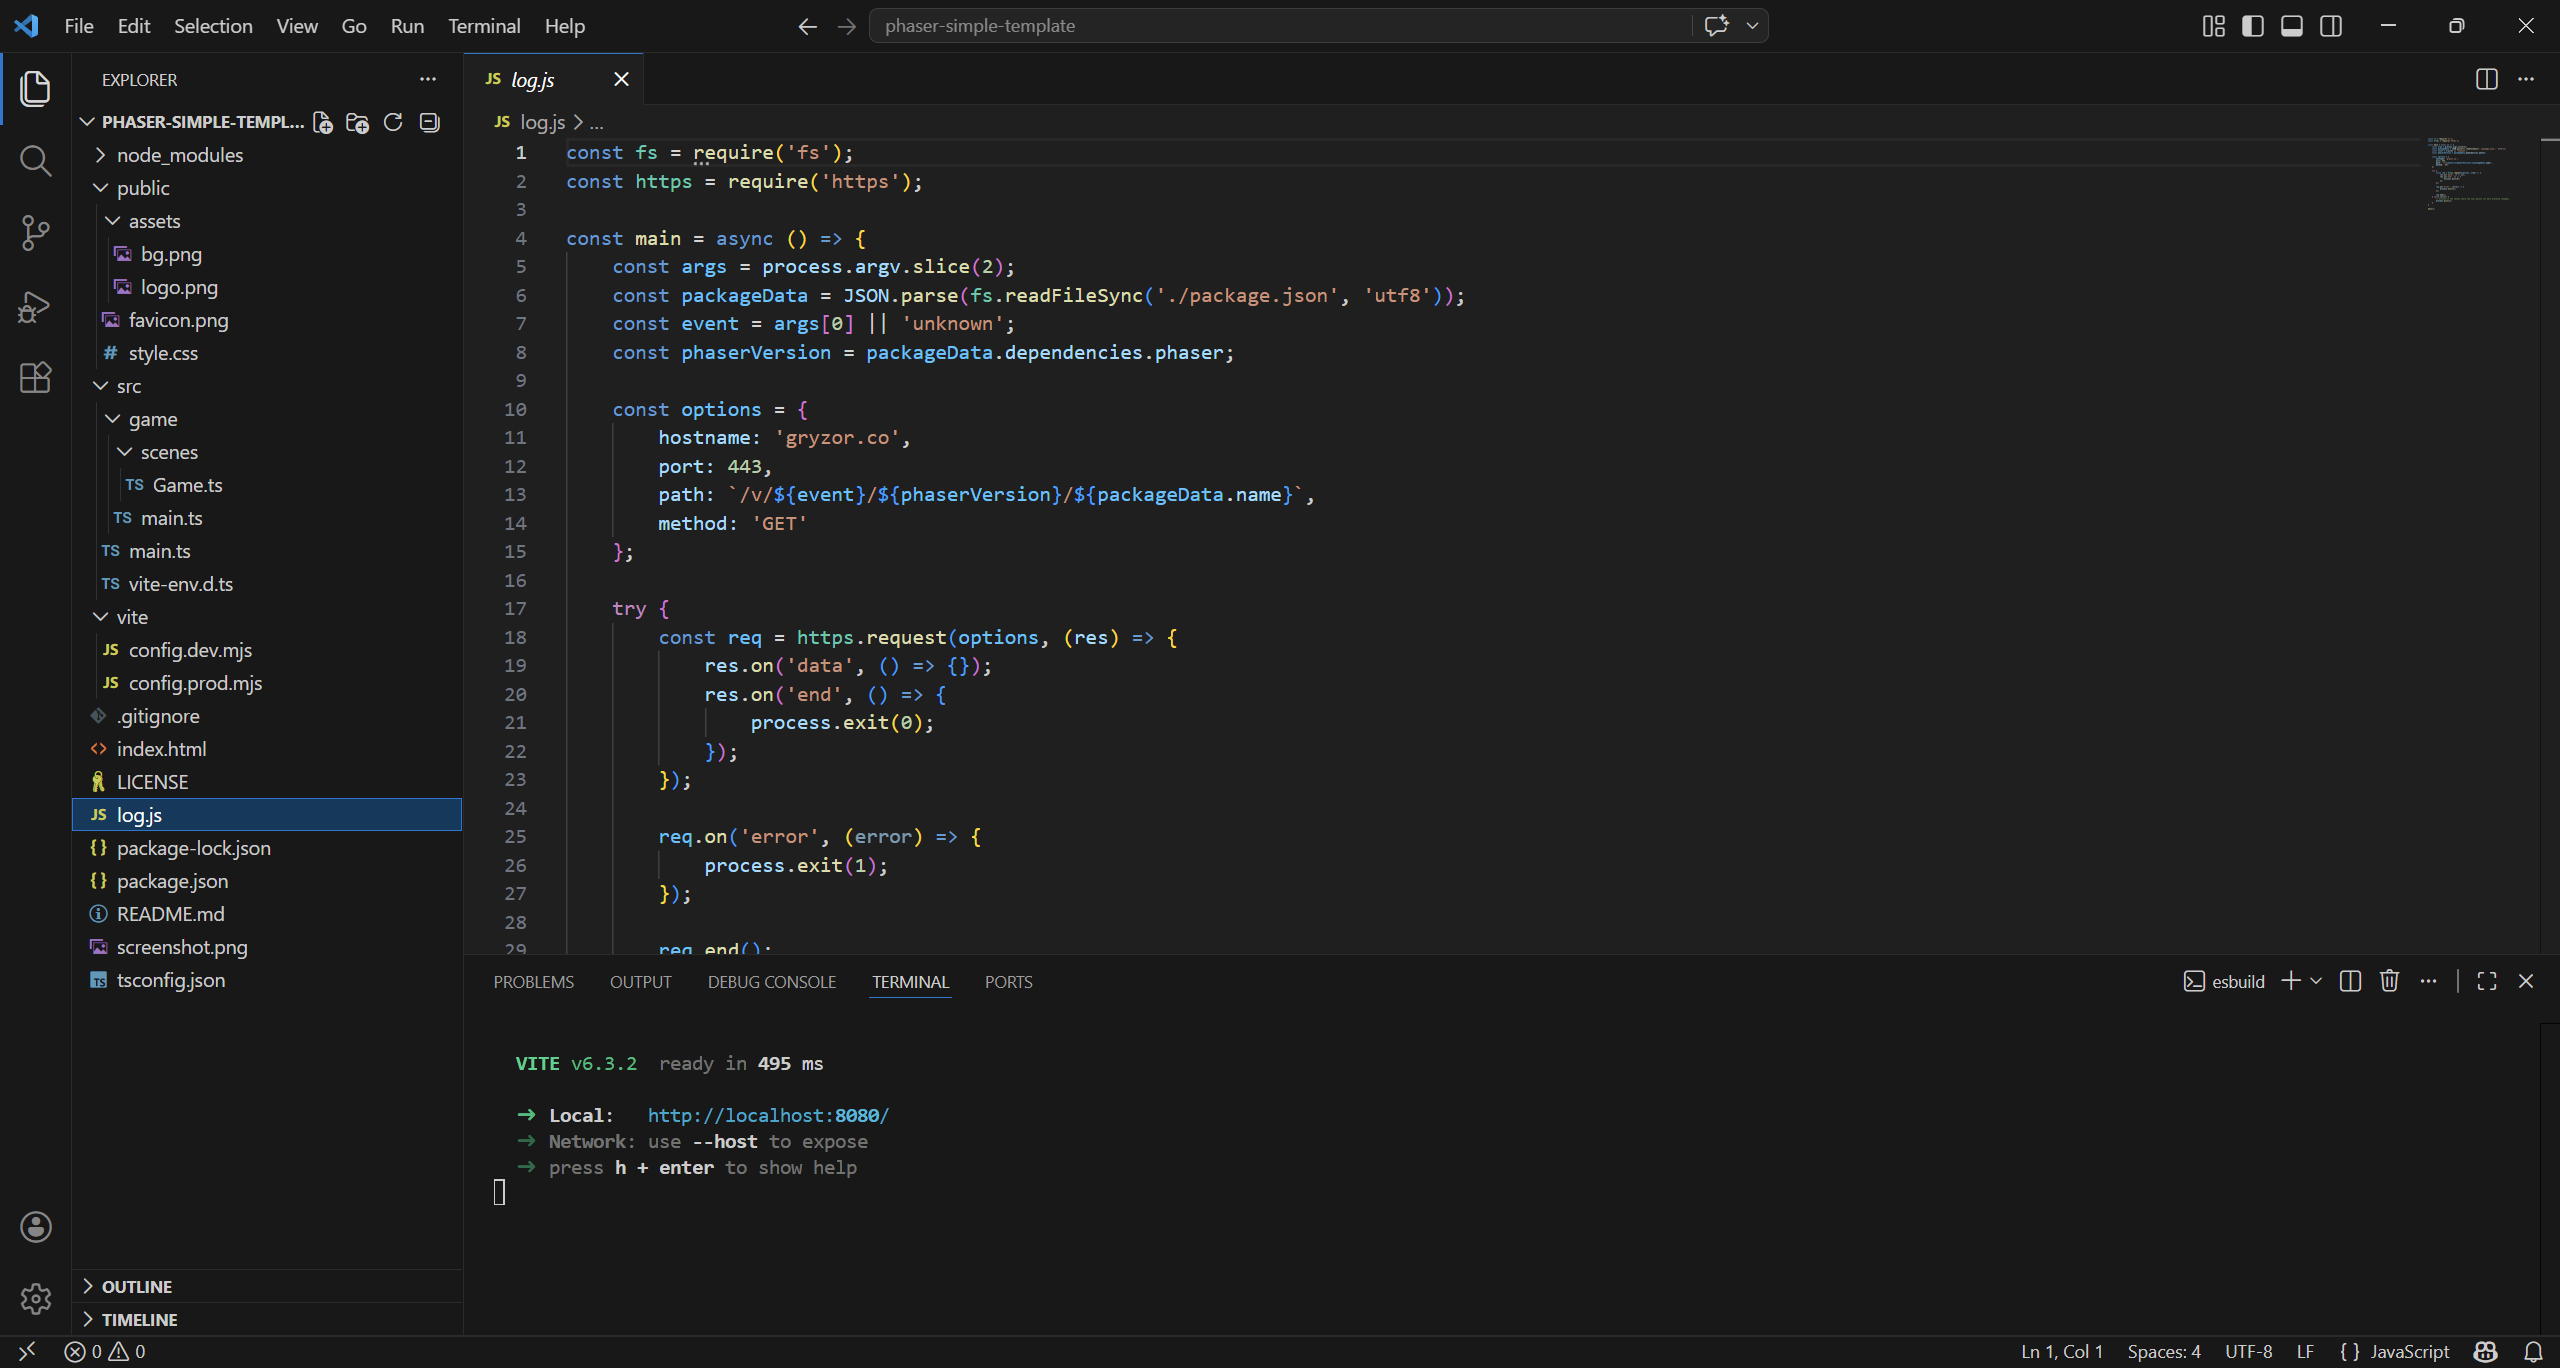
log.js is a small telemetry script that sends basic project info (like name and Phaser version) to a remote server. If you don’t want to send such information, you can delete it.
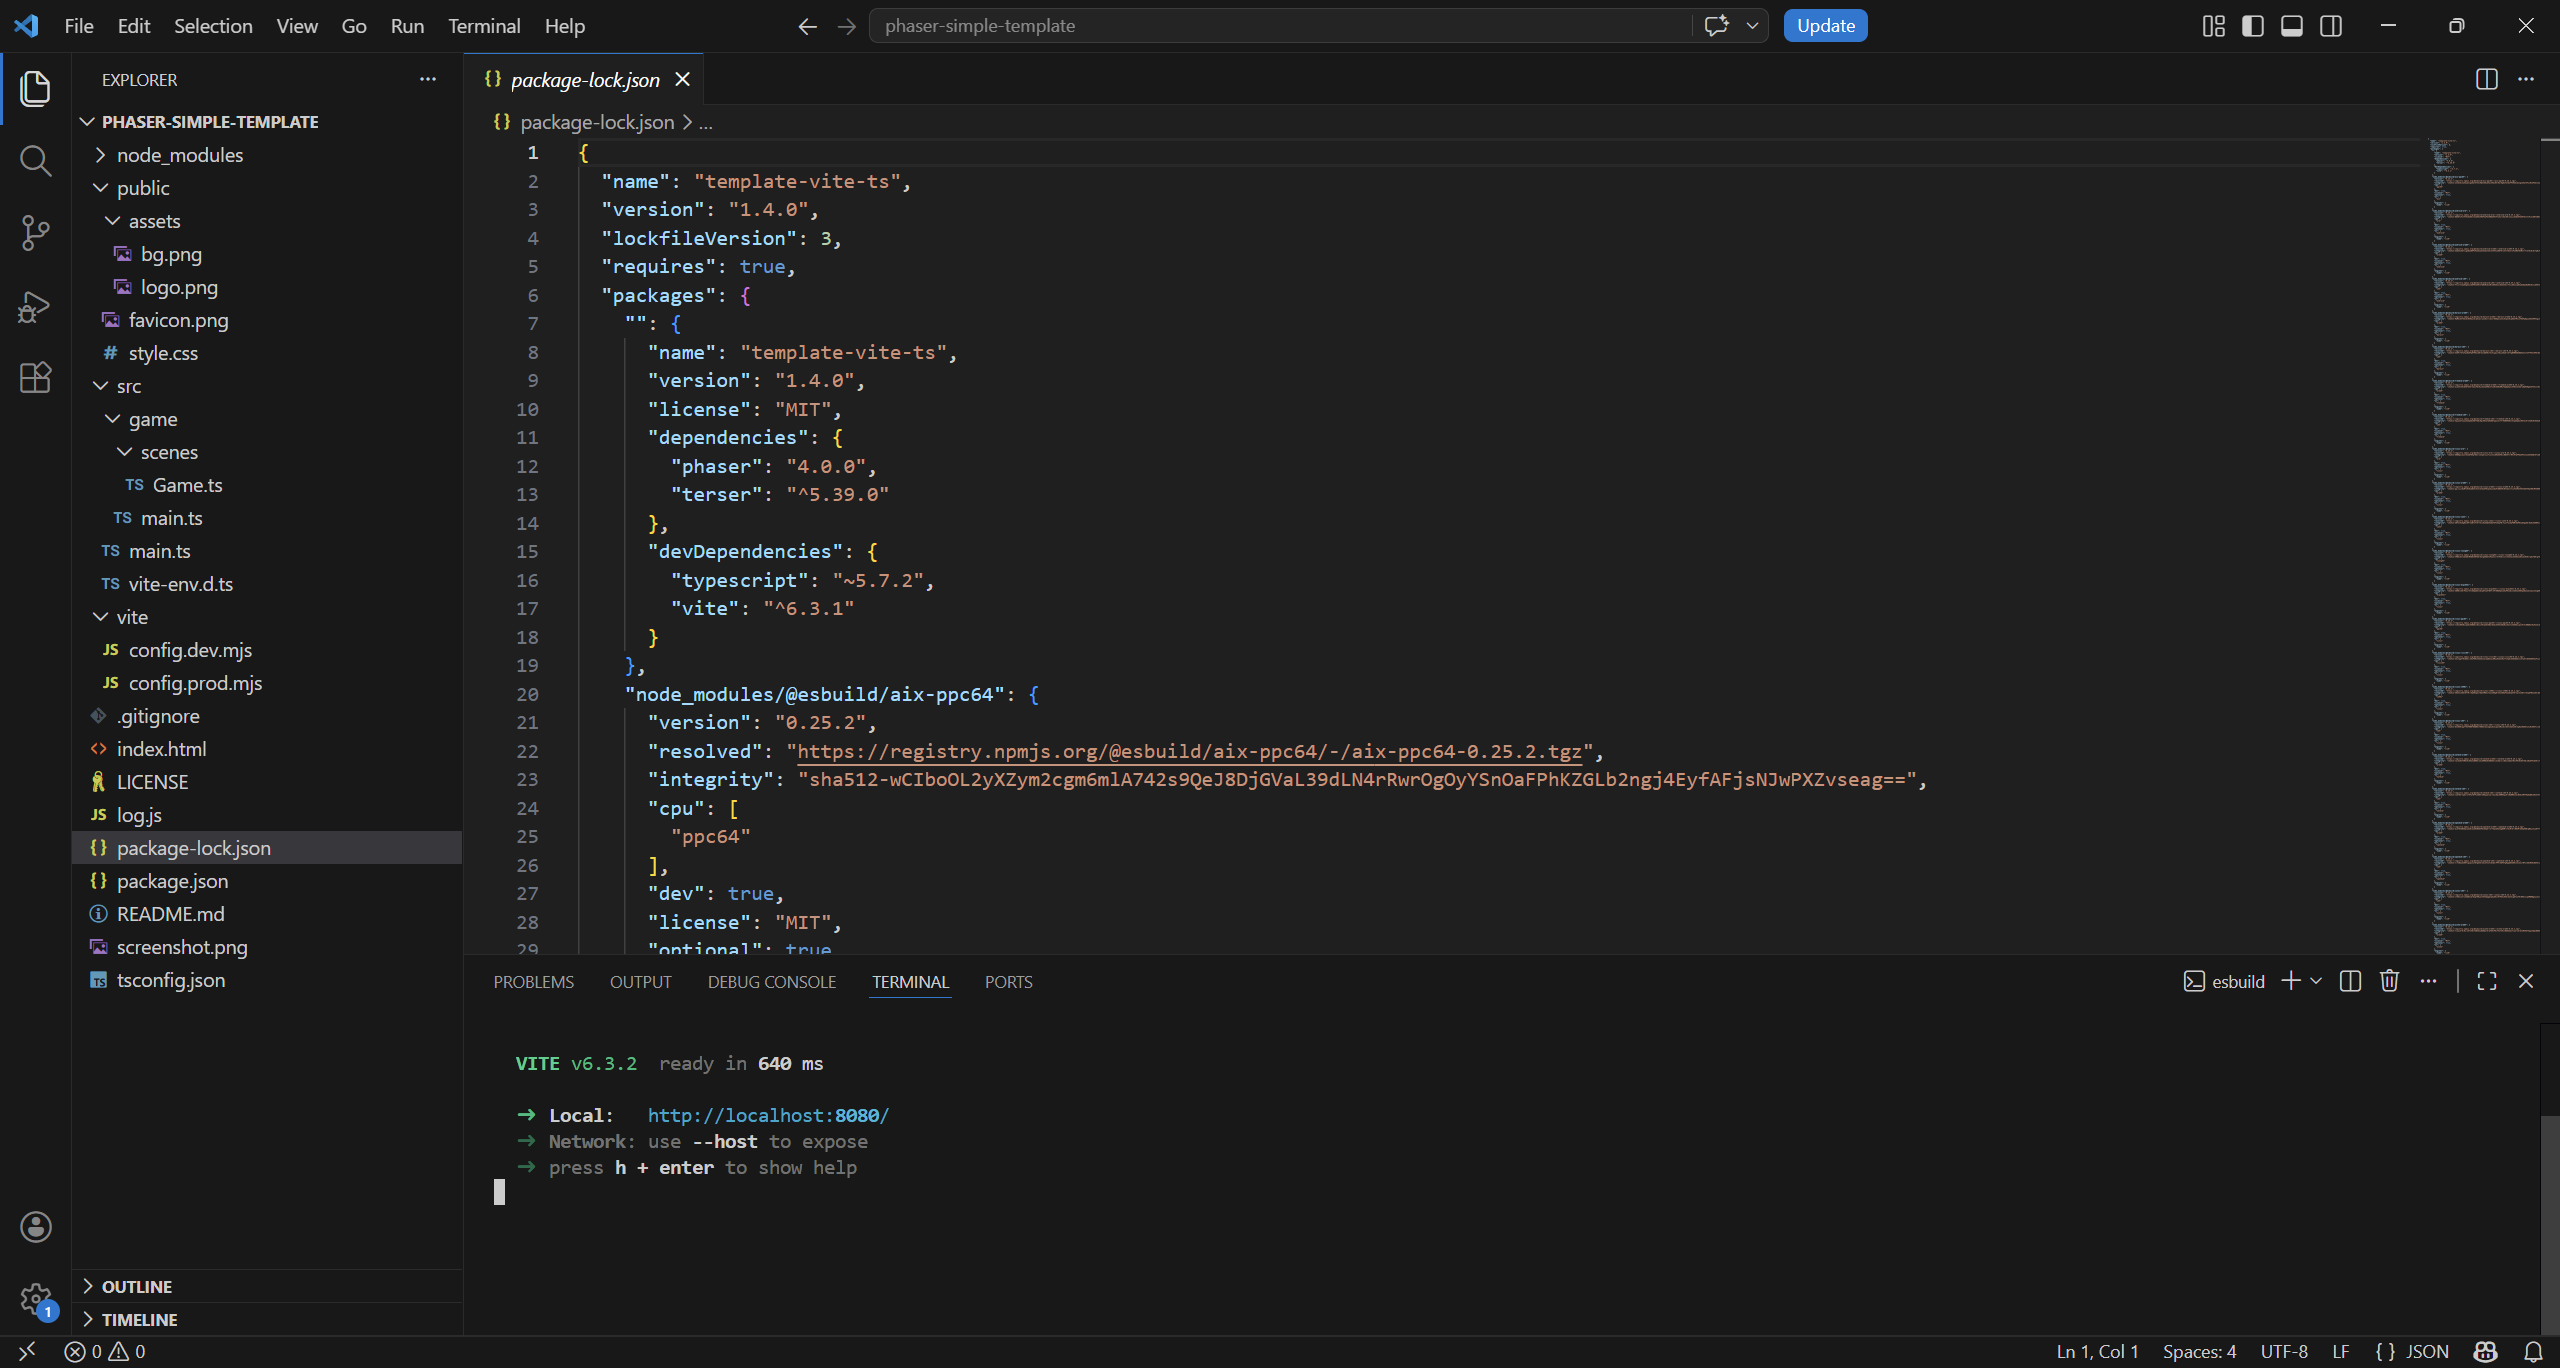
package-lock.json locks the exact versions of all installed dependencies and their sub-dependencies. It ensures consistent installs across environments, so everyone gets the same working setup.
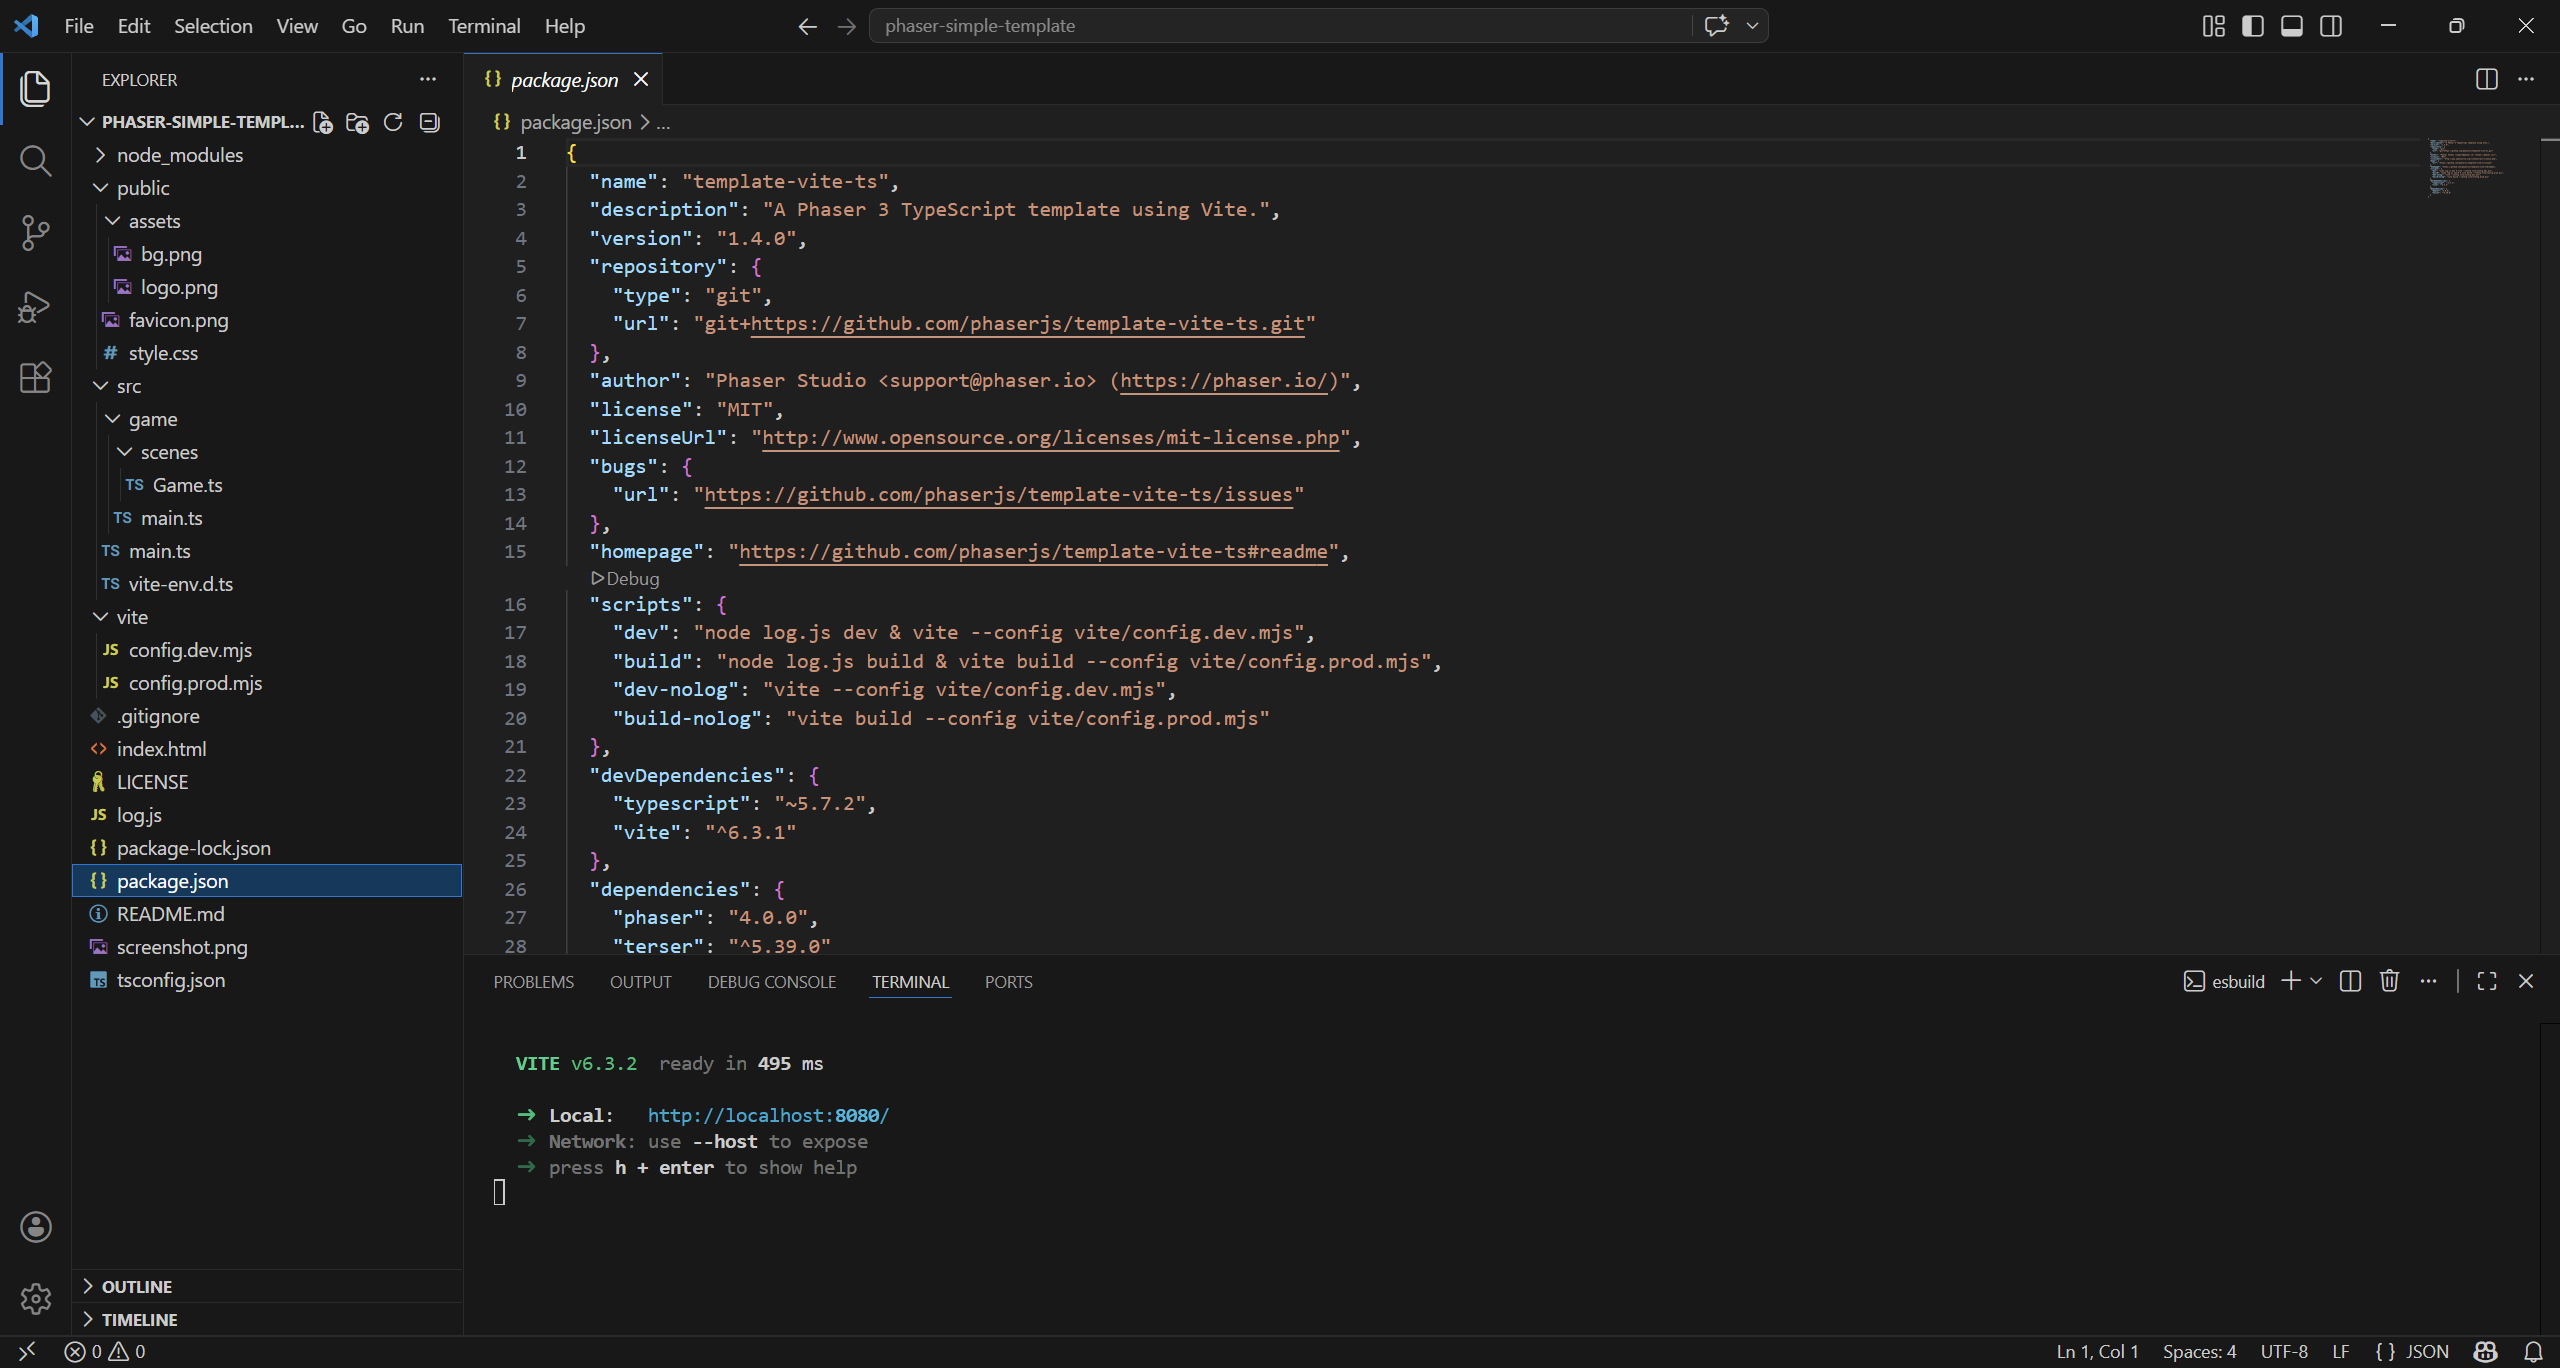
package.json defines a Node.js project’s metadata, dependencies, and scripts. It tells tools like npm how to install packages and run tasks like build, start, or test.
The two files differ in that package.json defines the project’s dependencies and configuration, while package-lock.json locks the exact installed versions to ensure consistency across environments.
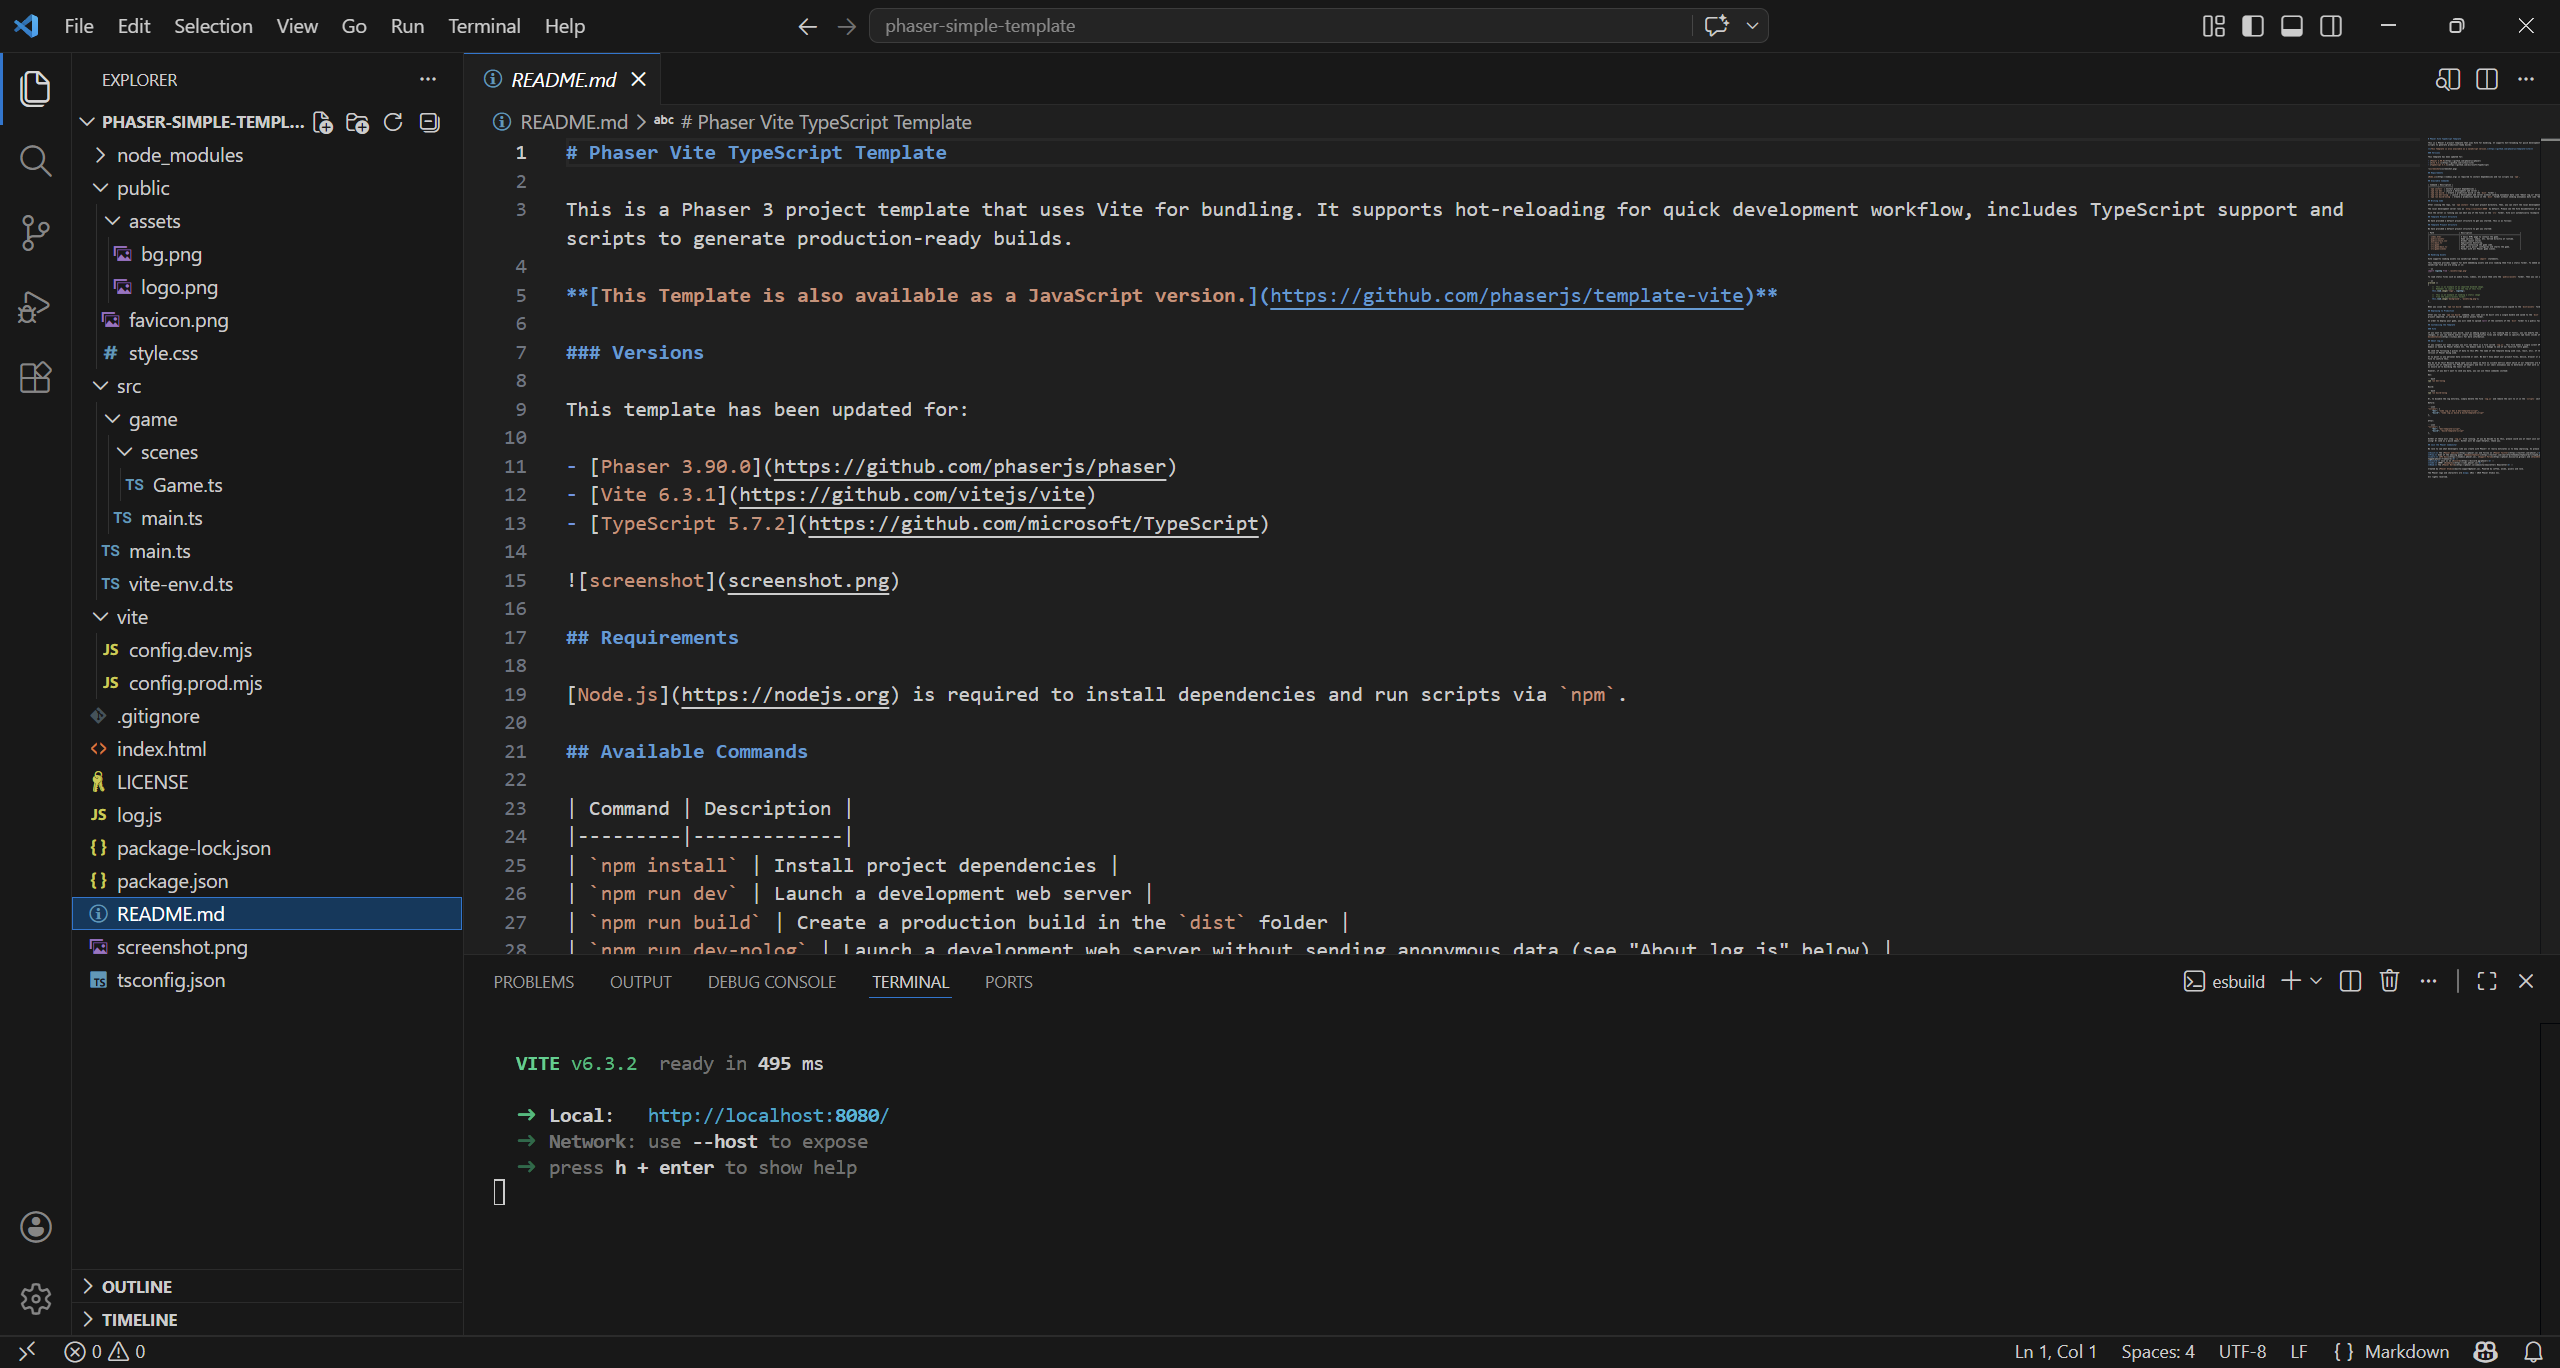
README.md provides an overview of the project, explaining what it does and how to use or install it. It’s usually the first thing people read, written in Markdown to be easily displayed on platforms like GitHub. If you don’t plan to distribute your project on Git, you can delete it.
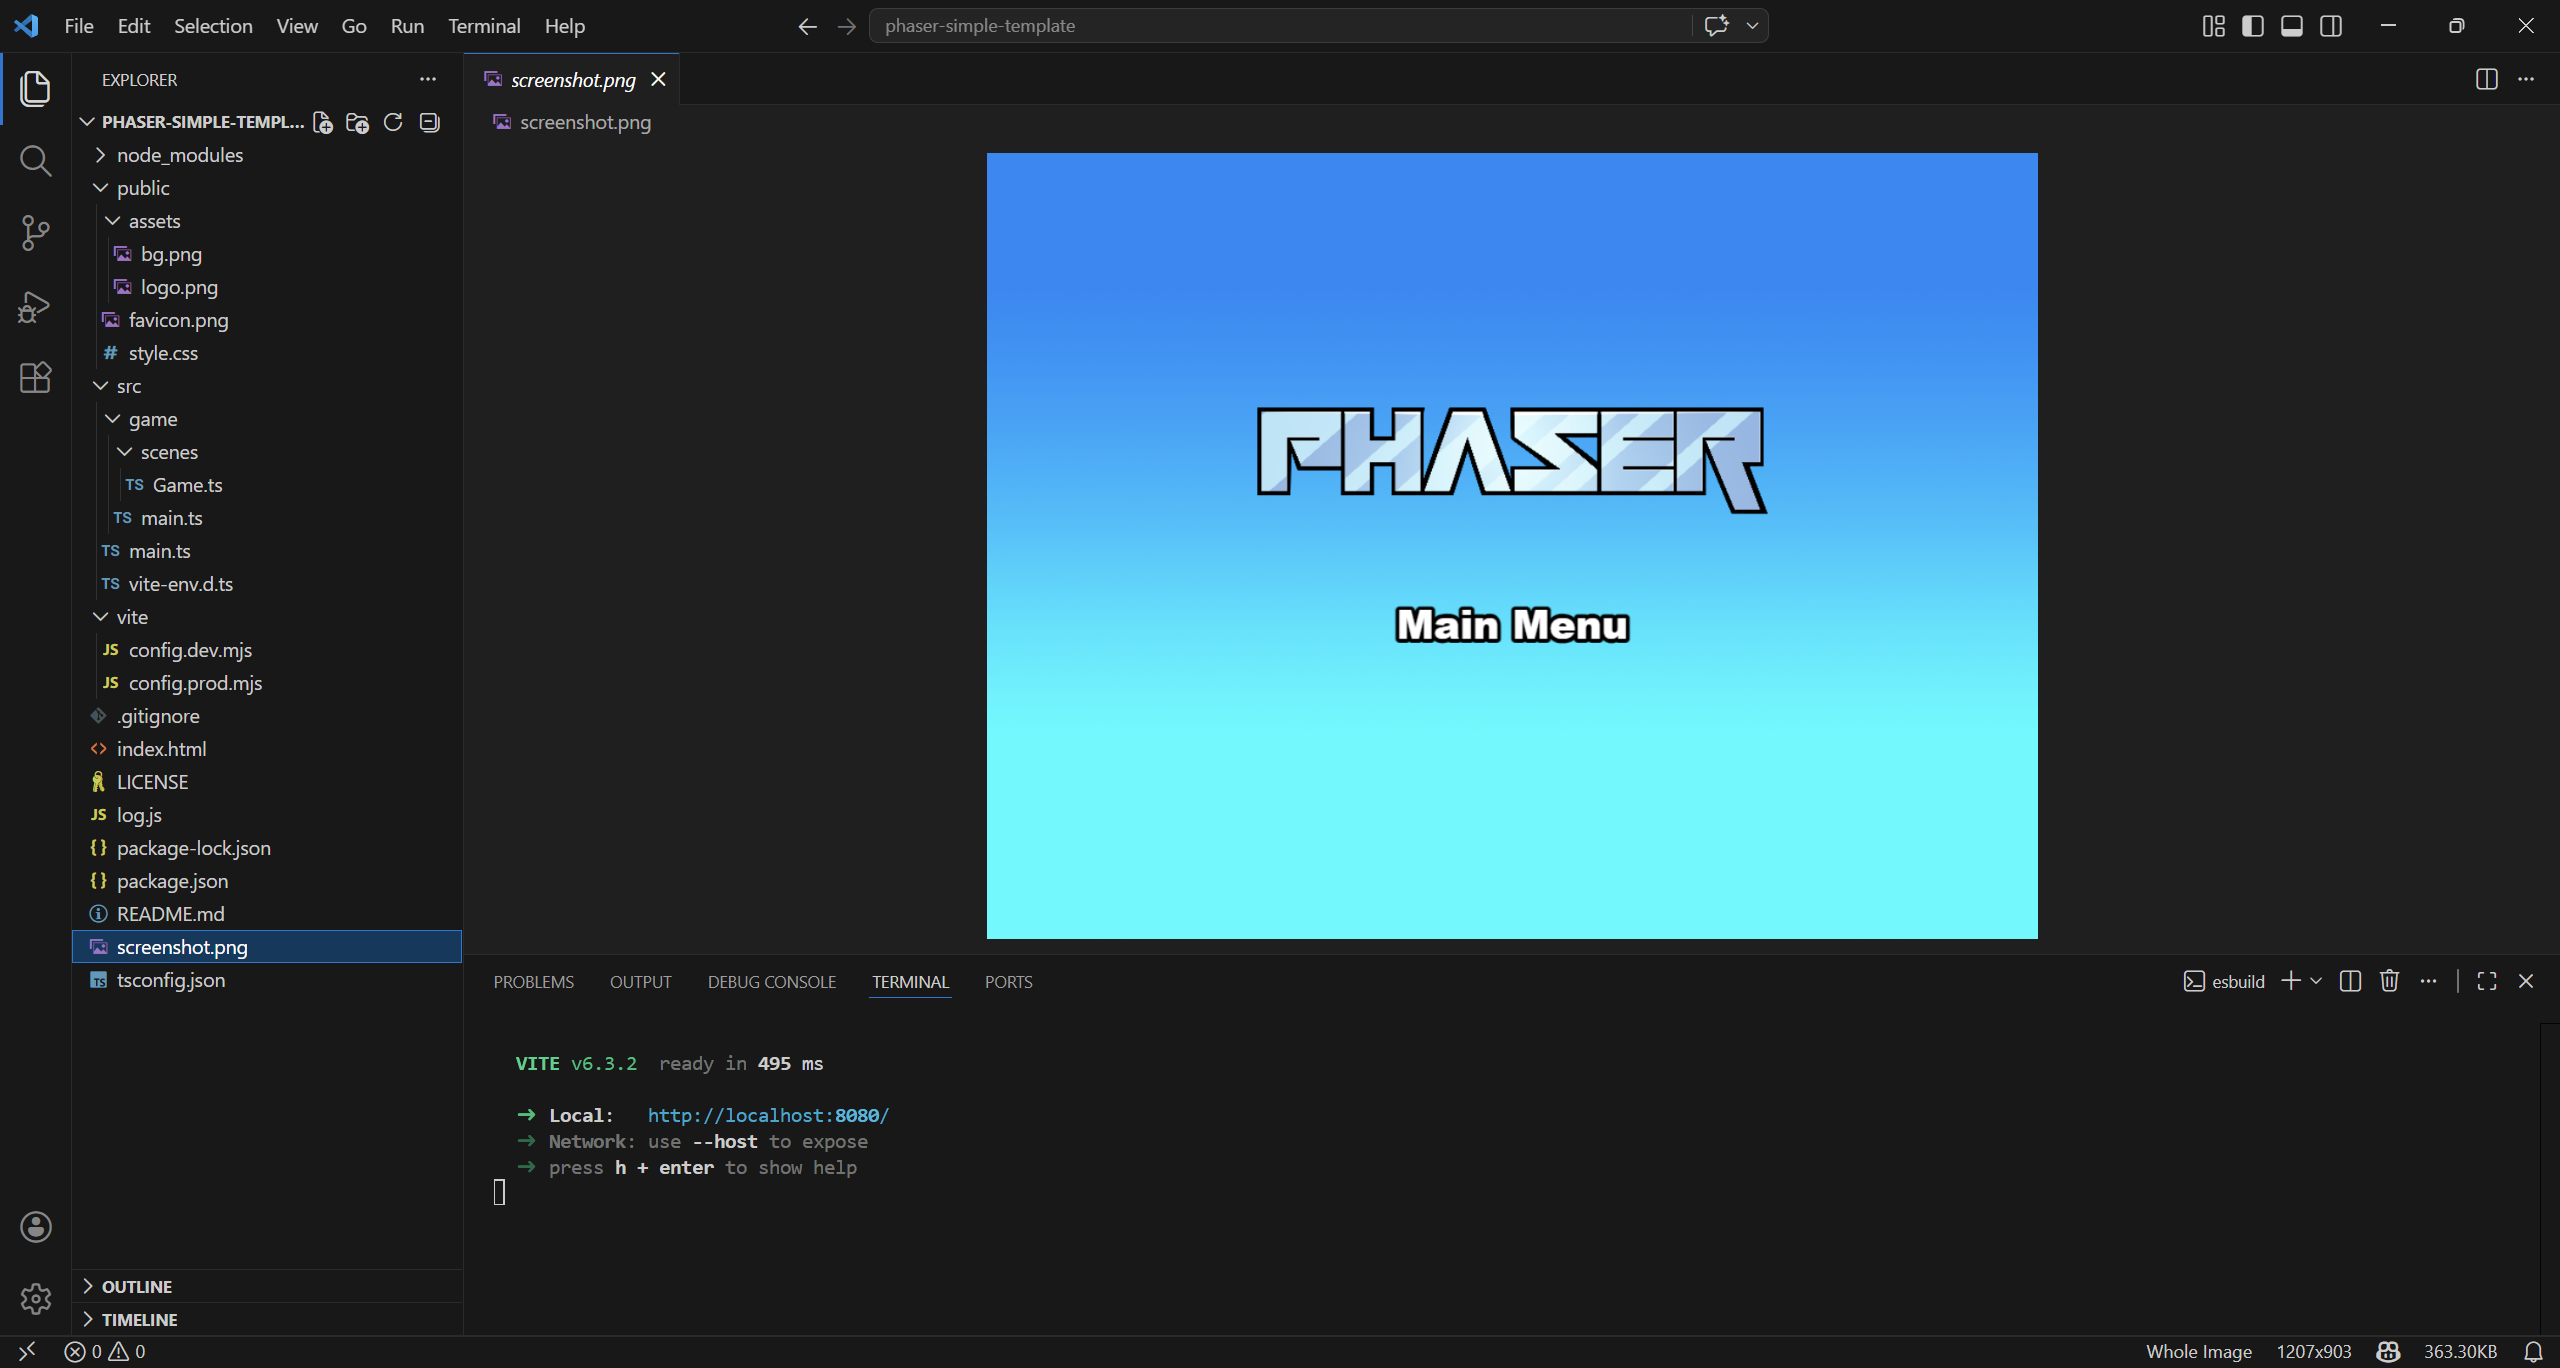
screenshot.png is a picture called by README.md. You can delete it or replace with a screenshot of your project, if you plan to publish your work on Git.
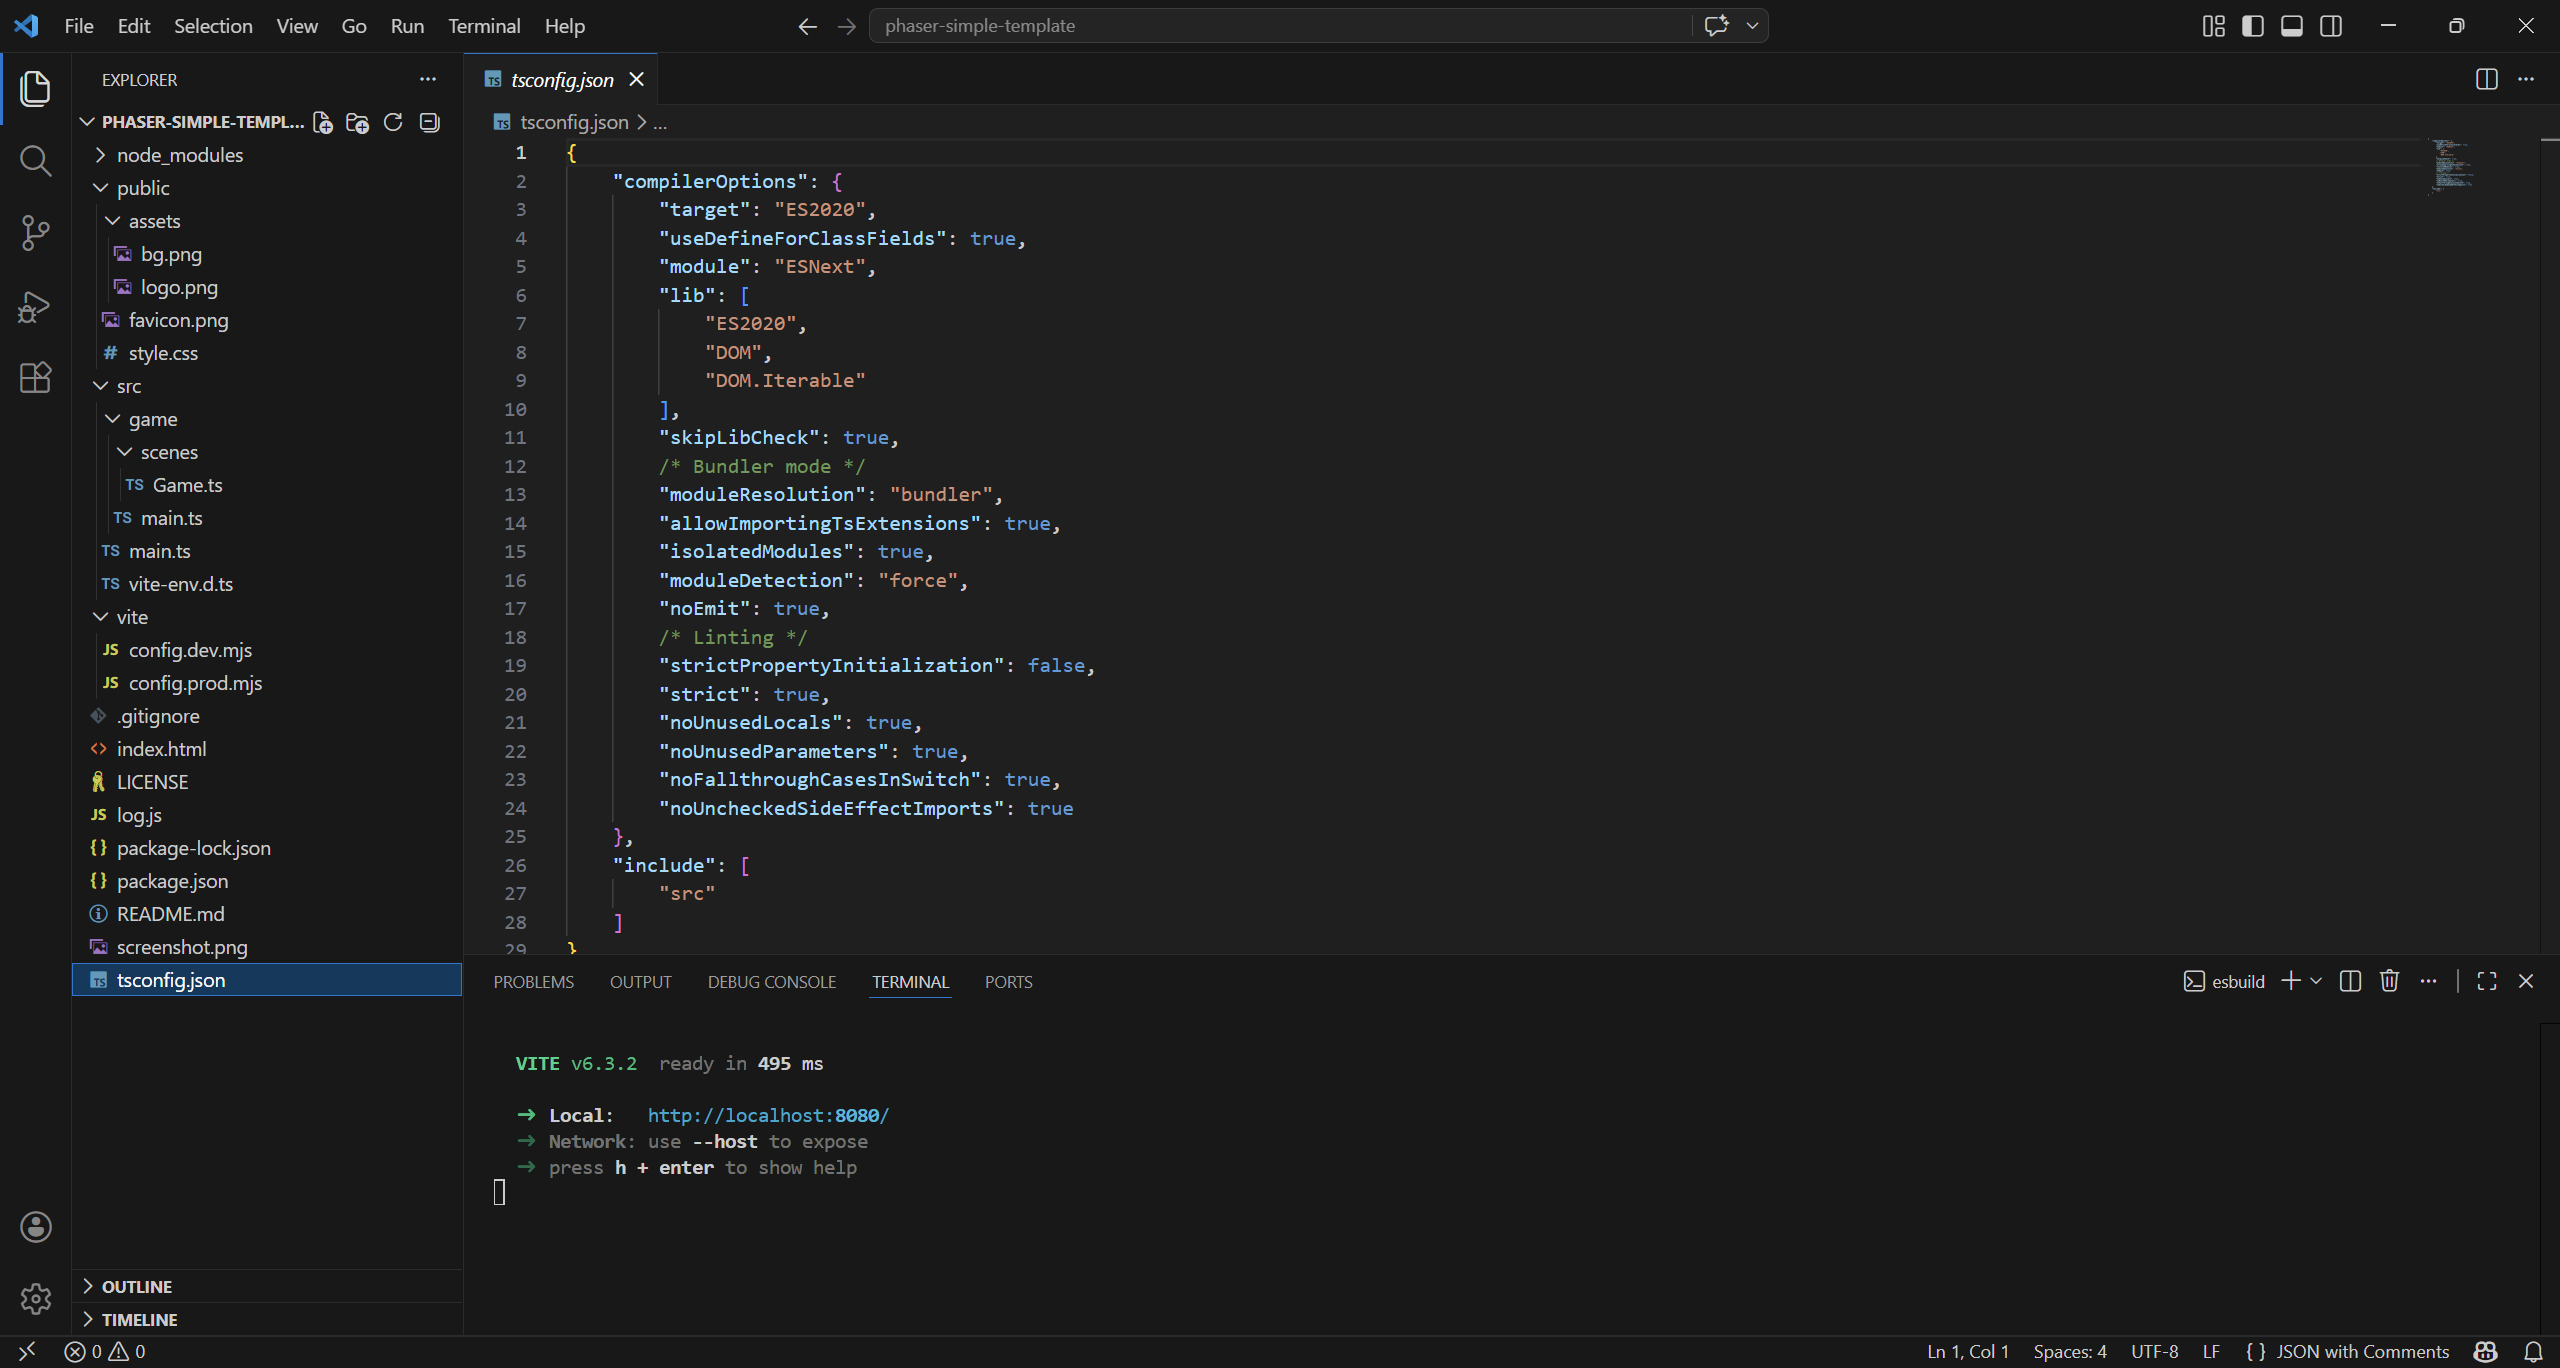
tsconfig.json defines how TypeScript compiles your project (target version, modules, strictness, etc.). It also tells the compiler which files to include and how to handle type checking and output.
Want to see your project running? Enter in the terminal
npm run dev
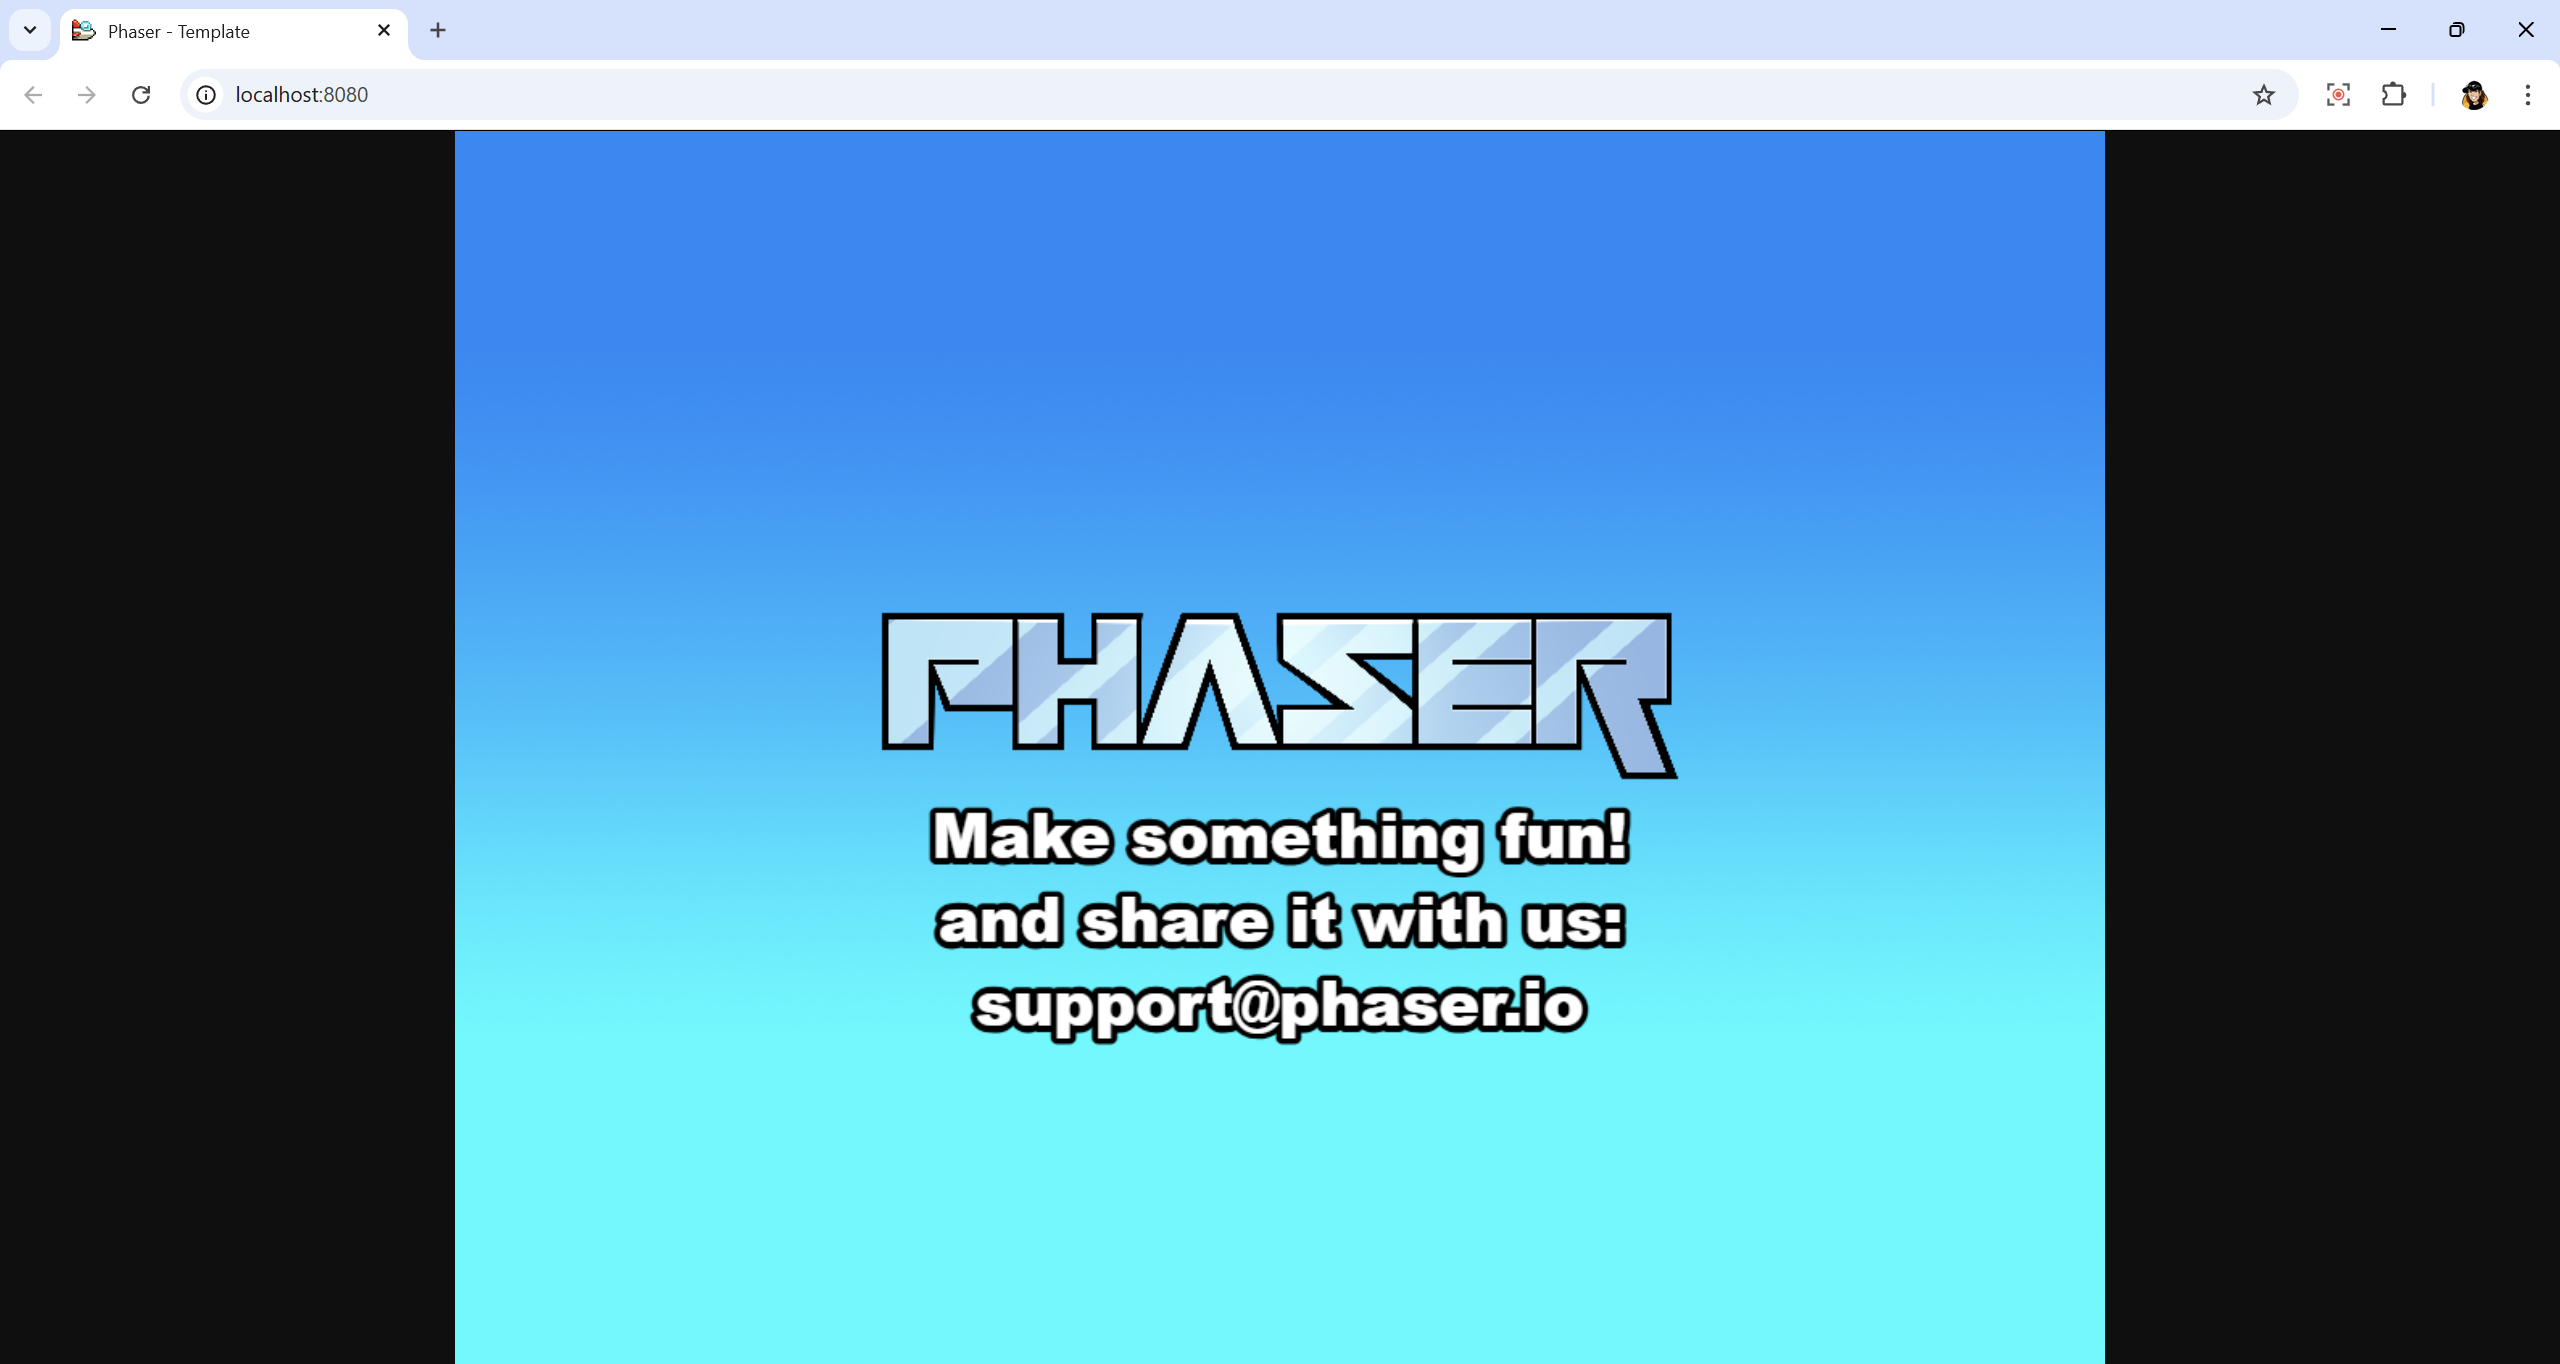
and you will see the local server running on http://localhost:8000/.

Simply point your browser to that address to open the game.
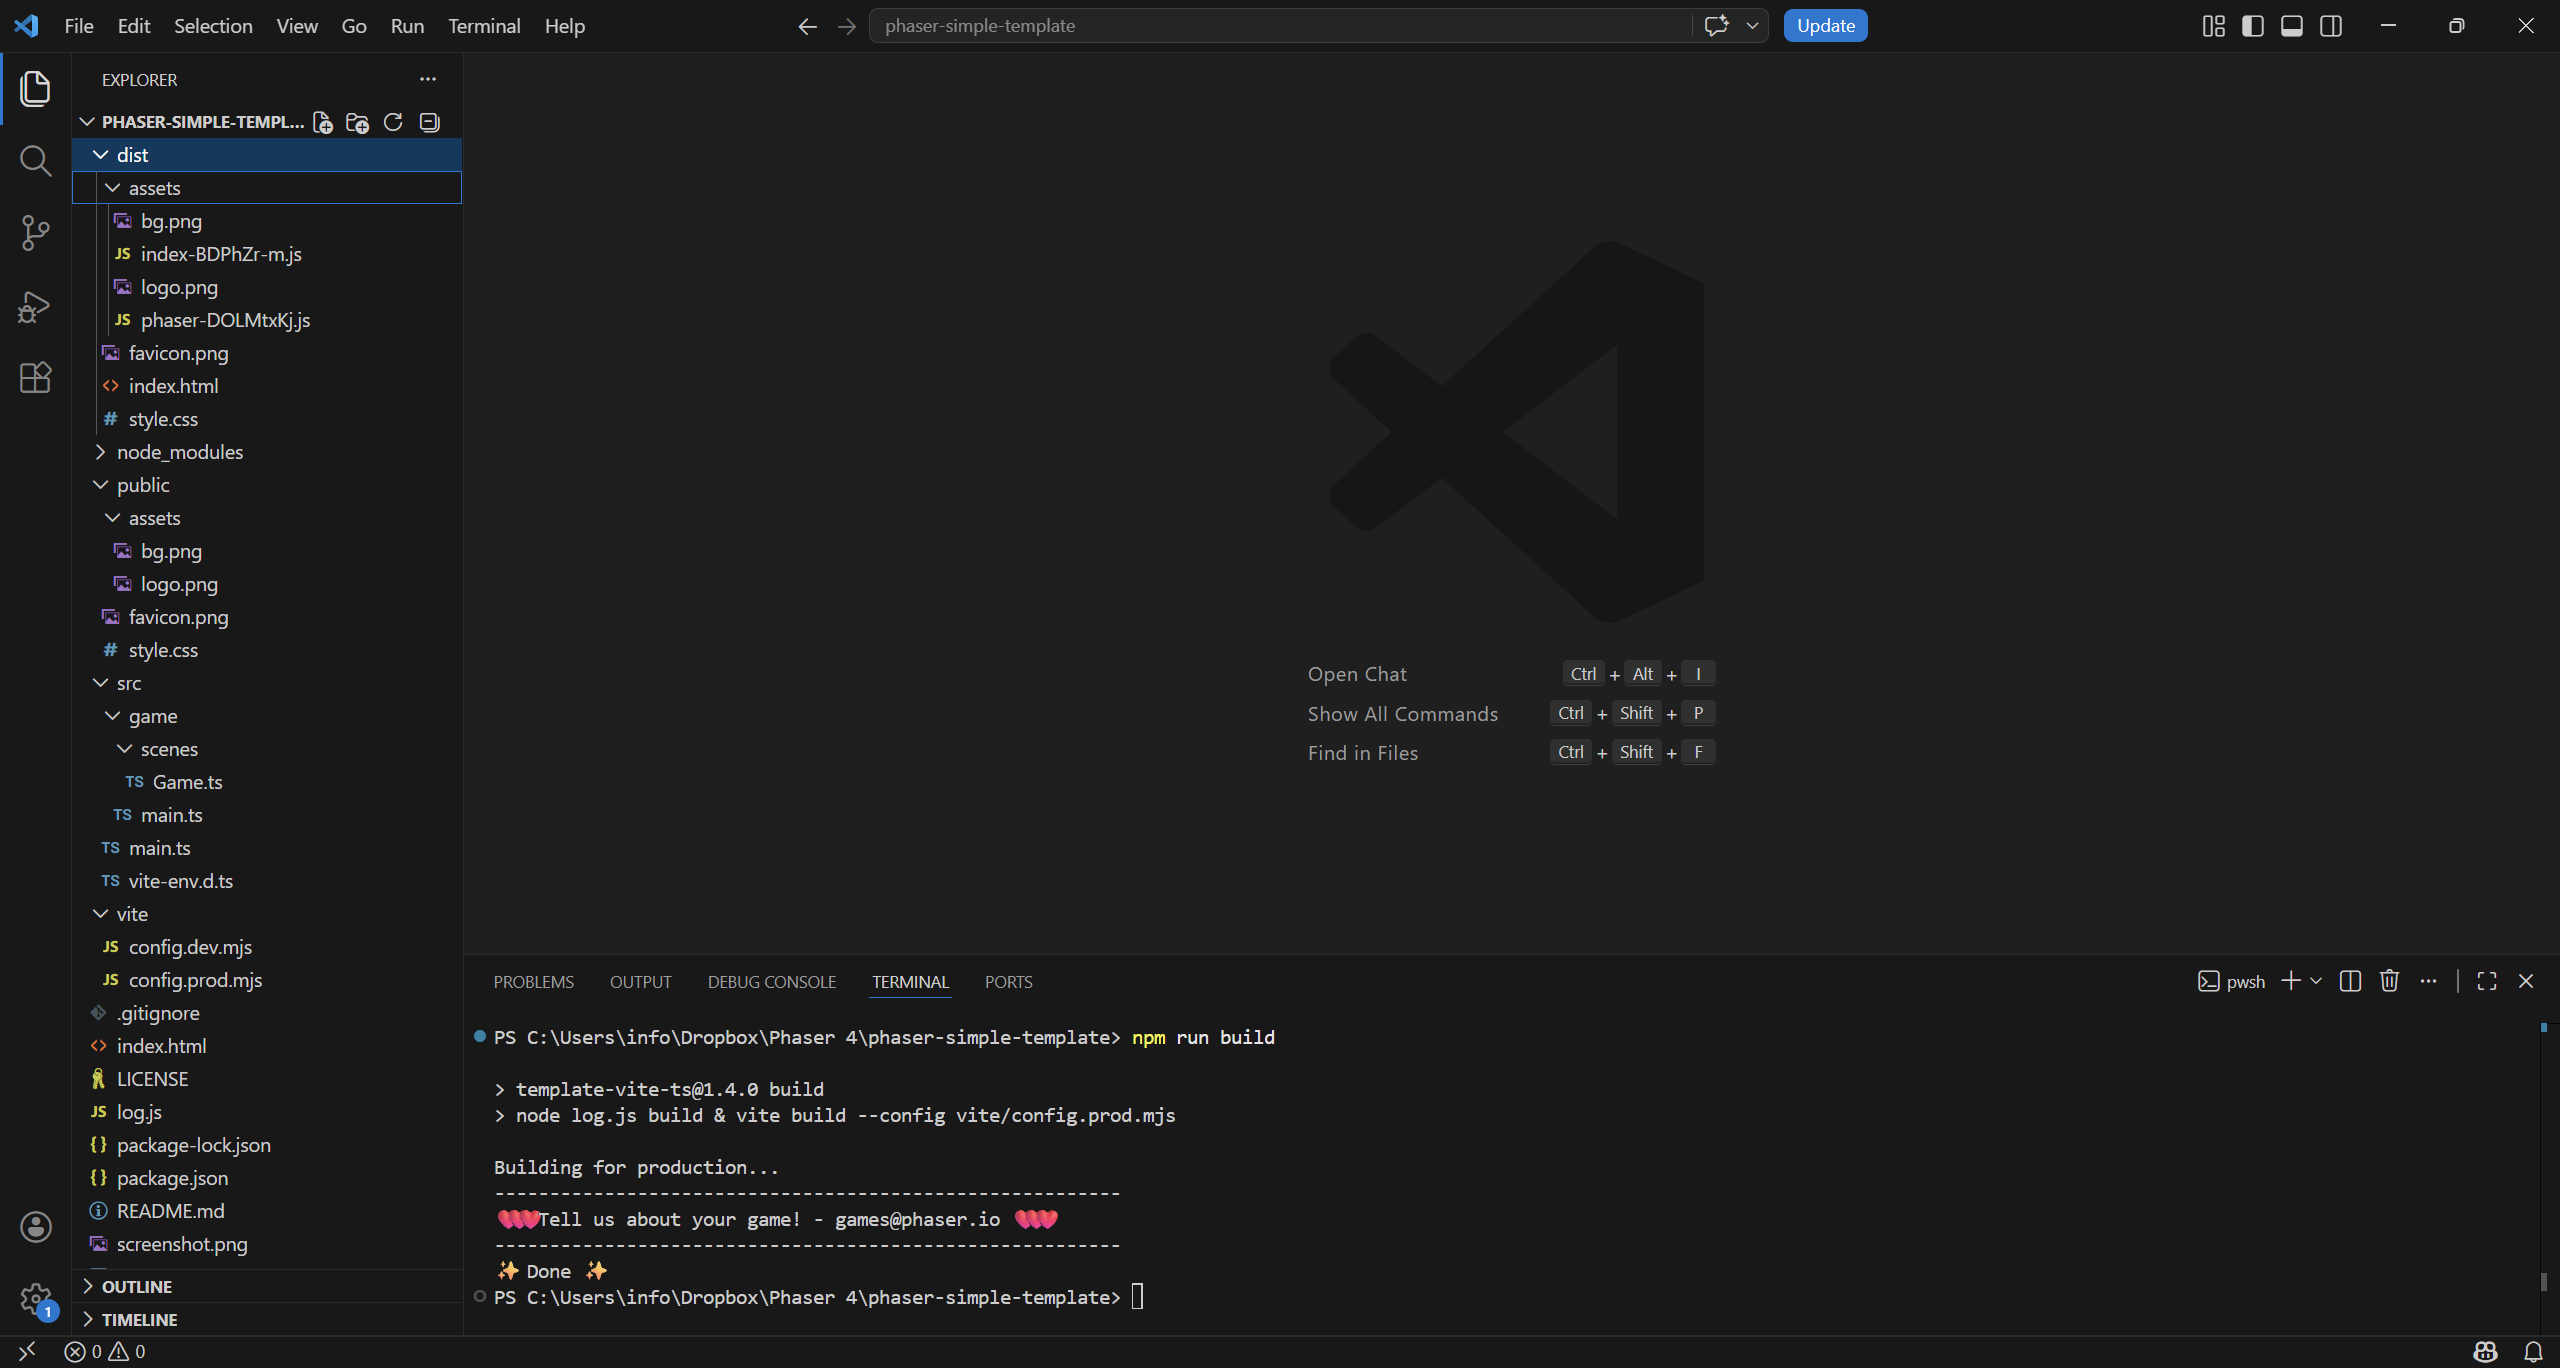
To create a distributable folder, to upload it on your server or submit to game portals, enter the terminal
npm run build
dist folder contains the game ready to be distributed.
Happy coding!